

Learning to do your own acrylic nails can be an exciting and adventurous experience. Whether you just want to save some money by doing your nails at home instead of at the salon or want to become a professional nail tech, you need to know the right kind of brush to use for your acrylics. What is the best acrylic nail brush for a beginner?
What is Nail Acrylic?

Acrylic powder is a monomer-based substance that polymerizes to form a hard, cement-like layer on top of your natural nails or false tips. Acrylic’s first ingredient is usually polymethyl methacrylate (PMMA); if you see “methyl methacrylate” (or MMA) on the ingredients list of your acrylic, you should return it ASAP. MMA and PMMA are not the same things. In fact, MMA was banned in nail products due to the extreme damage it can cause to the natural nail, but it is still common in cheap, internationally sourced acrylics.
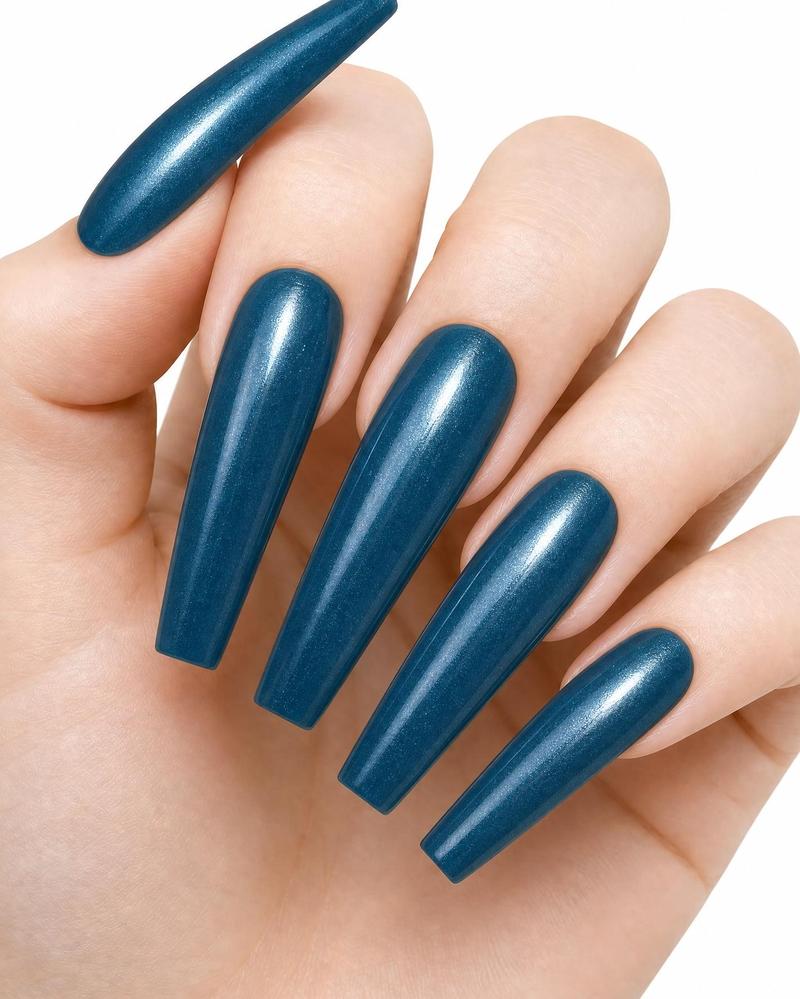
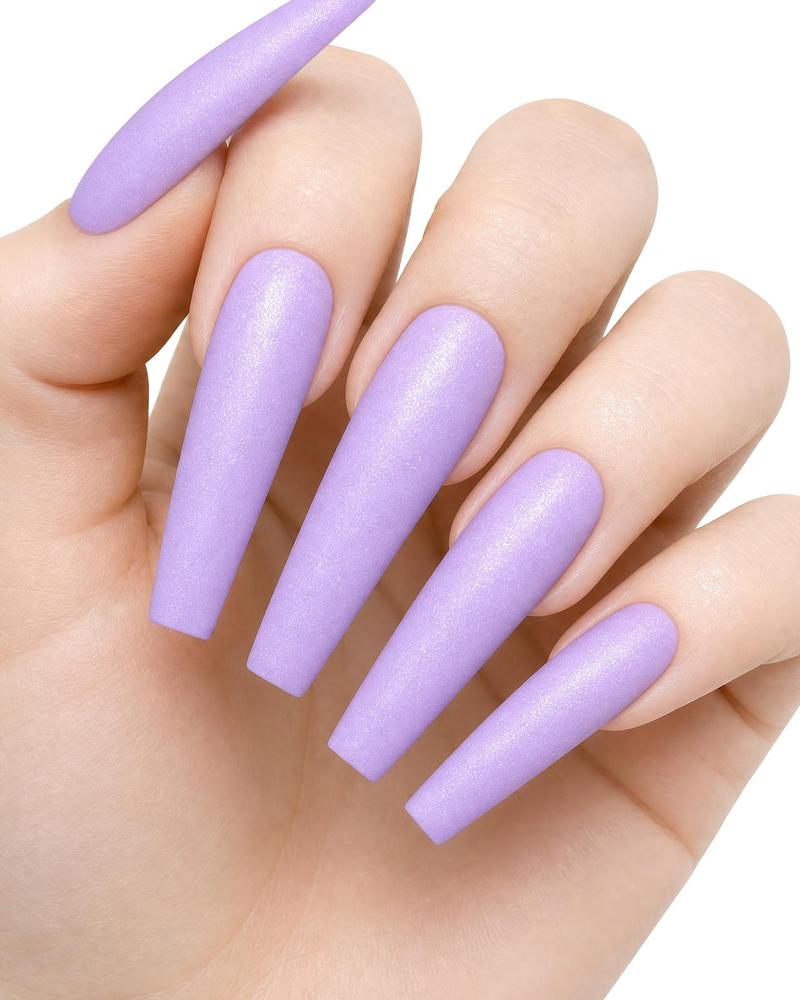
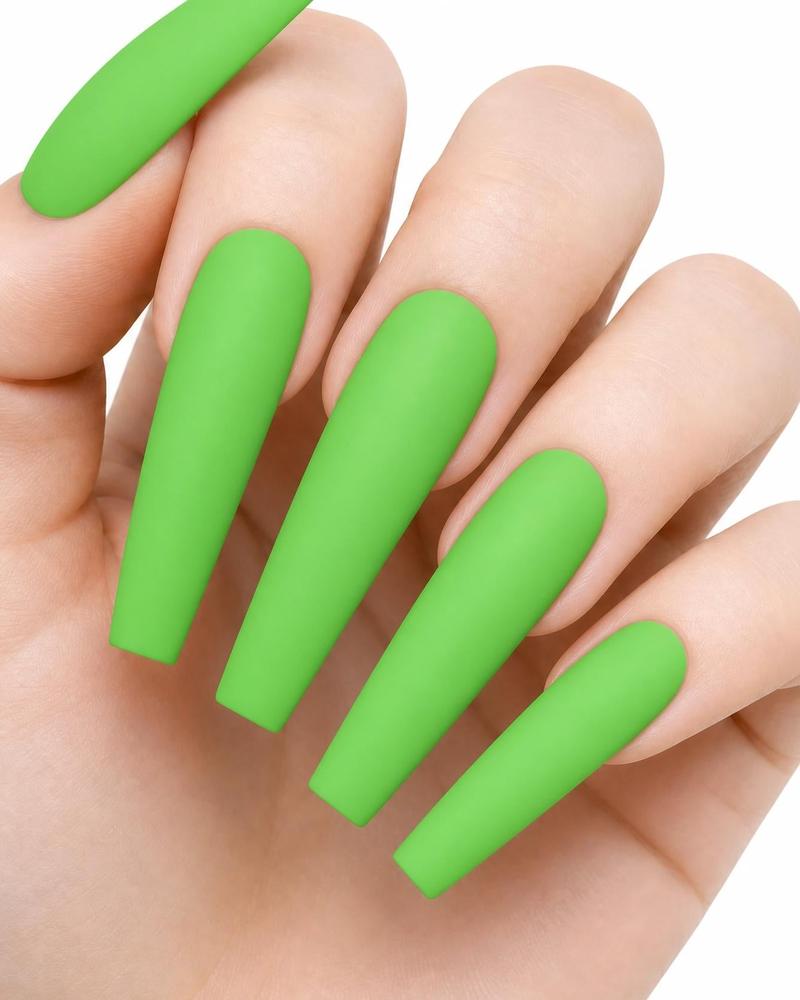
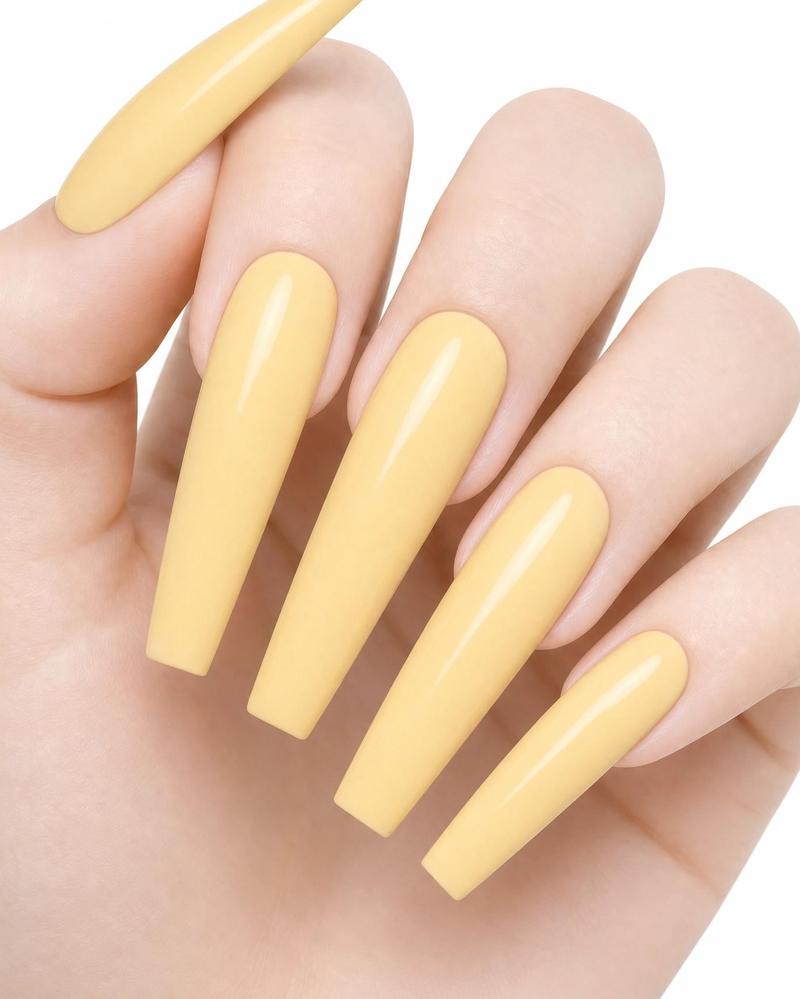
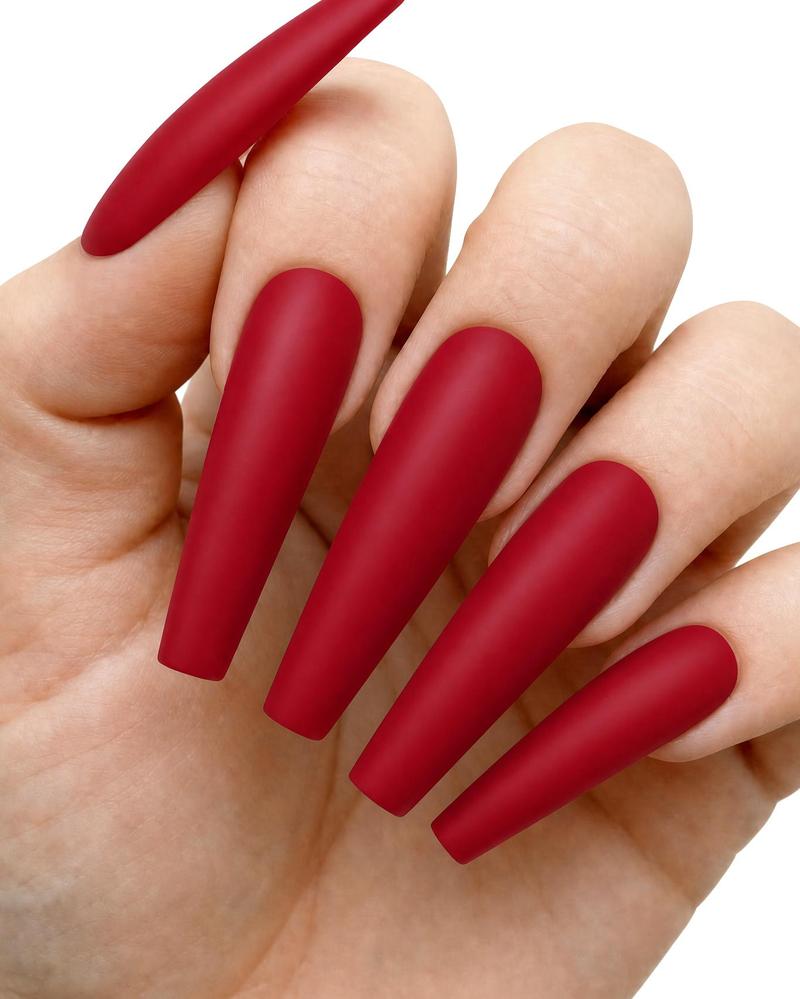
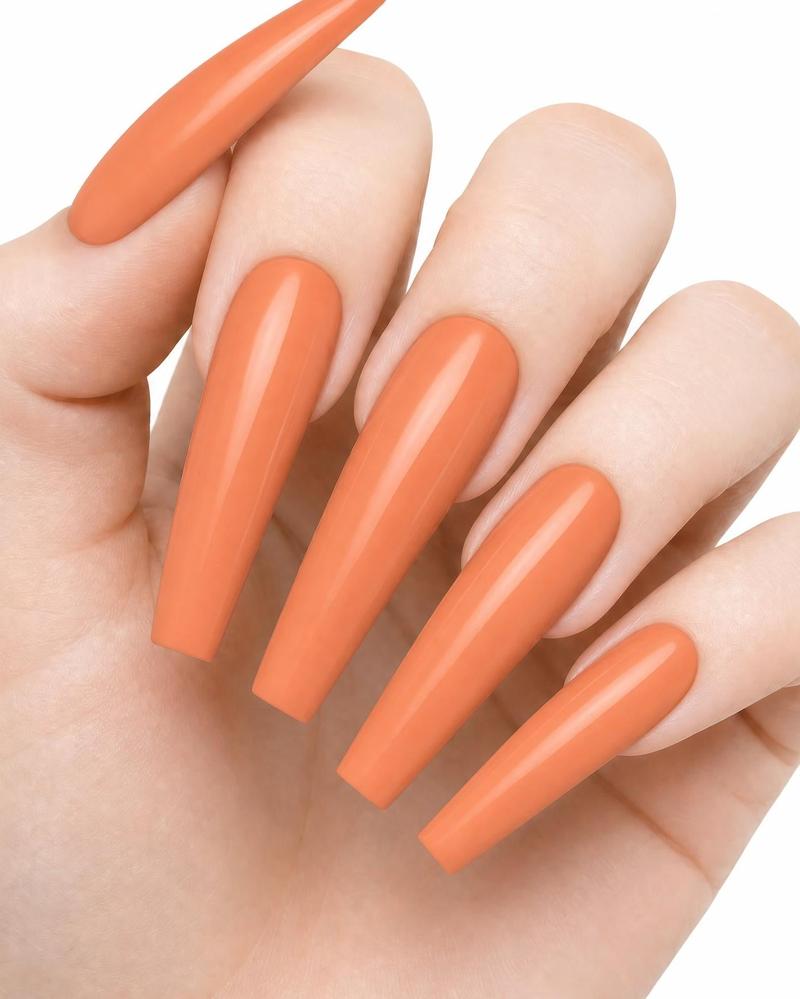
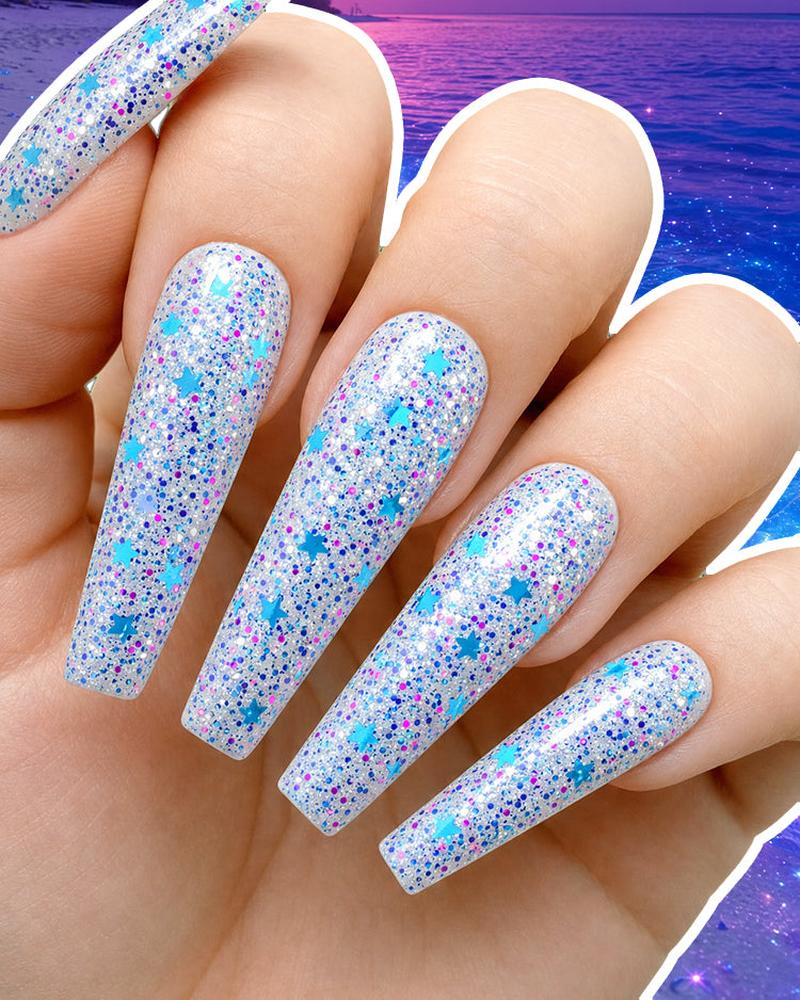
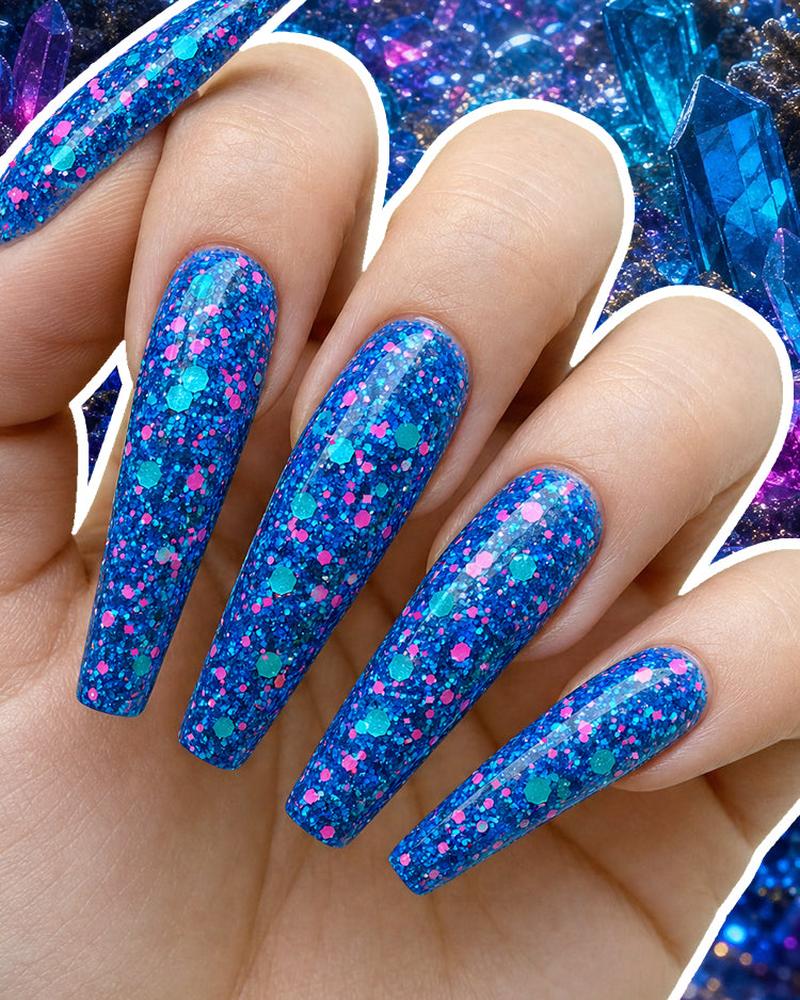
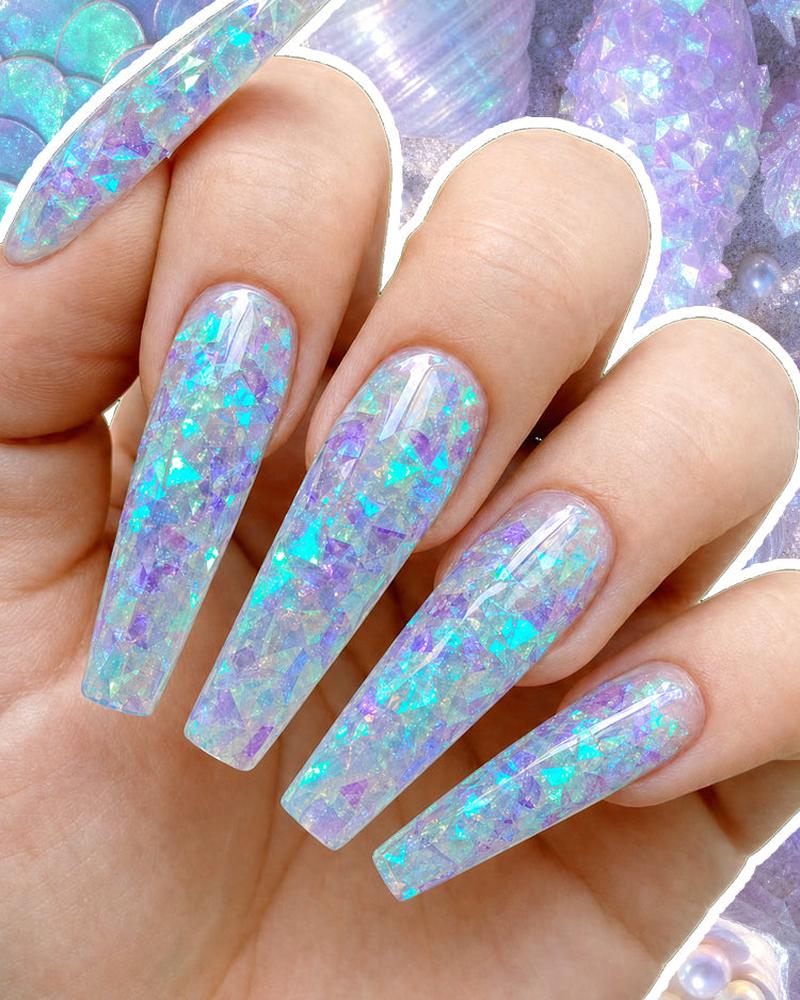
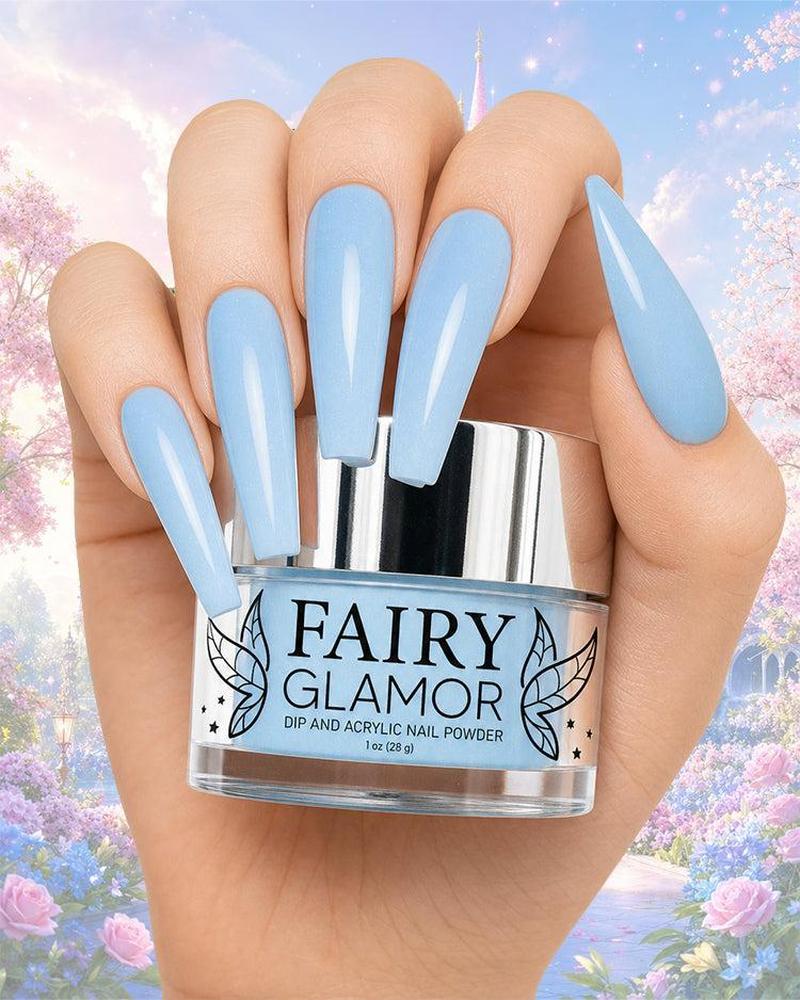
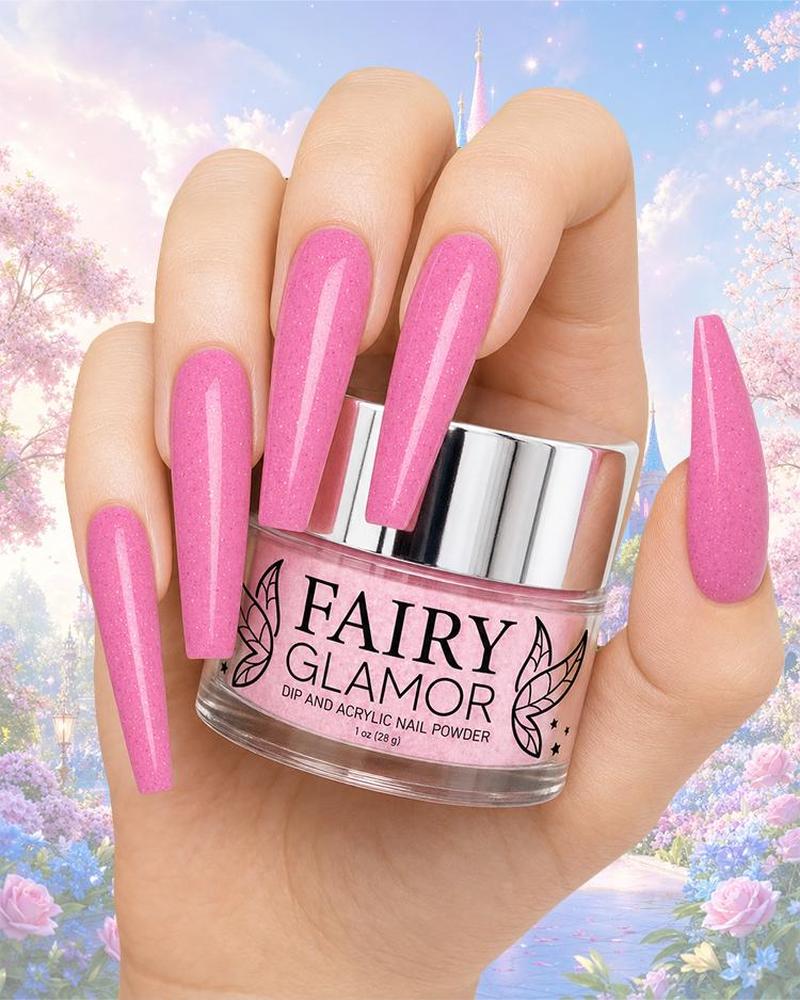
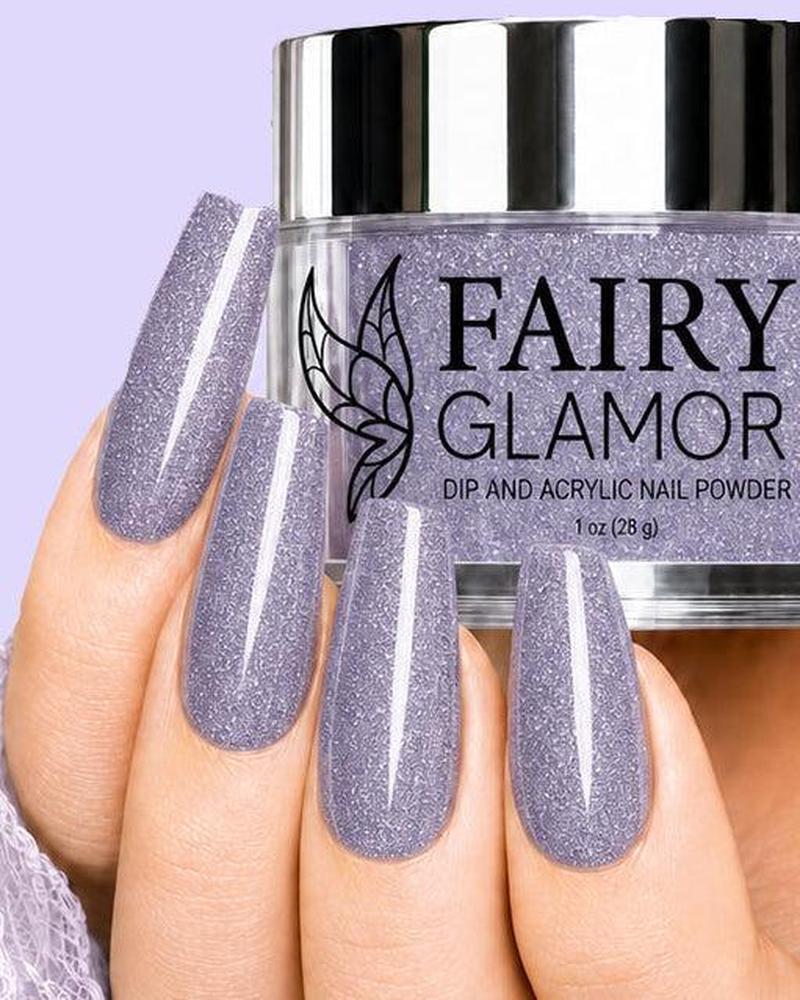
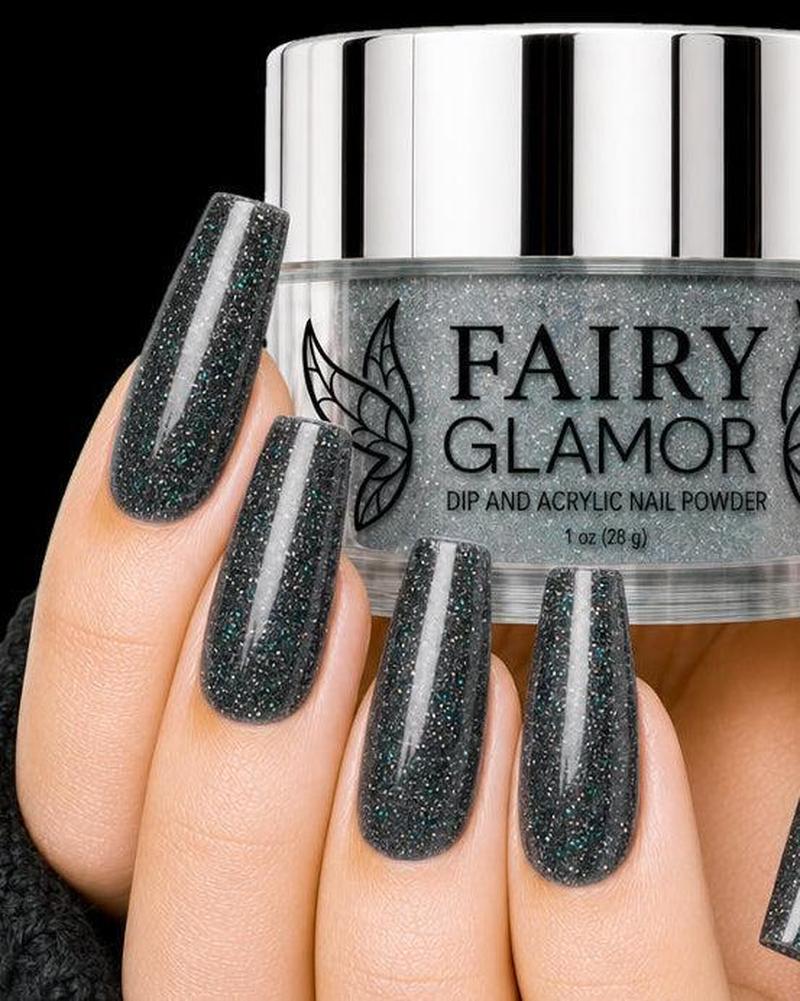
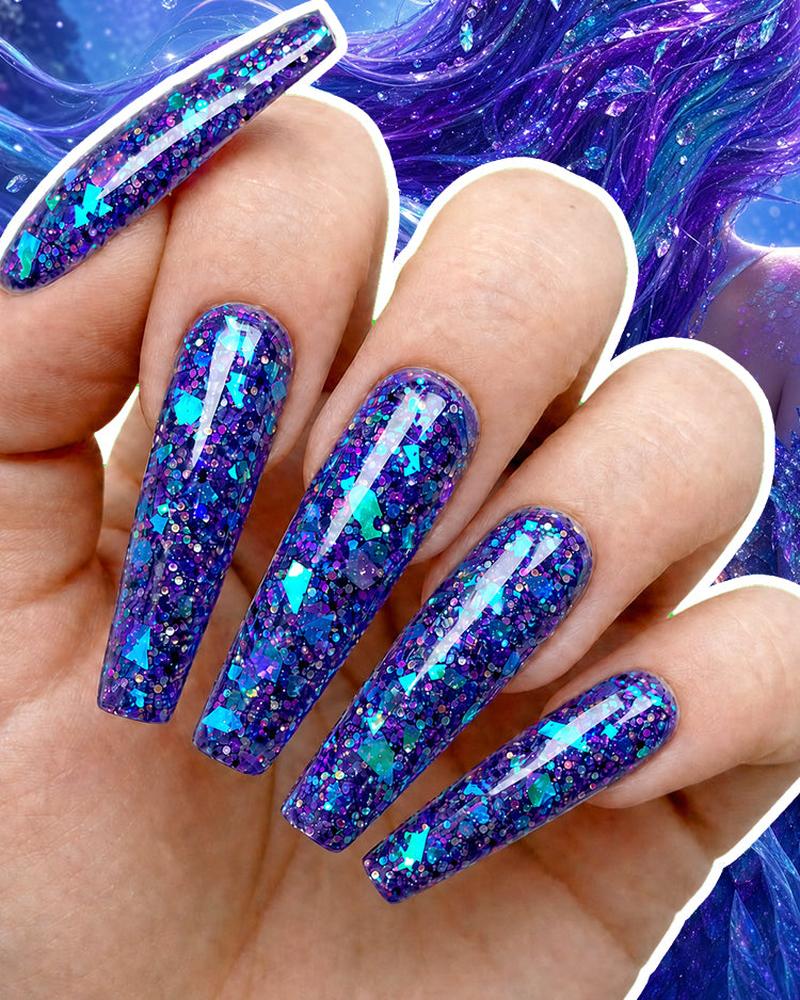
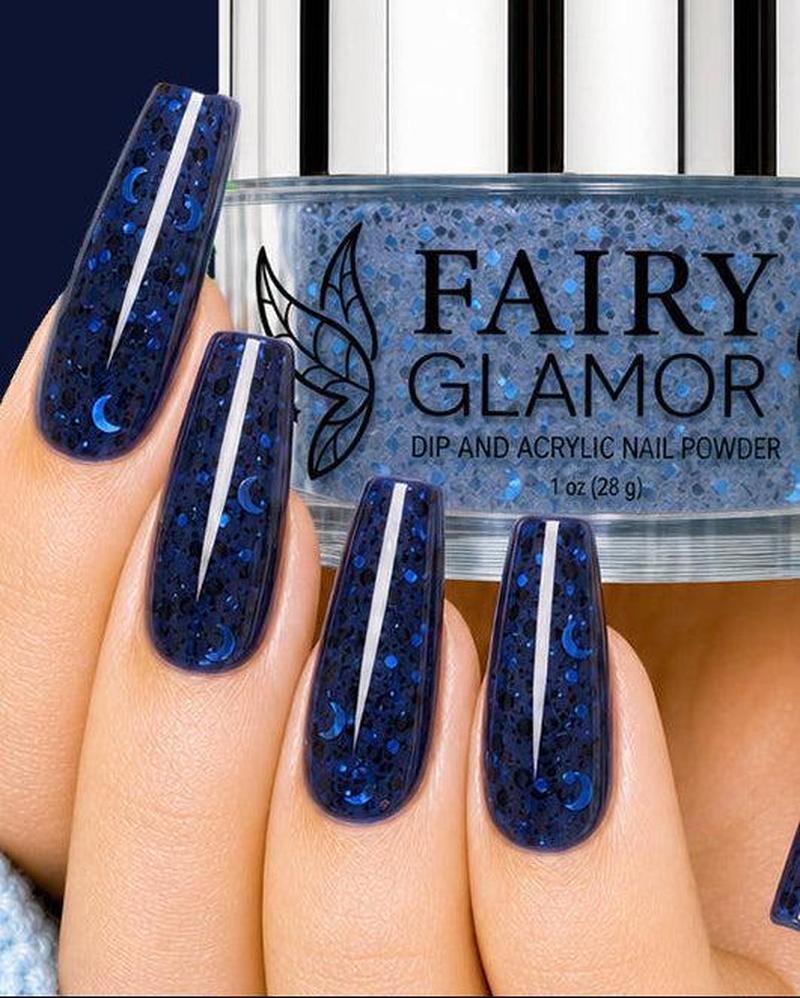
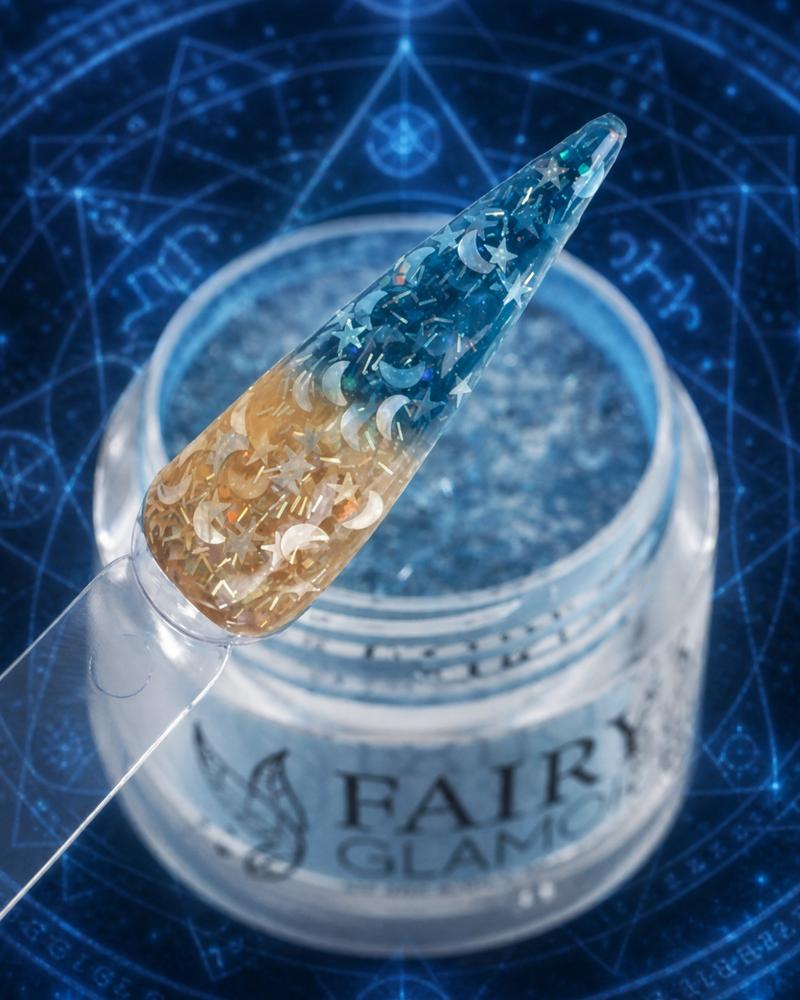
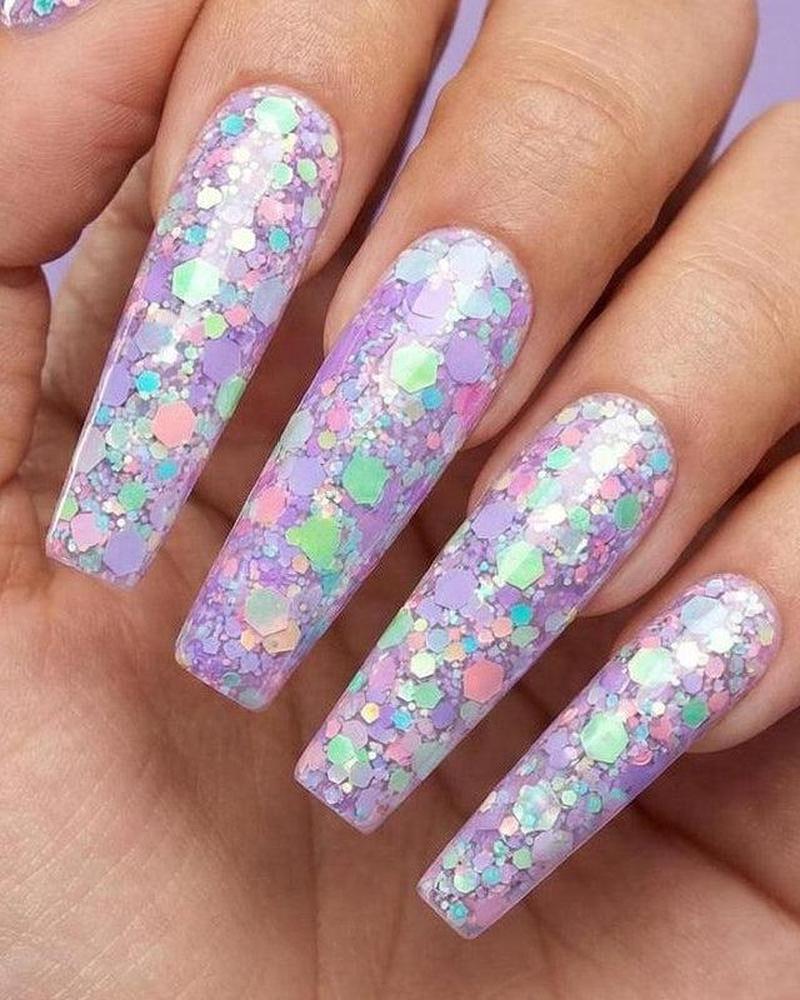
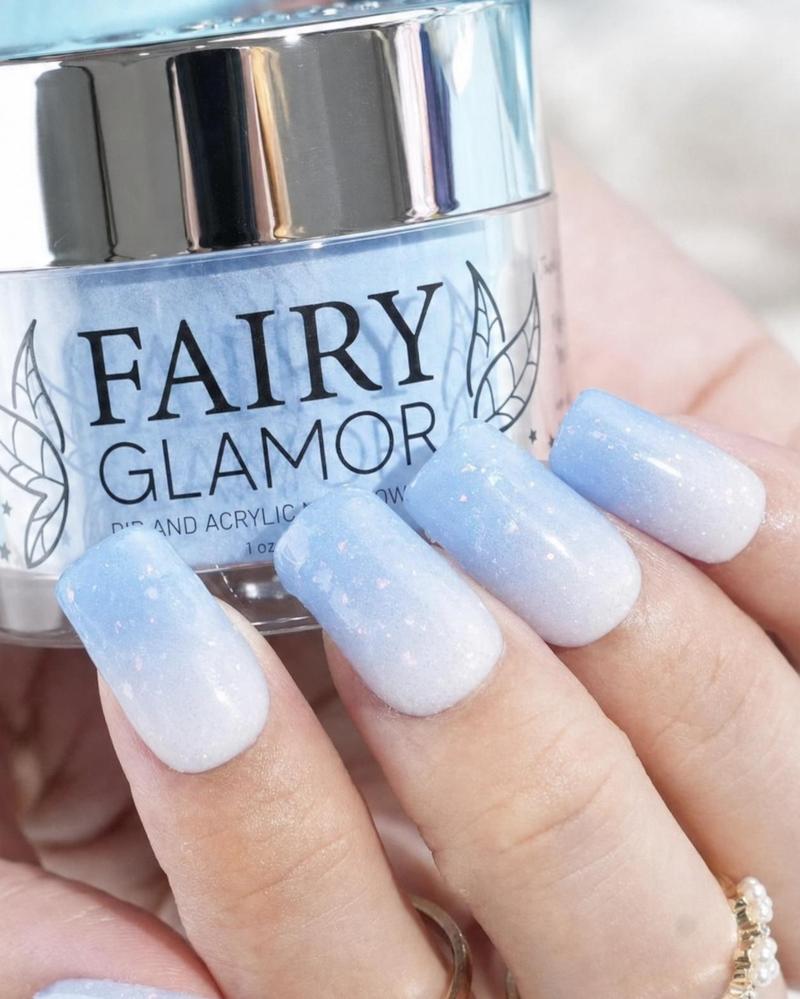
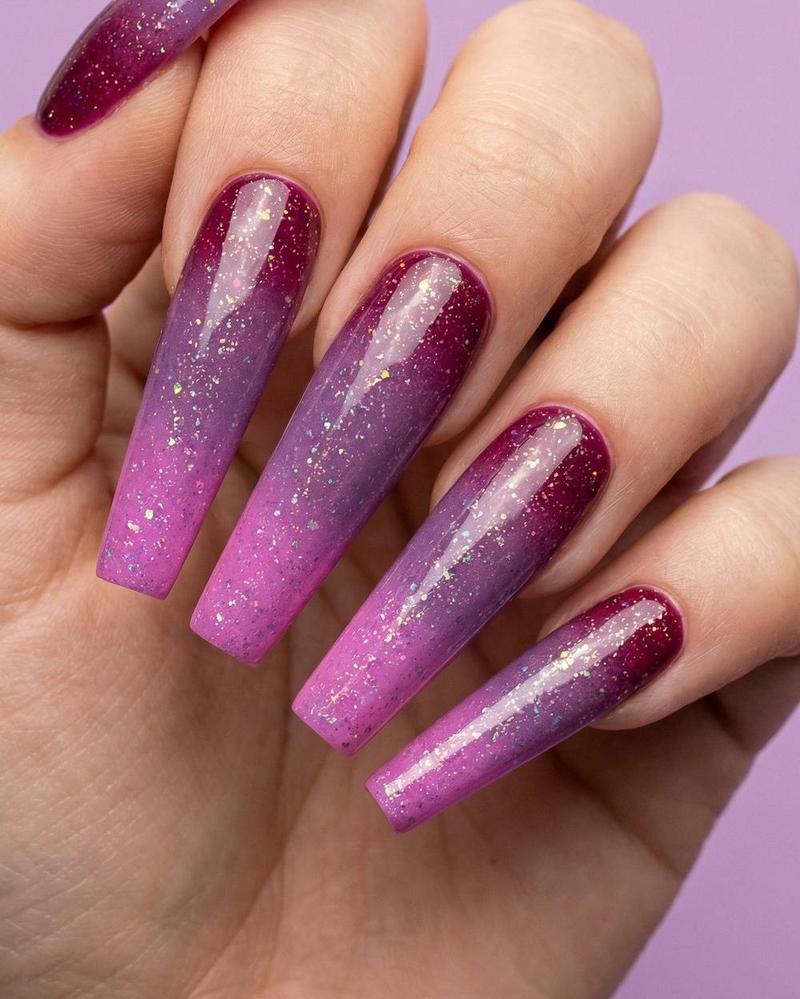
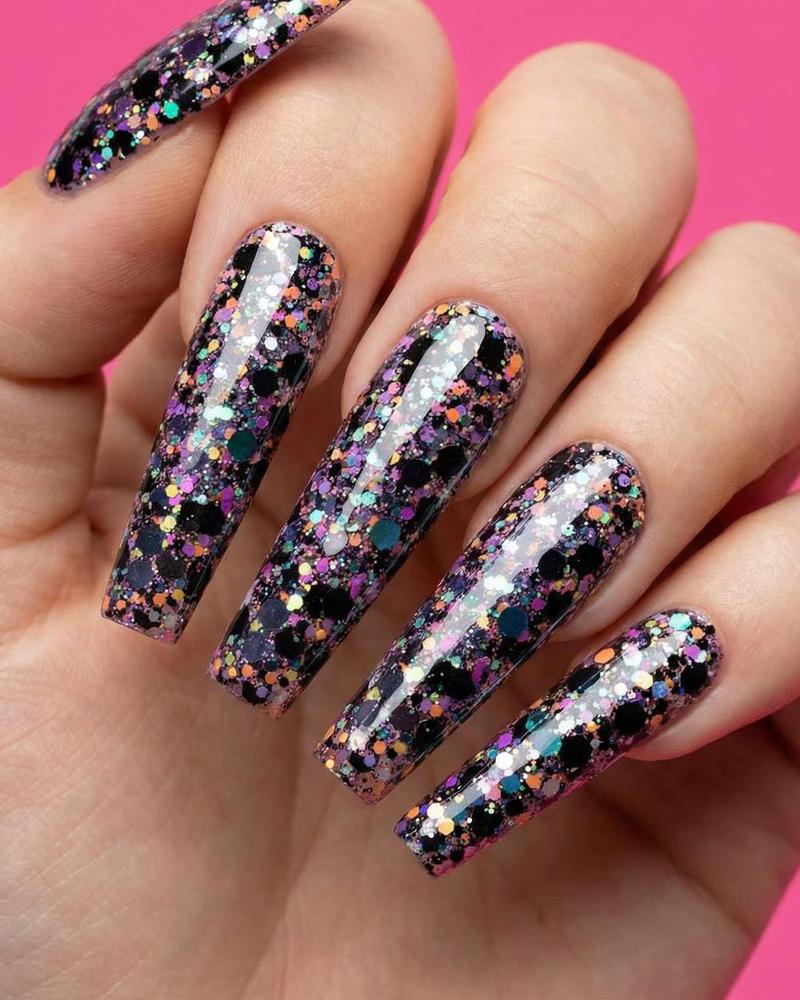
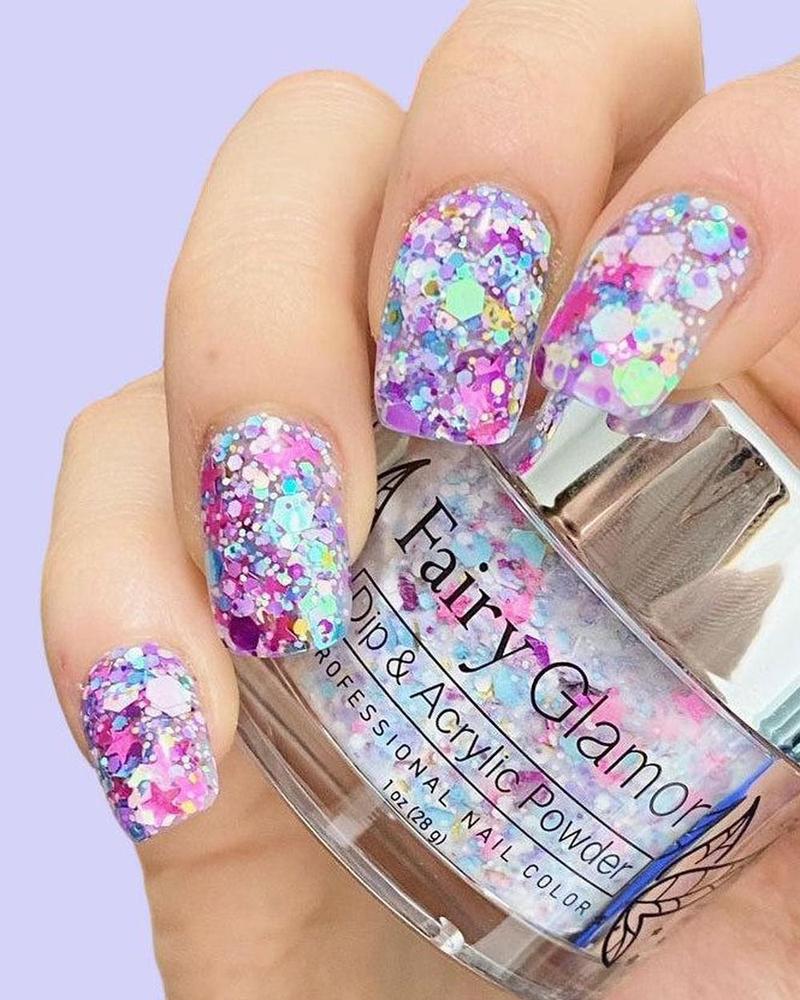
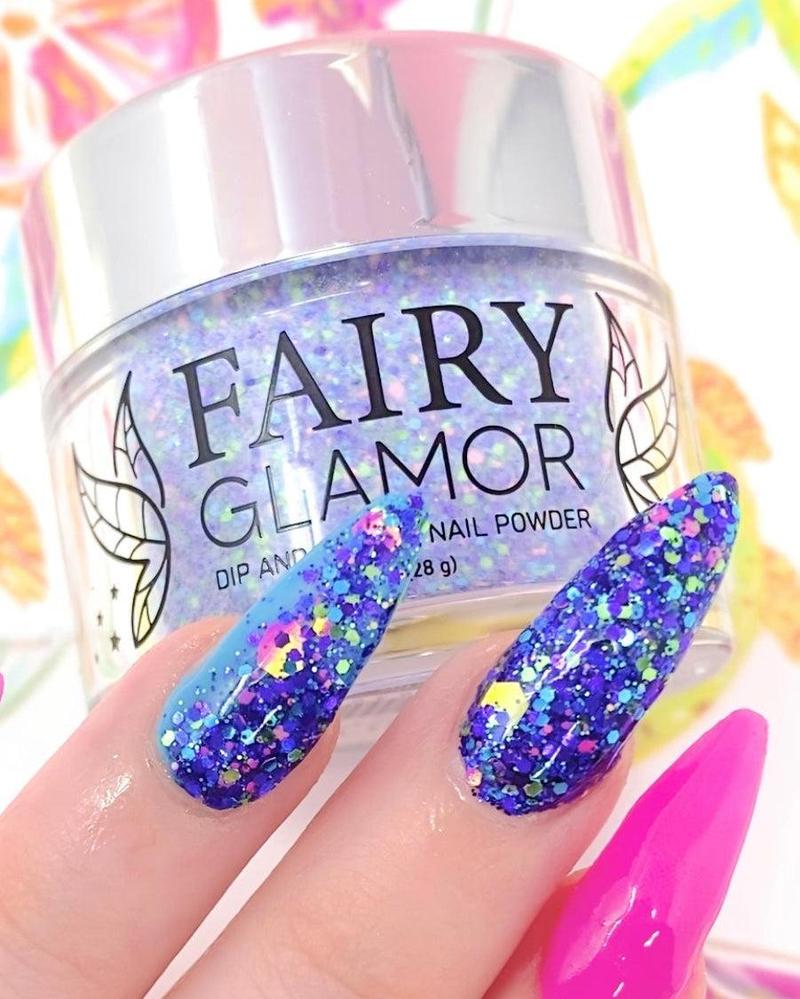
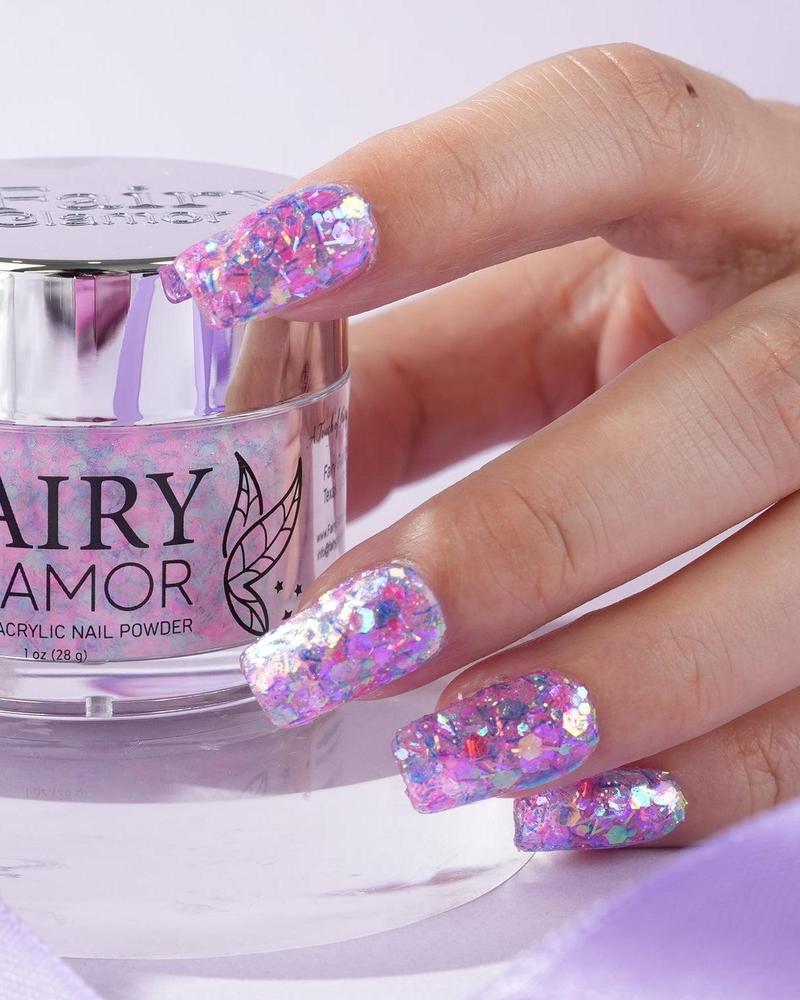
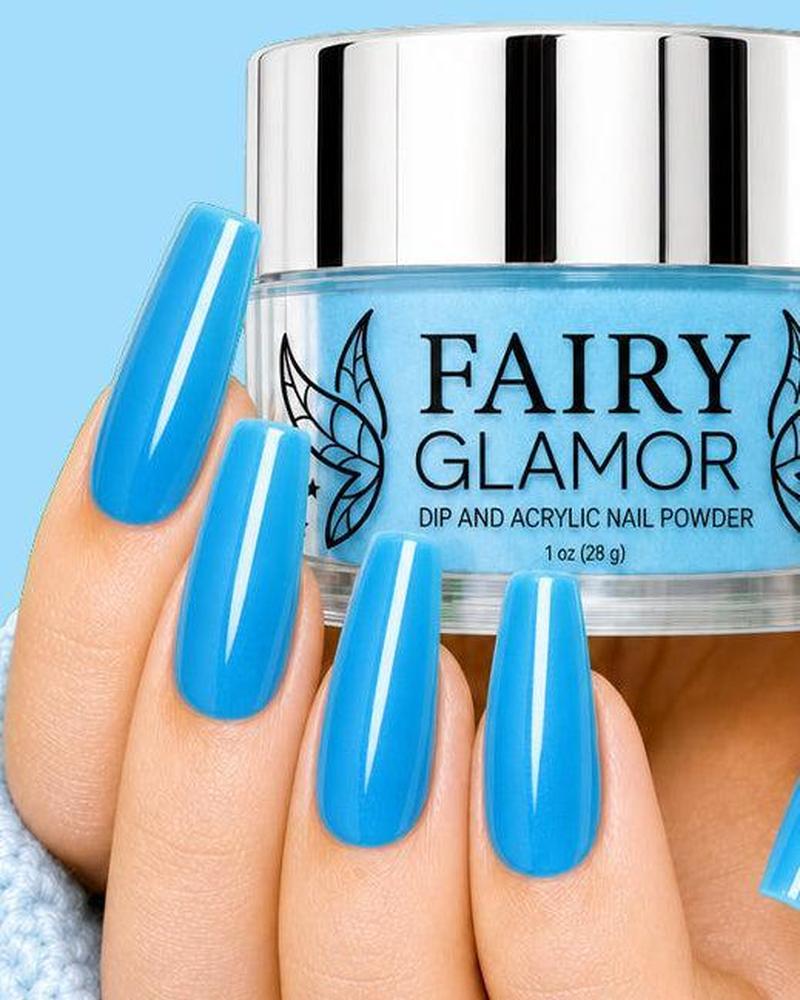
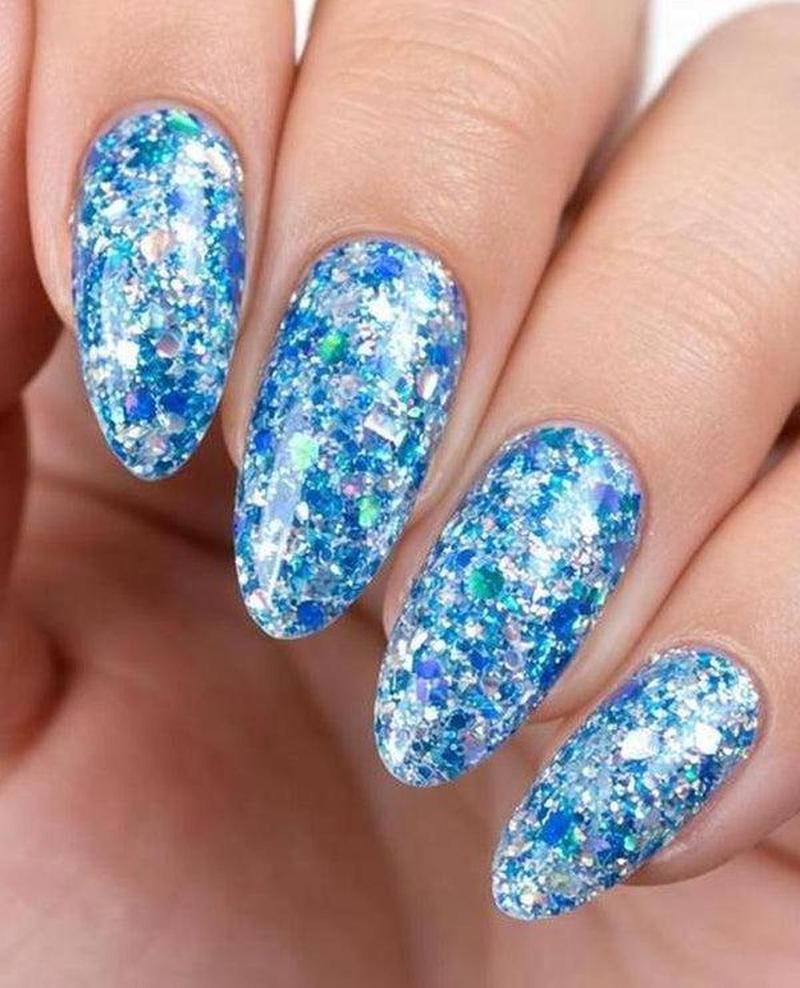
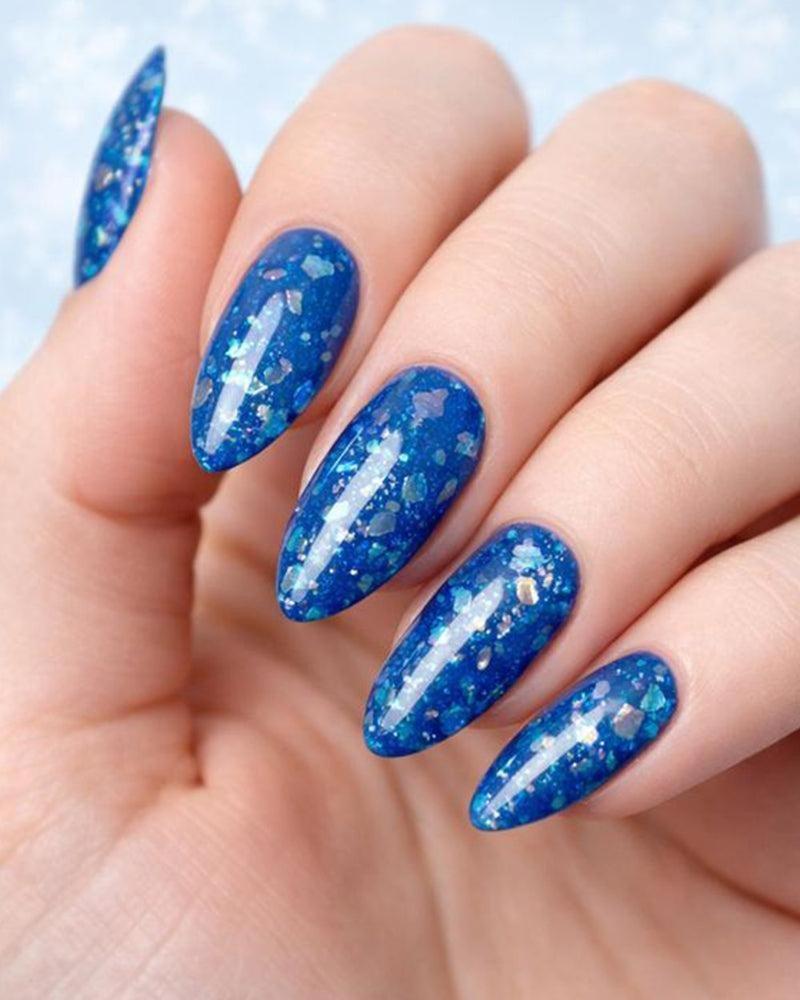
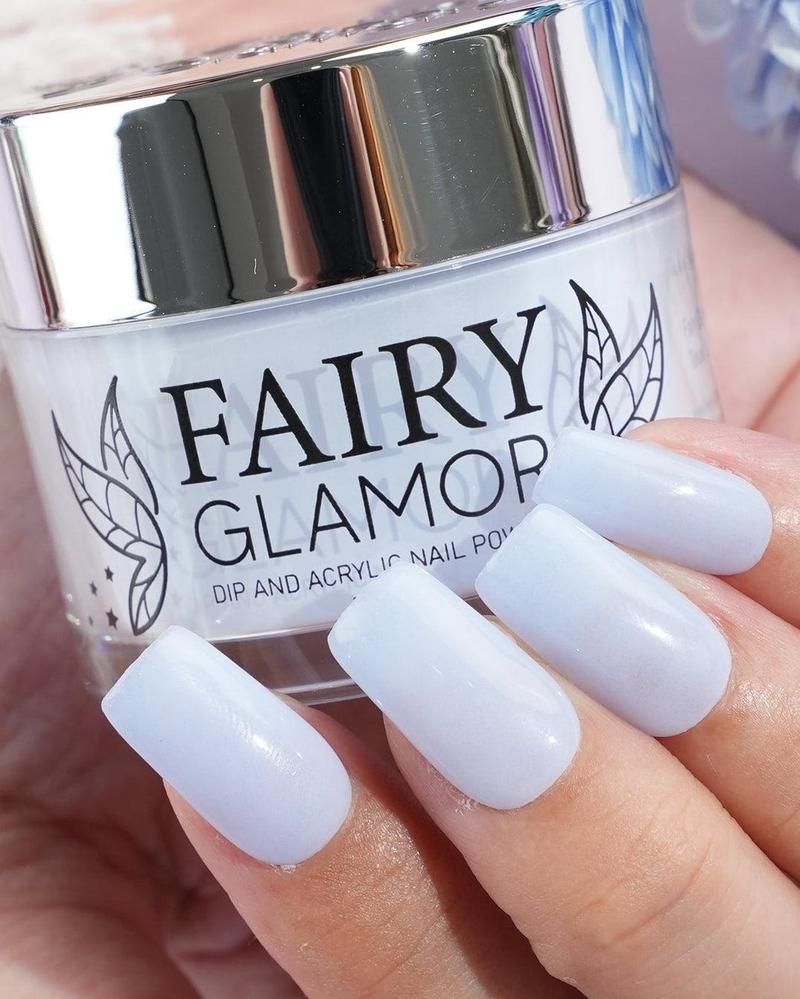
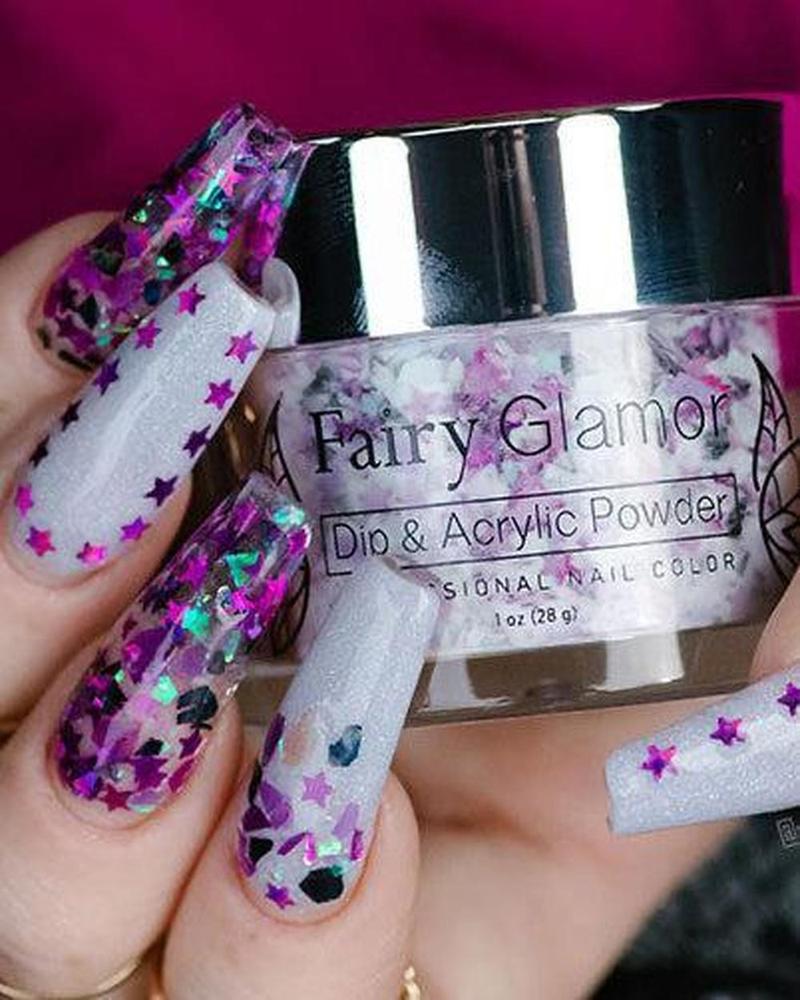
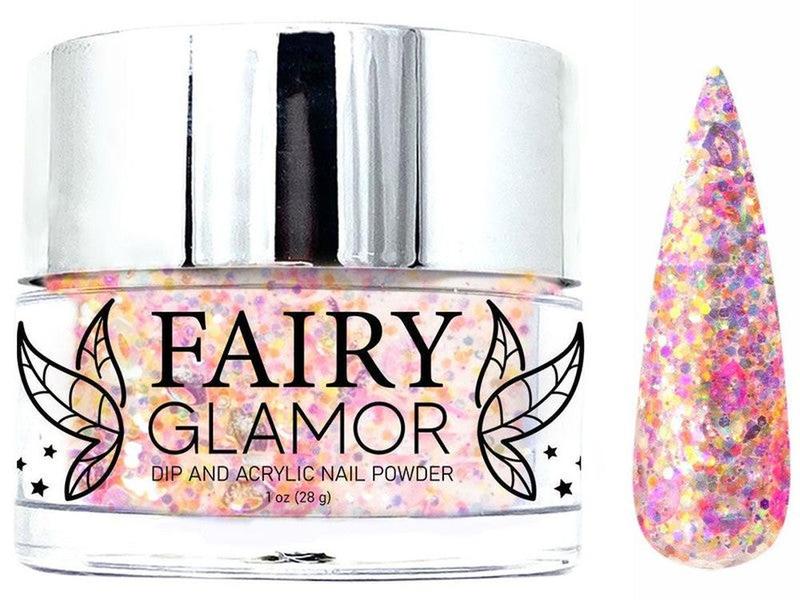
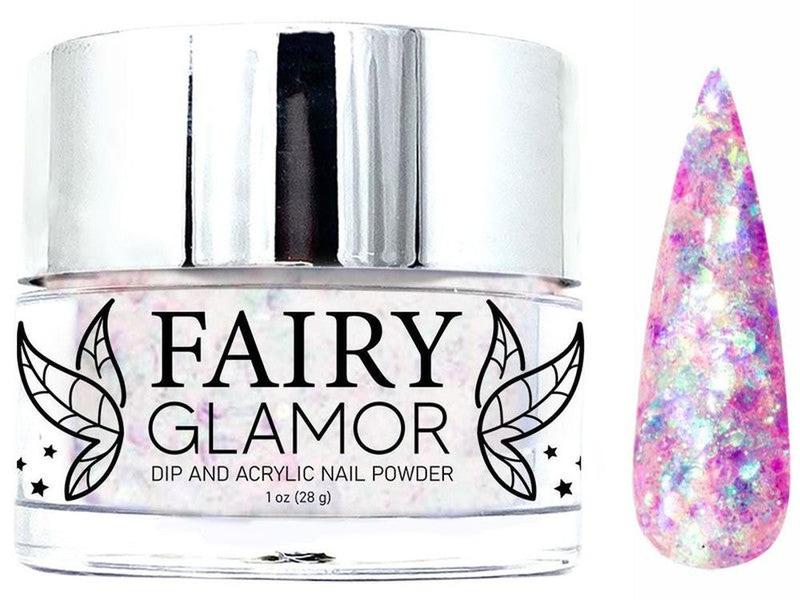
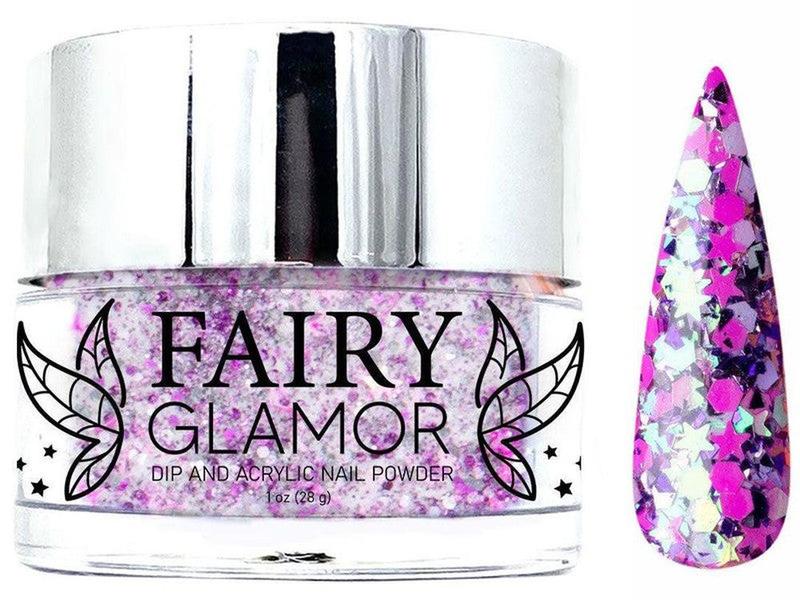
Fairy Glamor acrylic powders come in over 150 colors and can also be used as dip powders! How cool is that? Be sure to view our complete acrylic powder collection to find the color of your dreams.
If you like a little variation in your nails, you should check out our Fairy Glamor subscription box. You’ll receive two limited-edition powders every month for a discounted price, plus free shipping!
What Activates Acrylic?
In order to turn the acrylic powder into a liquid, you need a particular solution called monomer liquid. This liquid activates the polymerization process and allows the monomers (mono meaning one) to turn into polymers (poly meaning many) by bonding together. This liquid quickly dries due to something called “dehydration synthesis,” meaning that the chemical reaction causes water to evaporate. You have to work the bead of acrylic quickly before it dries out!
What Kind of Brush Should I Use?
The best acrylic brush on the market is the Kolinsky brush in size #10. This brush makes it easy to pick up a bead of acrylic without it being too large or too small and is perfect for beginners. The brush works best for ombres and flat-colored nails without any sort of nail art extras (such as acrylic flowers).
Fairy Glamor also sells a 100% Kolinsky #10 brush at a great price. This brush is sure to make your acrylic building much easier!
What Acrylic Brush Sizes are There?
Most brushes will come in sizes ranging from six to twenty-two, with six being the smallest. Smaller brushes are more delicate and are usually used for creating intricate shapes and designs with acrylic rather than building the actual nail, which you would do with a larger brush size. The smaller the brush size, the smaller the acrylic bead. The larger the brush, the bigger the bead. Larger beads are better for covering large surface areas of the nail, while smaller brushes can be used to fill in small spots or create tiny acrylic flowers on top of the formed acrylic.
Beginners tend to prefer smaller brush sizes so they can take their time and practice precision, while professional nail techs like to use larger brushes for faster acrylic application.
How are Acrylic Nails Formed?

There are two different ways to build acrylic nails. You can either use a nail form (the traditional way), or you can use half-cover nail tips (the easier way).
Here’s what you’ll need:
- Cuticle remover (optional)
- Cuticle pusher
- Nail clipper
- Nail file
- Rubbing alcohol
- Lint-free wipes
- Nail primer or acetone
- Half-cover nail tips or nail forms
- Nail glue, if using nail tips
- Monomer liquid
- Small glass
- Acrylic brush
- Fairy Glamor acrylic powder of choice
- Gel top coat
-
UV nail lamp
Steps:
- Begin by applying a cuticle remover (optional) and pushing your cuticles back.
- Cut your natural nails way down; there should only be a thin sliver of white visible.
- File the top of your nail beds to remove the shiny layer; this helps the acrylic stick.
- Remove the nail dust with a lint-free wipe soaked in rubbing alcohol
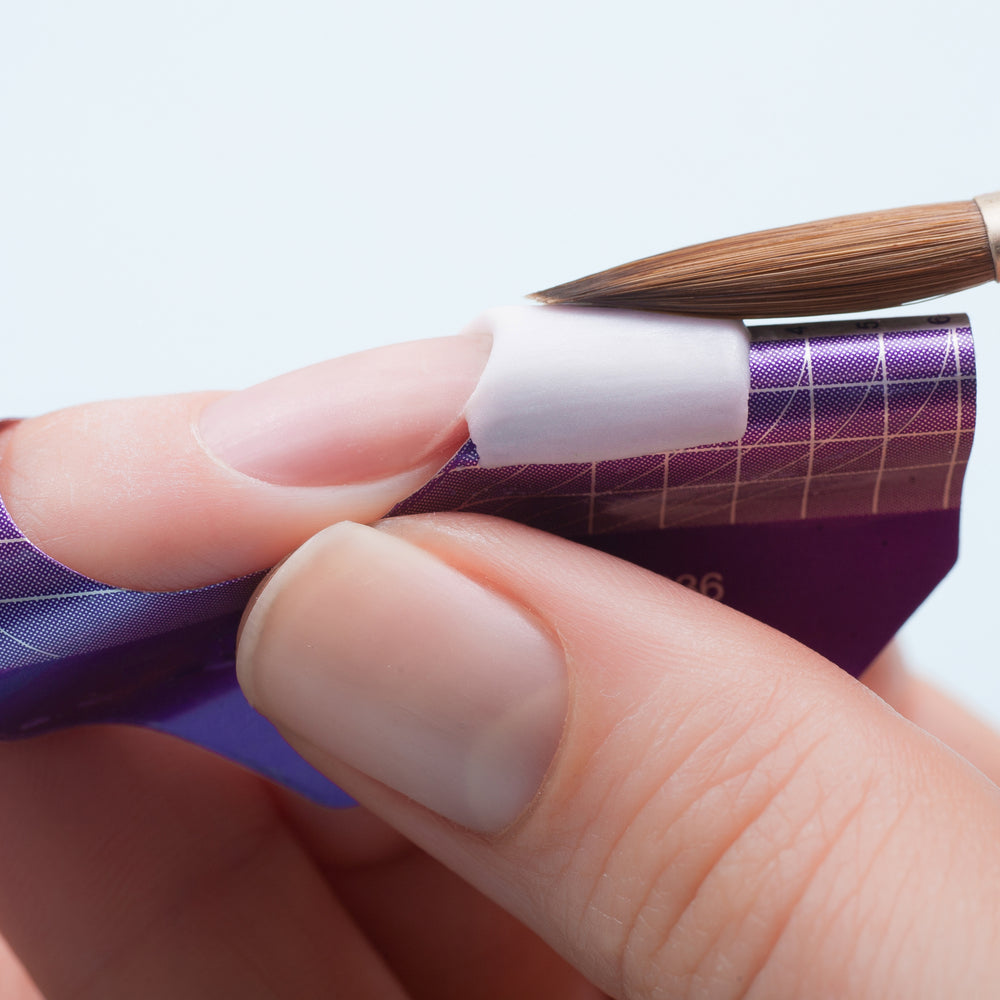
- If using half-cover nail tips, find the appropriately sized tip for each nail. Apply some nail glue to the base of the tip and stick it to the natural nail, ensuring it's straight.
- Clip and file the tip to your desired shape and length.
- Paint on an acrylic nail primer or swipe some acetone over the nail beds; this helps the acrylic stick to the nail.
- If using acrylic nail forms, put those on now.
- Pour some monomer fluid into a small glass.
- Dip your acrylic nail brush into the monomer fluid and press the brush against the glass to remove any excess liquid.
- Gently tap the monomer-soaked brush into your acrylic powder at a 45-degree angle… just the tip!
- Apply the bead of acrylic slightly below the line between your natural nail bed and the tip or just below the nail form.
- Begin swiping the acrylic down the tip/form in small brushstrokes, all in the same direction.
- Repeat steps 10-13, except place the second bead of acrylic close to your cuticle and move it around the natural nail. Smooth the liquid over the existing acrylic for a clean application.
- Add more acrylic to spots that need it. You don’t want the nails to be too thick.
- Once you’re happy with the way your acrylic looks, you can pop off the nail form, if using, and begin to file the side of the acrylic to shape.
- Paint on a layer of gel top coat for ultimate shine and cure with a UV/LED nail lamp.
How do I Care for My Acrylic Brush?
If you are a paint artist, you know how important it is to take great care of your paintbrushes; the same is true for acrylic brushes. Once you’ve used a brush, it is important to clean it to avoid any acrylic from building up in between the bristles.
Here’s what you’ll need:
- Dirty acrylic brush(es)
- Monomer liquid
- Shallow glass dish
- Paper towel
Steps:
- Fill the glass dish with some monomer liquid, just enough to cover the bristles of the acrylic brushes.
- Gently press each brush into the monomer fluid and then leave the brushes to soak for two hours to overnight.
- Once the acrylic has loosened itself from the brush’s bristles, drain the monomer from the brush by pressing it against the glass dish.
- Dry the brush on a paper towel and leave it to dry.
Pro tip: in between brushstrokes of acrylic, swipe the brush onto a paper towel to prevent the acrylic from sticking to the fibers of the brush and to remove any excess liquid.
Acrylic Problems?
Are you having issues with your acrylic? No worries, it happens. The acrylic building process can take a long time to master, and it might take you a dozen attempts before you get the shape and thickness that you desire. Even the most seasoned nail techs make mistakes sometimes. The most important thing is to allow yourself to make mistakes and avoid becoming too frustrated and giving up.
If you’re still having problems after practicing, read our guide on getting smooth acrylic nails and our other guide on making your acrylics shiny and glossy. You might be making some common mistakes that you didn’t even realize you were doing!
How Much Monomer Liquid do I Need?
If you’re already looking at buying materials for DIY acrylics, you’ve probably noticed that monomer liquid is pretty expensive in comparison to some of the other necessary items. Making sure that you’re not wasting the solution is crucial to staying cost-effective and getting a smooth acrylic bead.
If you’re using too much monomer, you’ll probably notice that your acrylic is slow to dry, very watery, and separates on the nail. There will be little shape-holding, and the acrylic will be translucent instead of opaque.
If there isn’t enough monomer on your brush, you’ll probably experience lots of lumps in your acrylic bead. The powder will stay a powder unless there is a monomer to activate the polymerization process, which is why you’re seeing those bumps. The acrylic will also be hard to smooth and spread over the nail as it dries very quickly.
To get the perfect amount of monomer in your brush, gently dip the tip of the brush into the monomer liquid and press it against the lip of the cup to drain any excess. Then, dip the brush into the acrylic powder at a 45-degree angle. You should be able to see a “wave” of activation in the bead as it slightly changes colors.
Quick Recap:
- Never use any nail product with MMA!
- The #10 brush is ideal for beginners
- Acrylic takes a lot of practice to master, so don’t be discouraged!
- Utilizing monomer liquid the right/wrong way can make or break your entire manicure.