If you’re on the hunt for the cheapest viable nail options, you’ve probably been considering gel nails and acrylic nails. Both are used to decorate and strengthen the nail but have many differences, including in their price points.
First of all, let’s find out what both gel and acrylic are.
What Are Acrylics?
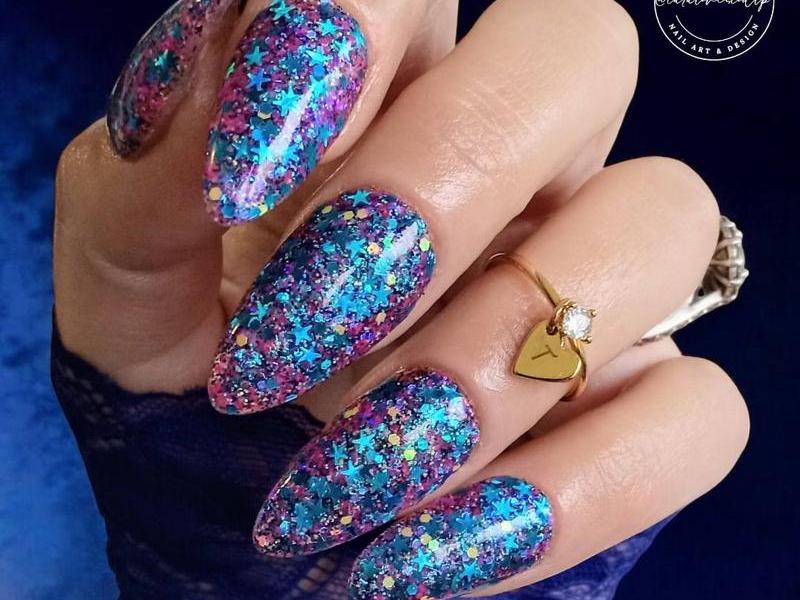
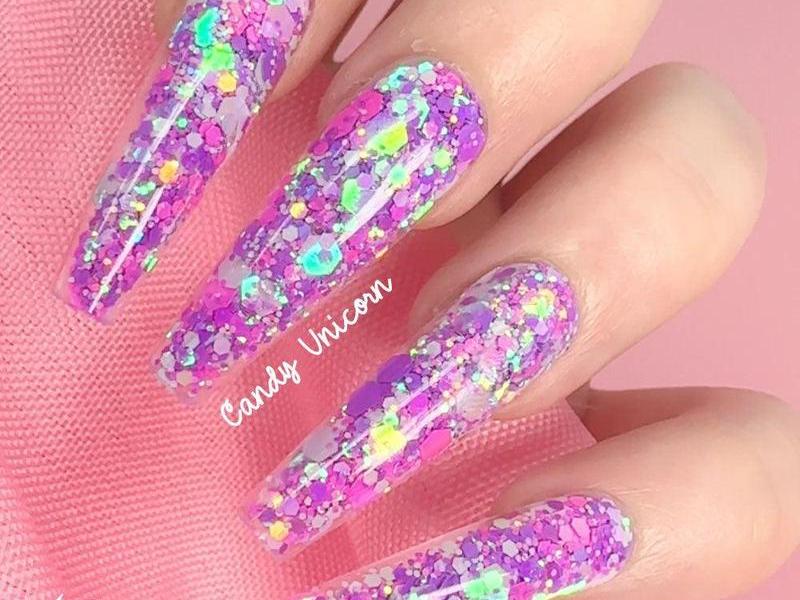
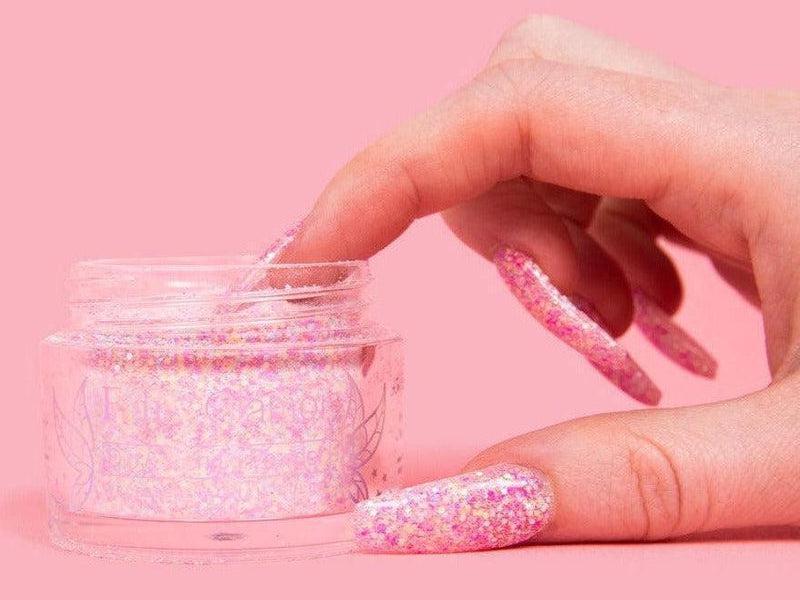
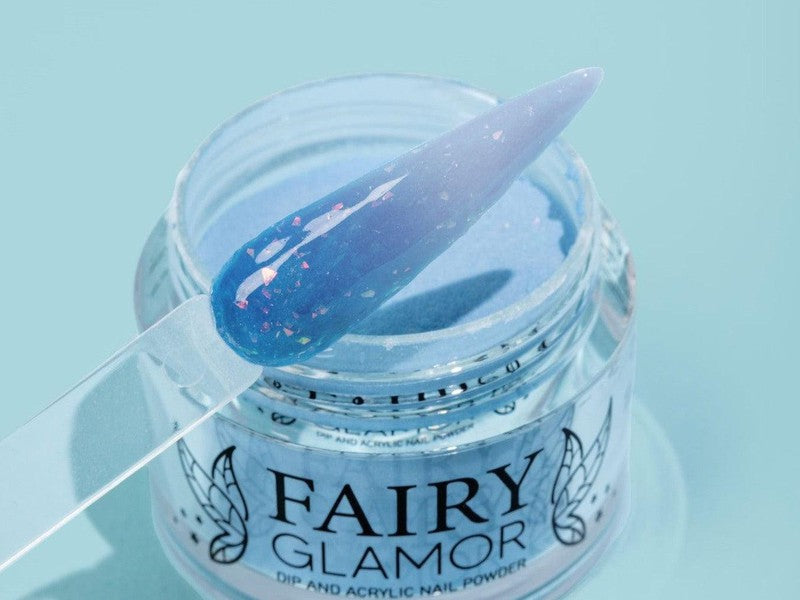
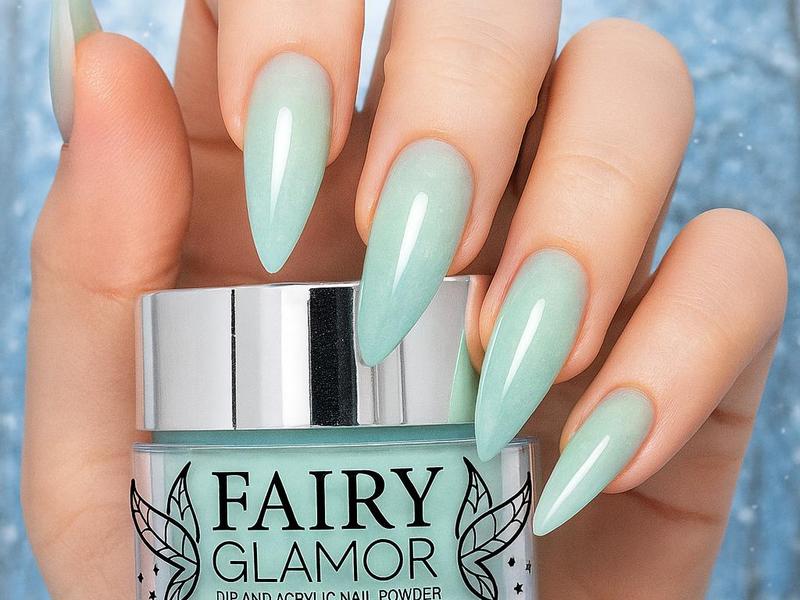
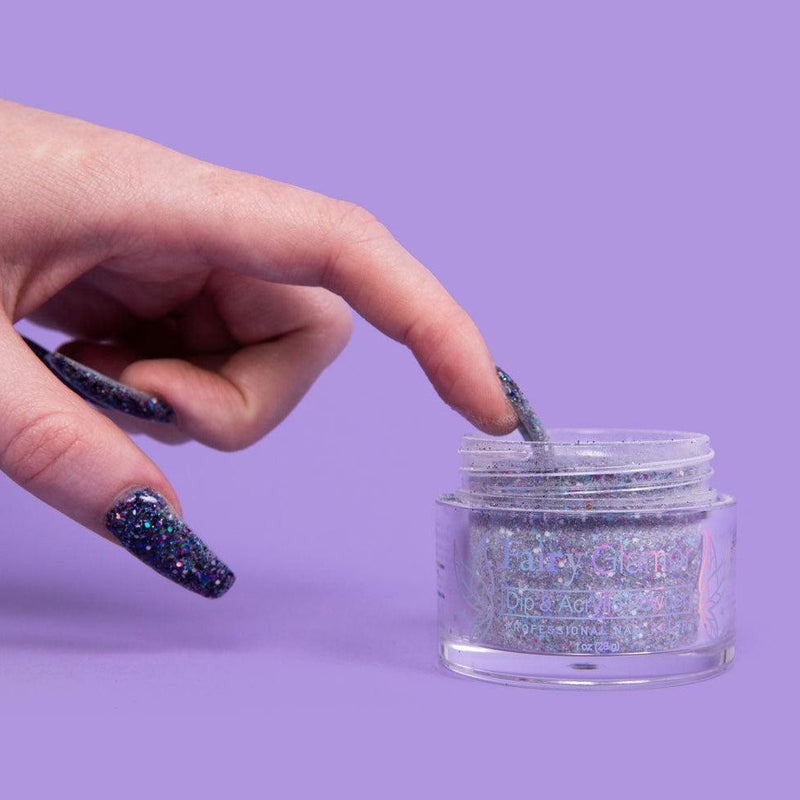
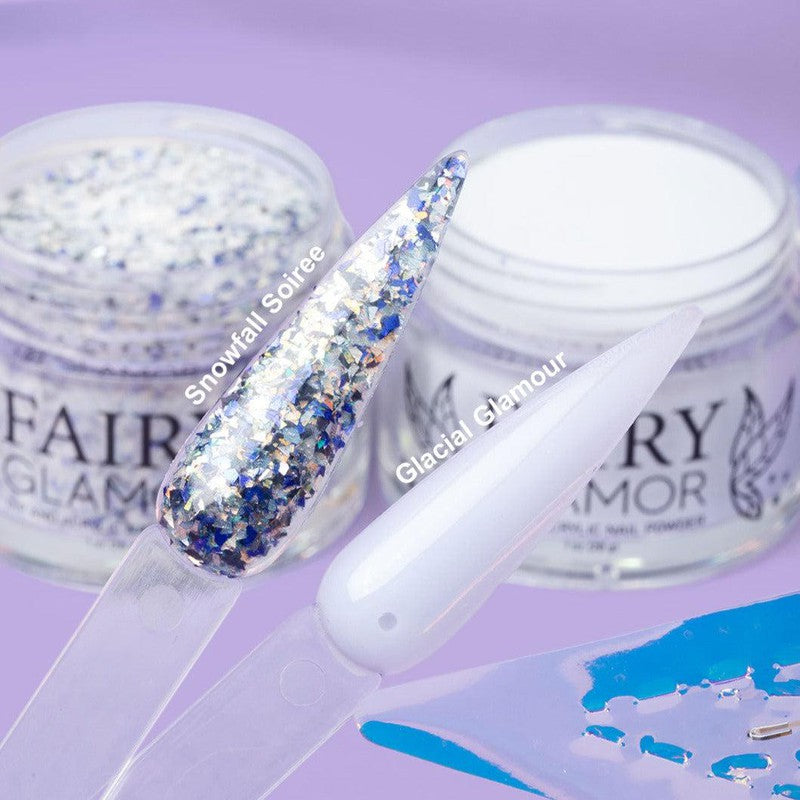
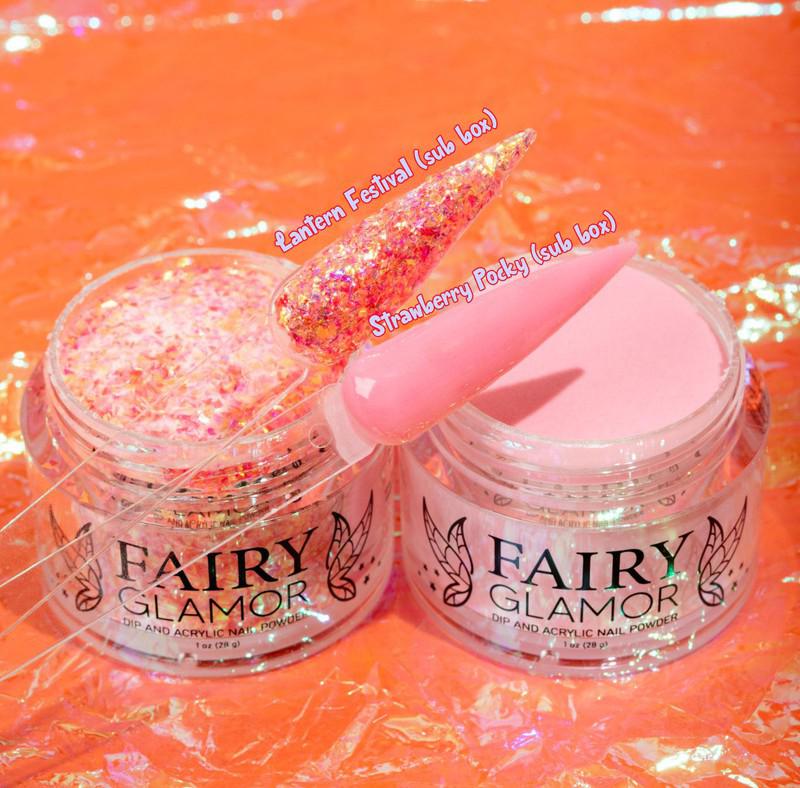
Acrylic nails are formed directly onto the nail, either with a false nail tip or a nail form. Acrylic is, in short, cement for the nails to help lengthen and add color to your manicure. It’s a powder in which you dip a brush wet with a special bonding liquid called monomer solution, which is then patted down onto the nail. Acrylics are done in nail salons, but can also be done from home.
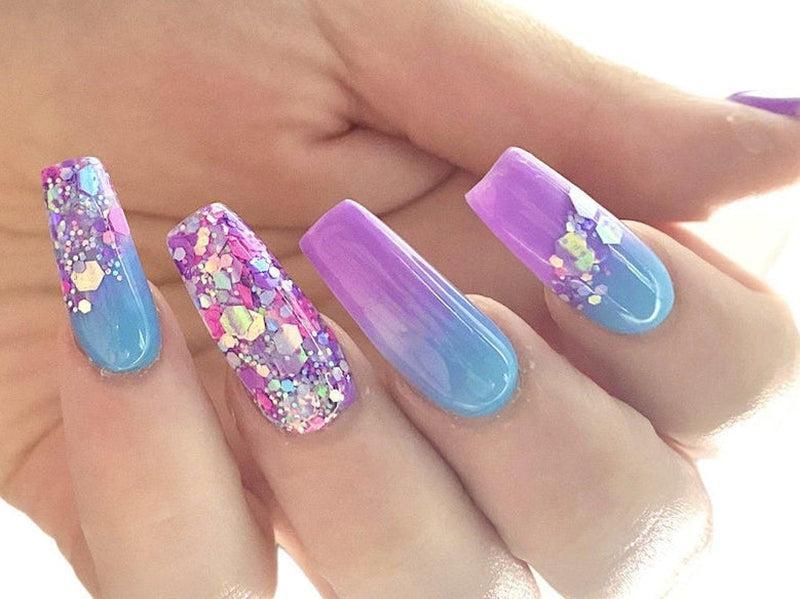
There are no doubts about it: acrylic is difficult. It takes lots of practice to master, and one simple mistake can ruin the entire nail, leaving you to start over. Acrylic is also known to thin out your natural nails, and it might be challenging to stop using it after a while since your natural nails aren’t able to keep up with the hardships of daily life. However, long acrylics are gorgeous, and it’s a look that’s hard to replicate with anything other than press-on nails, which can be a hassle.
How do I Apply Acrylic?
Here’s what you’ll need
- Monomer liquid
- Acrylic nail brush, various sizes available
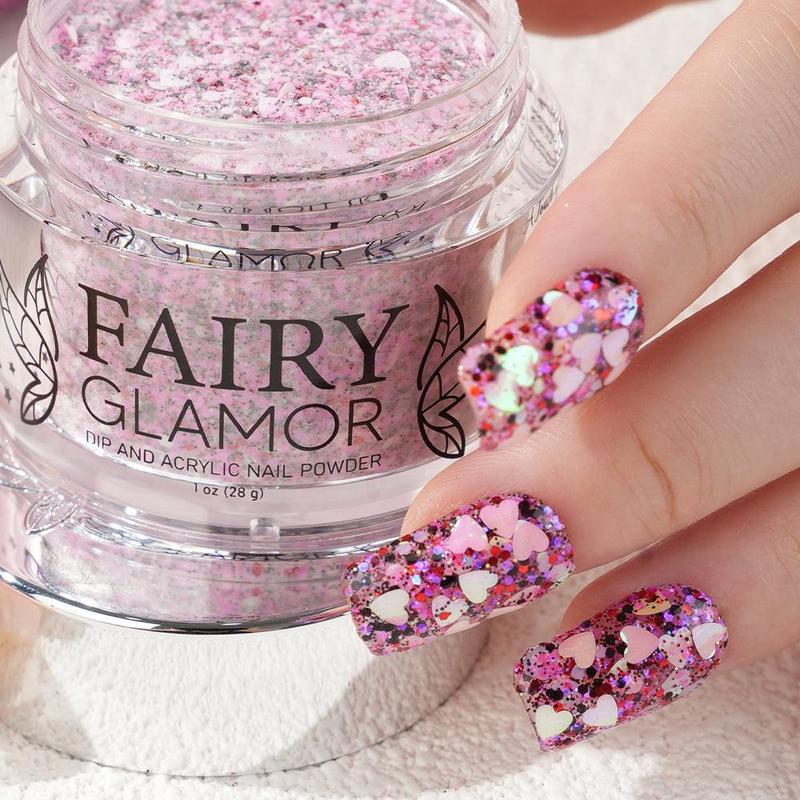
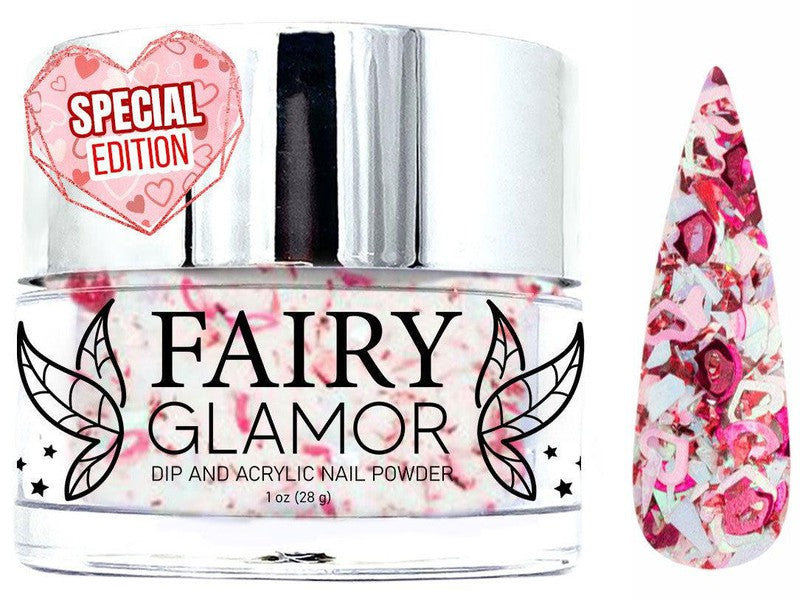
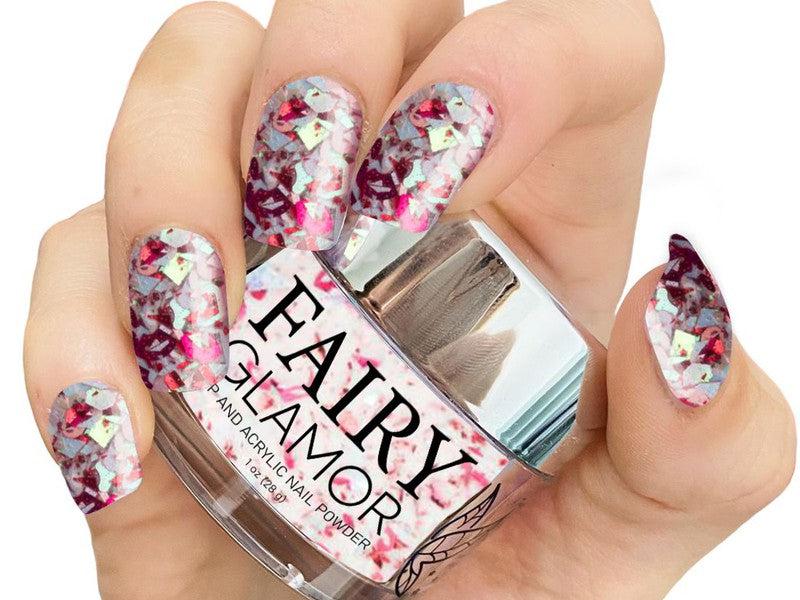
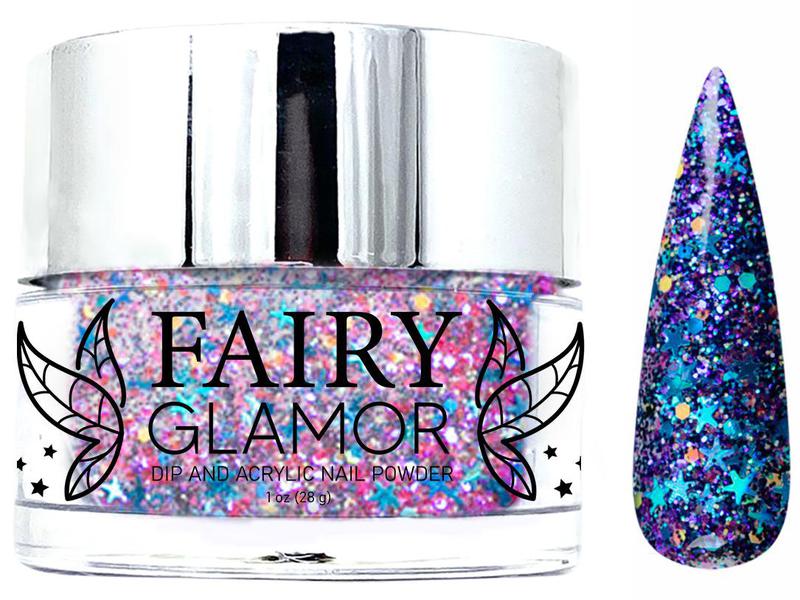
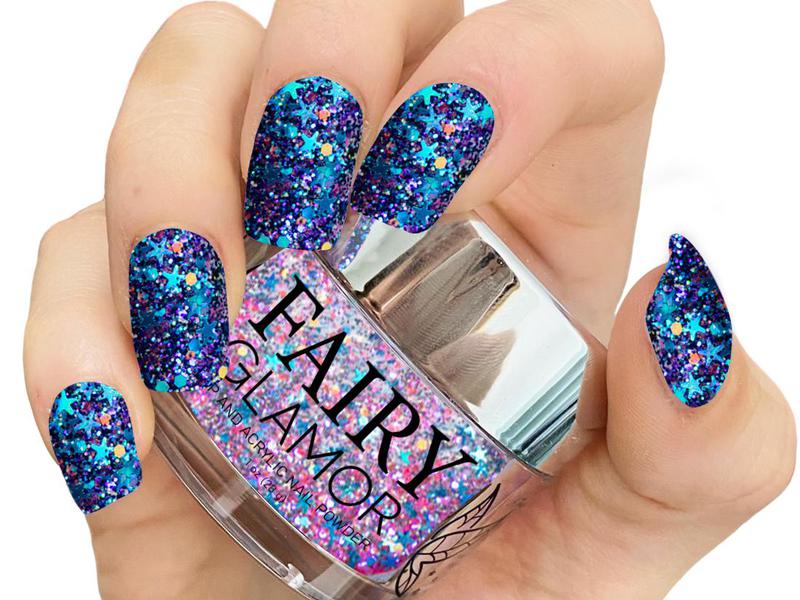
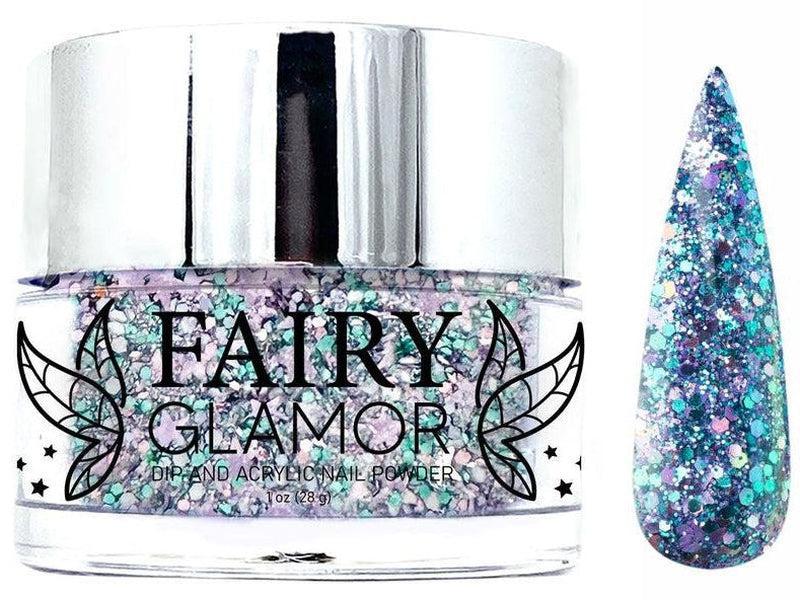
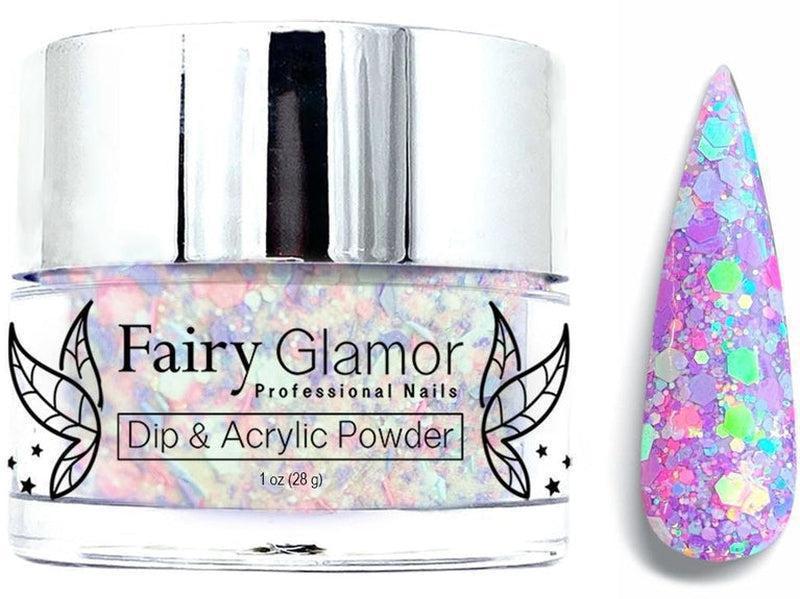
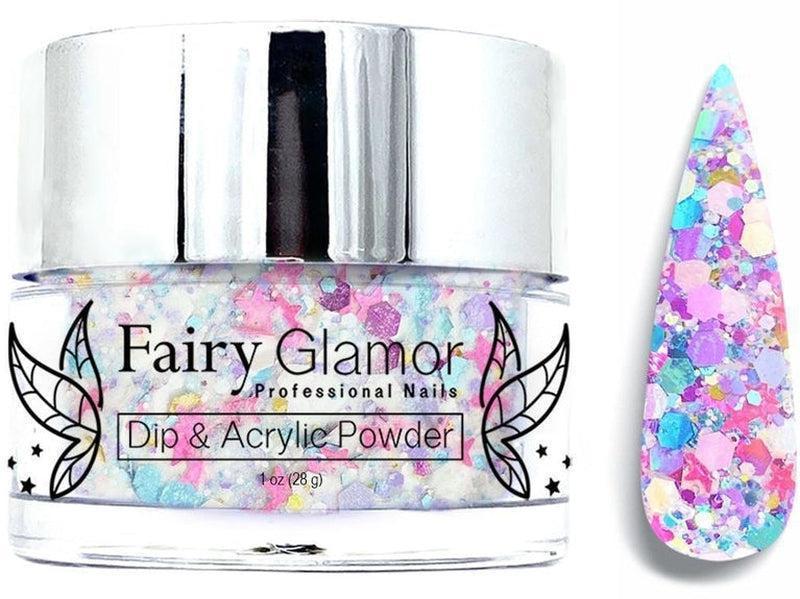
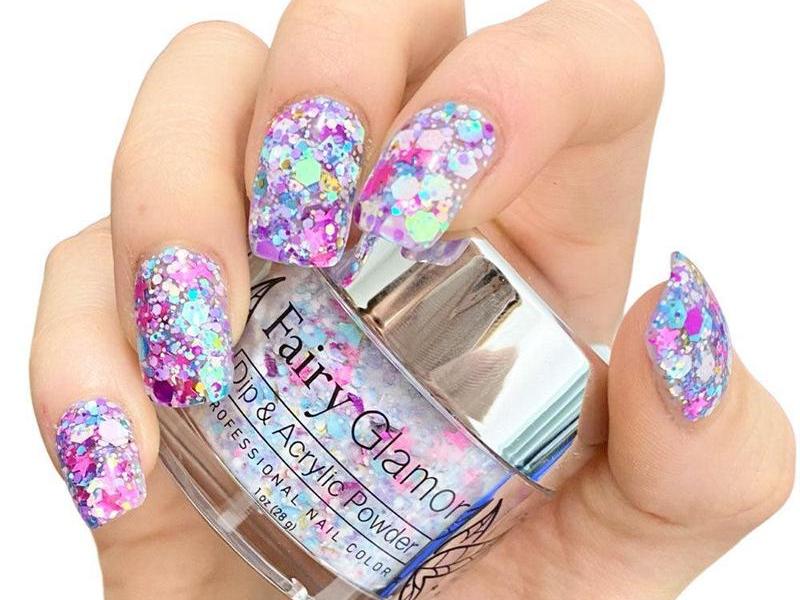
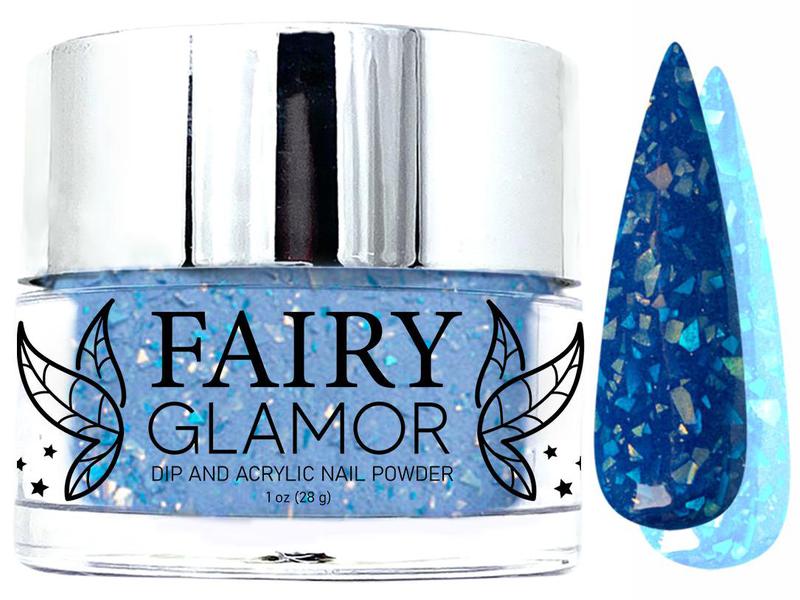
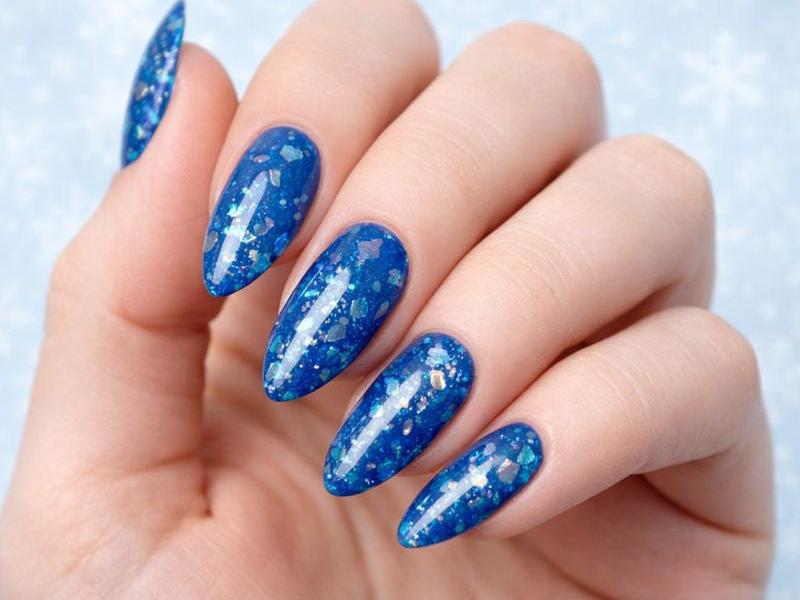
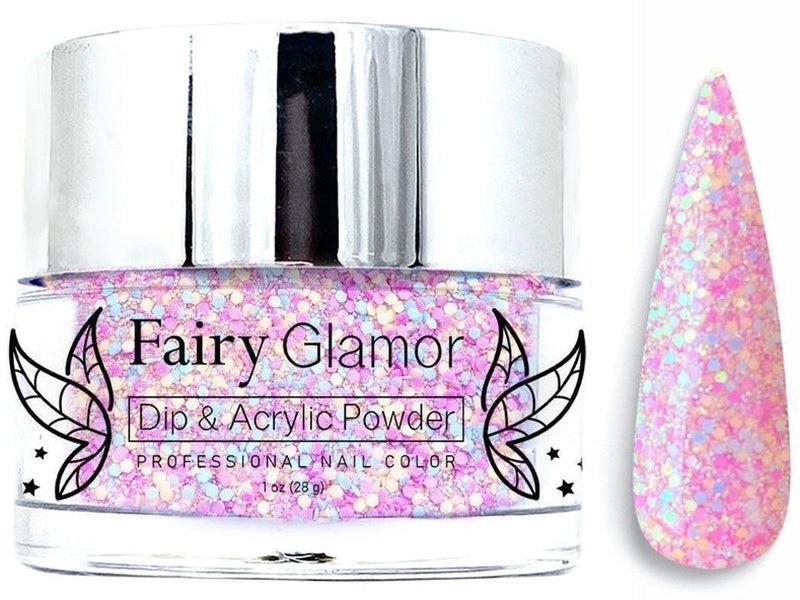
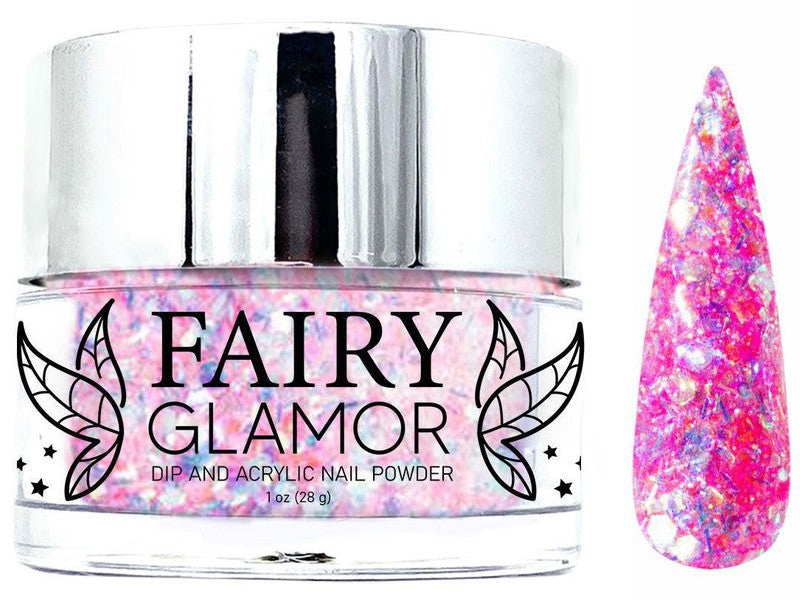
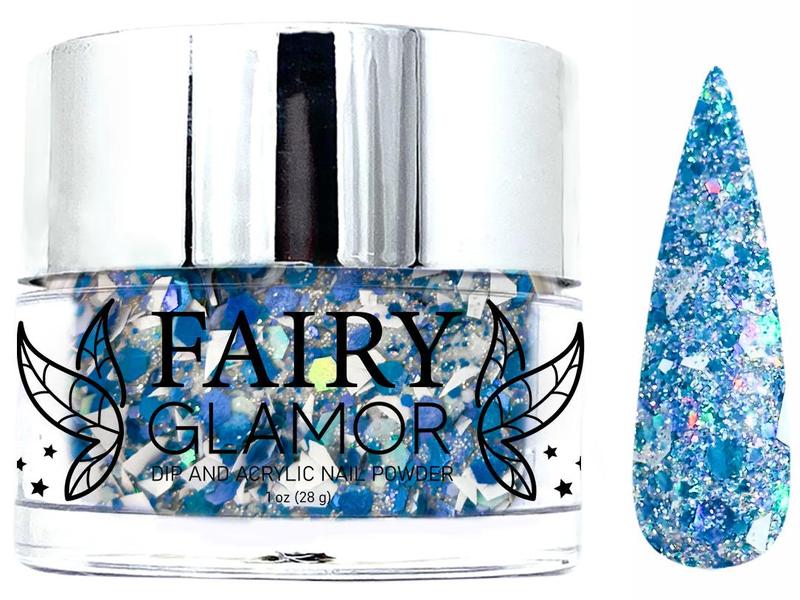
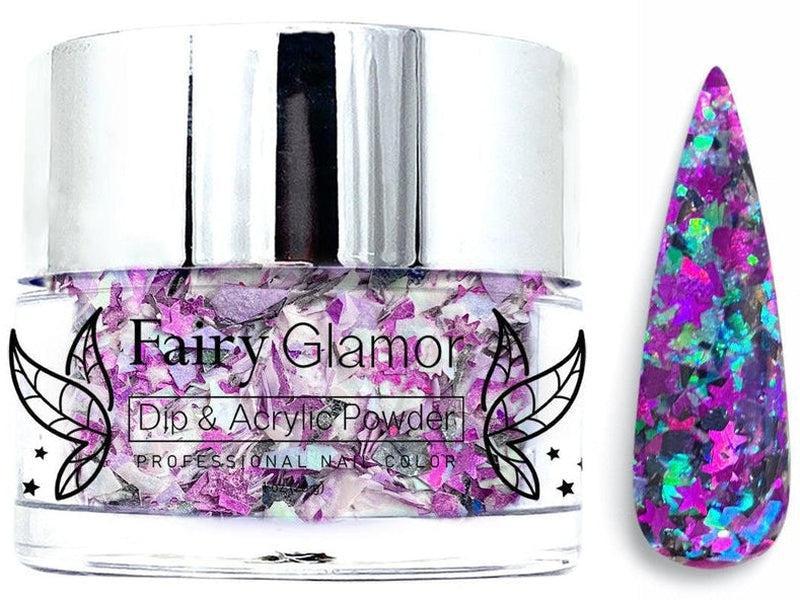
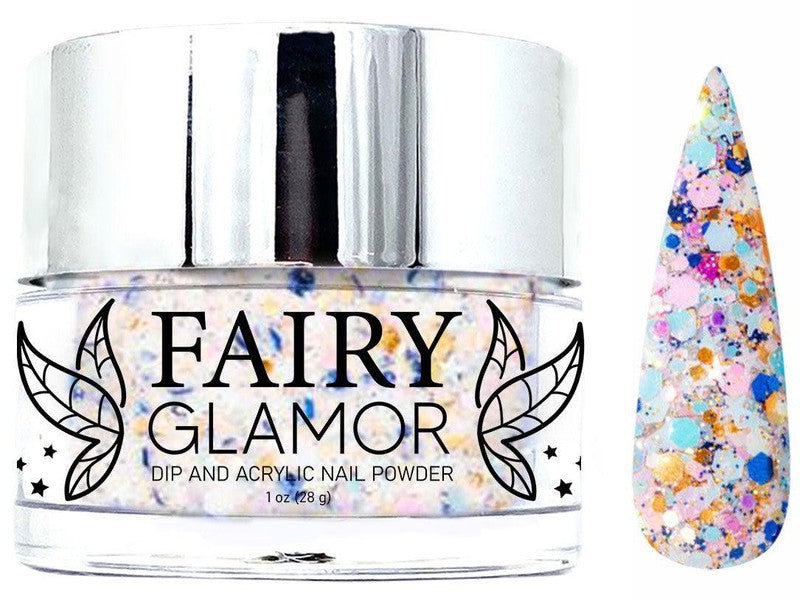
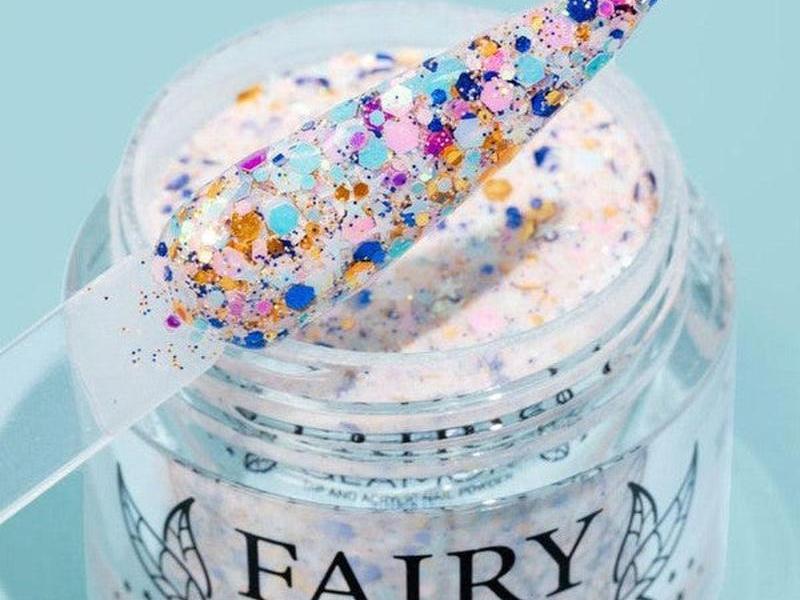
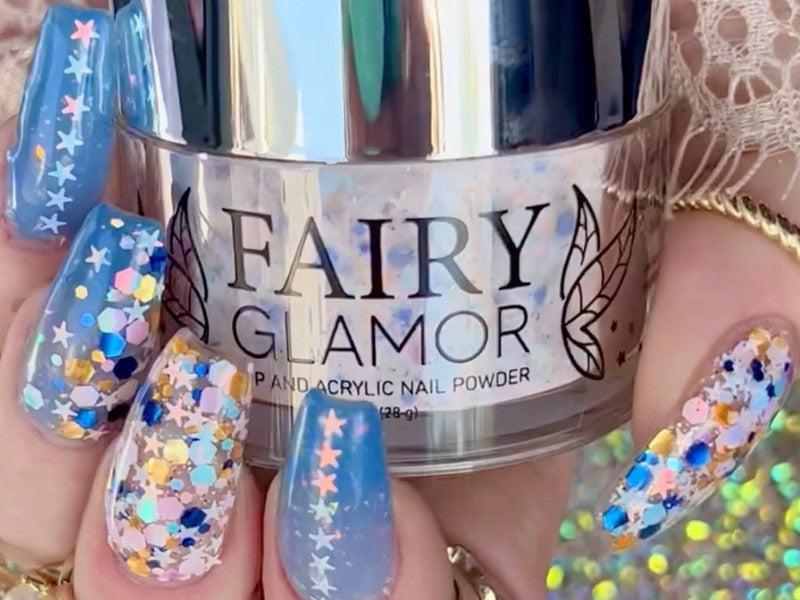
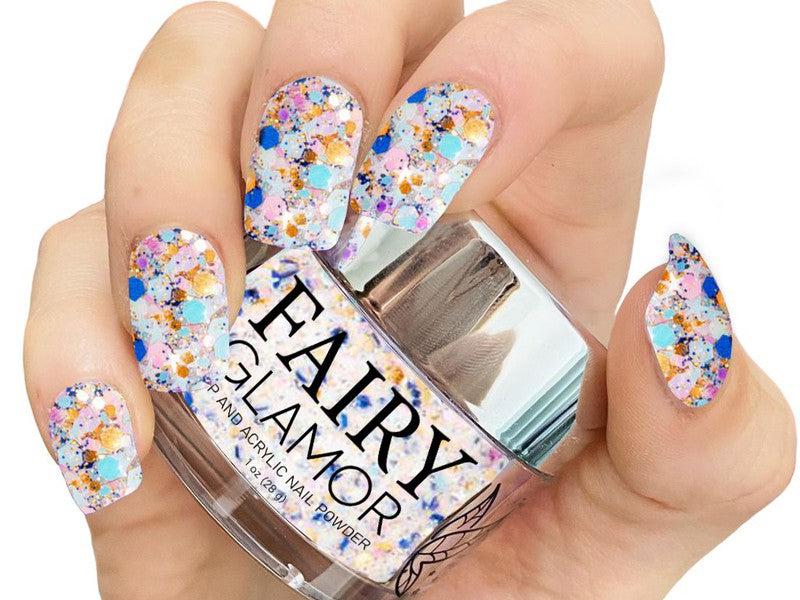
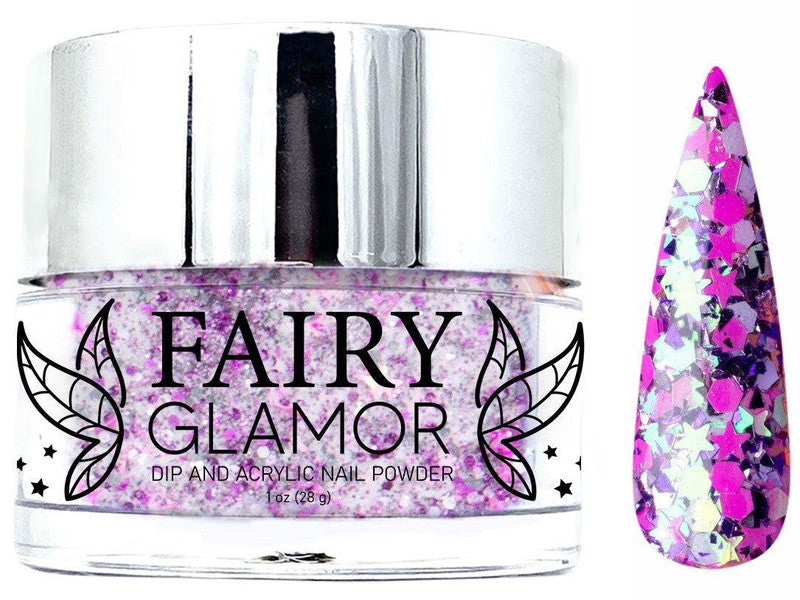
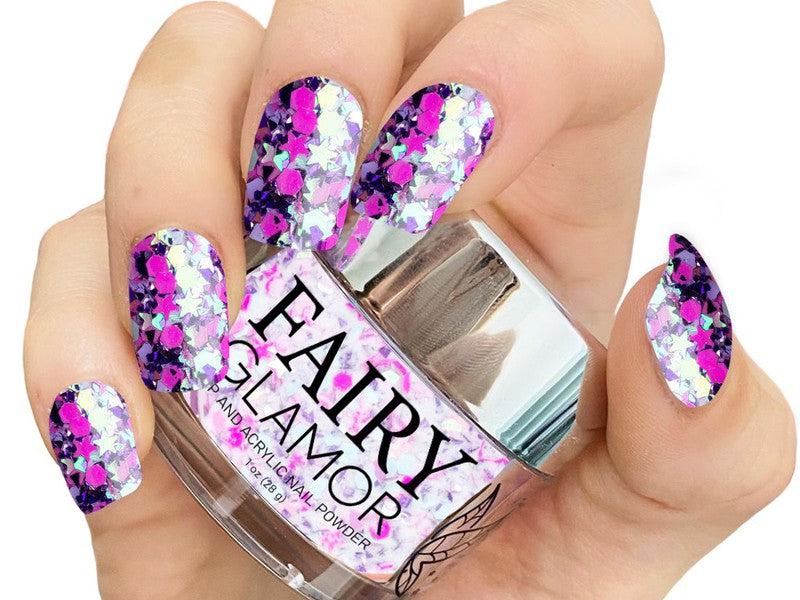
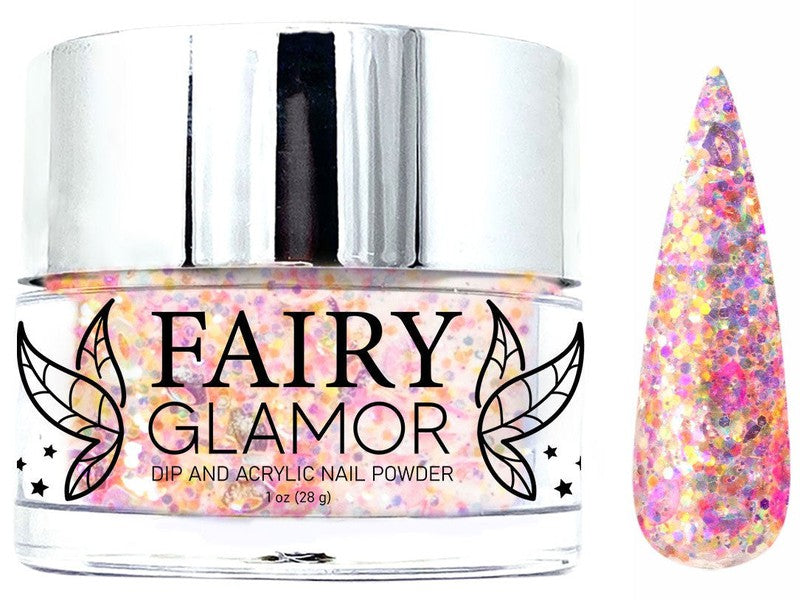
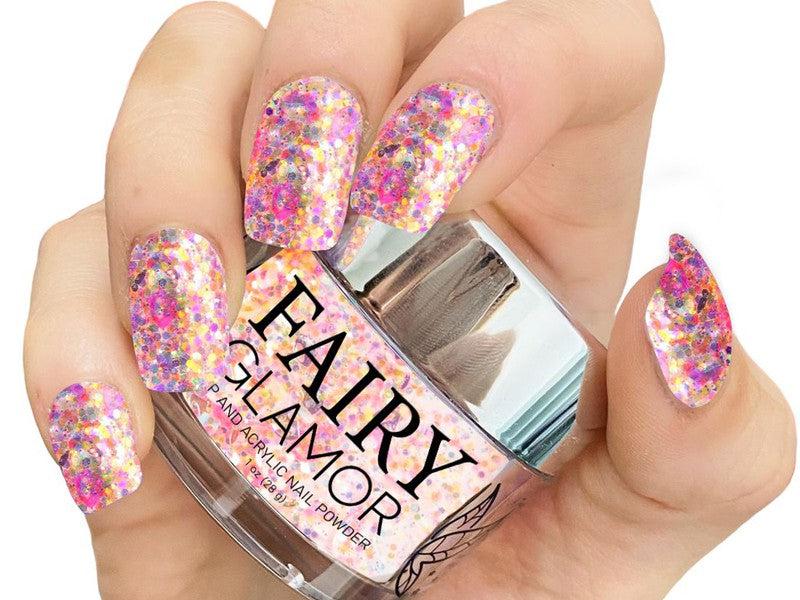
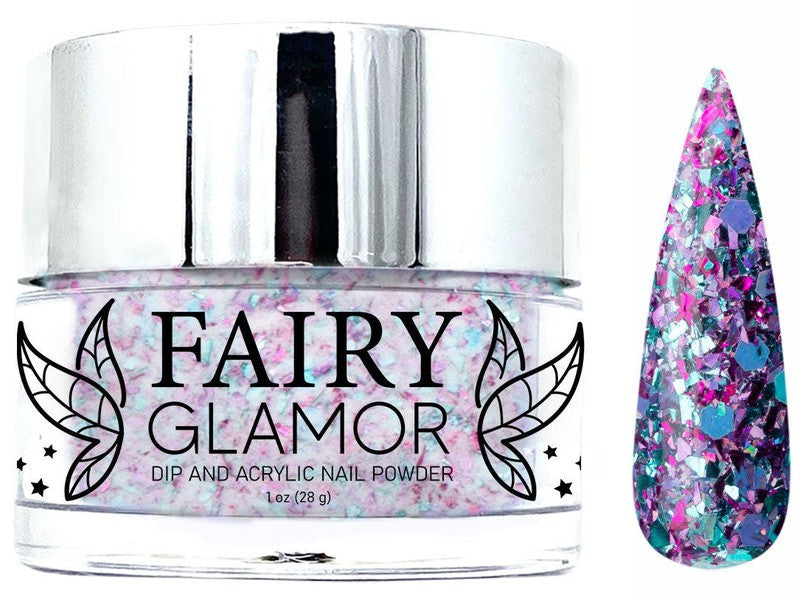
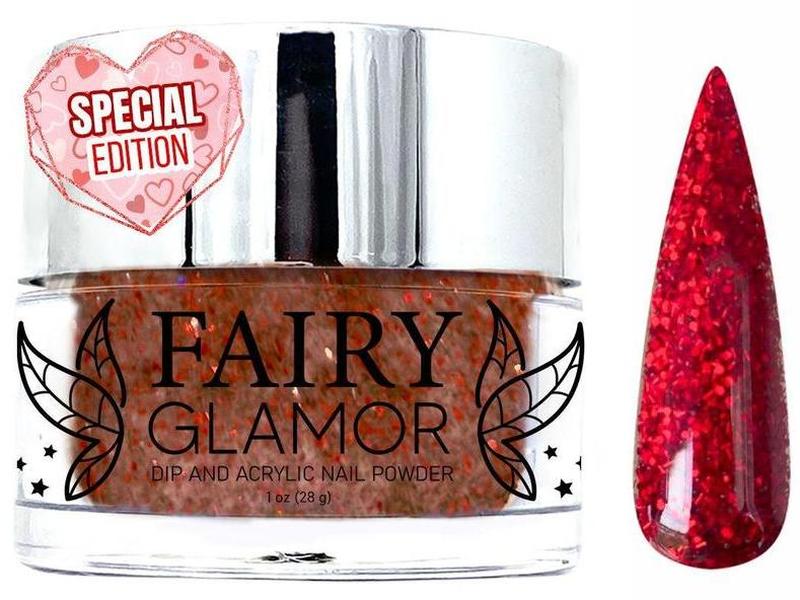
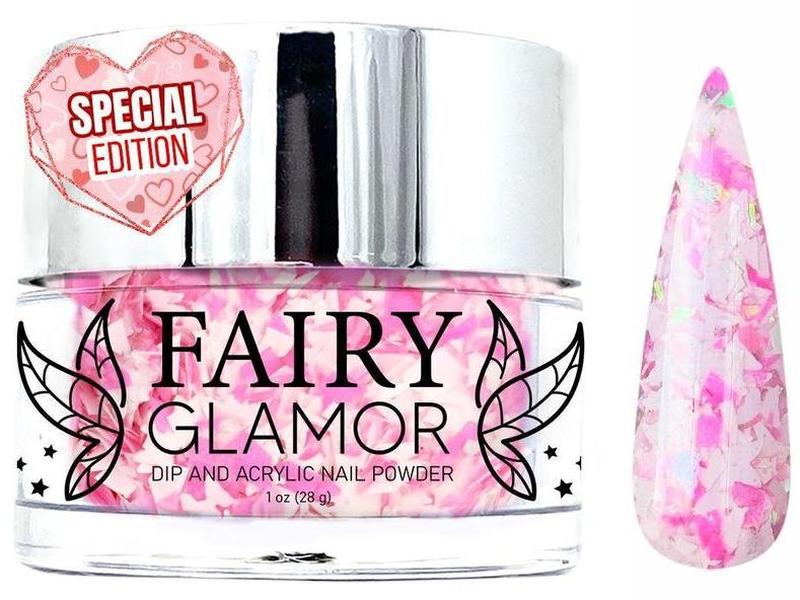
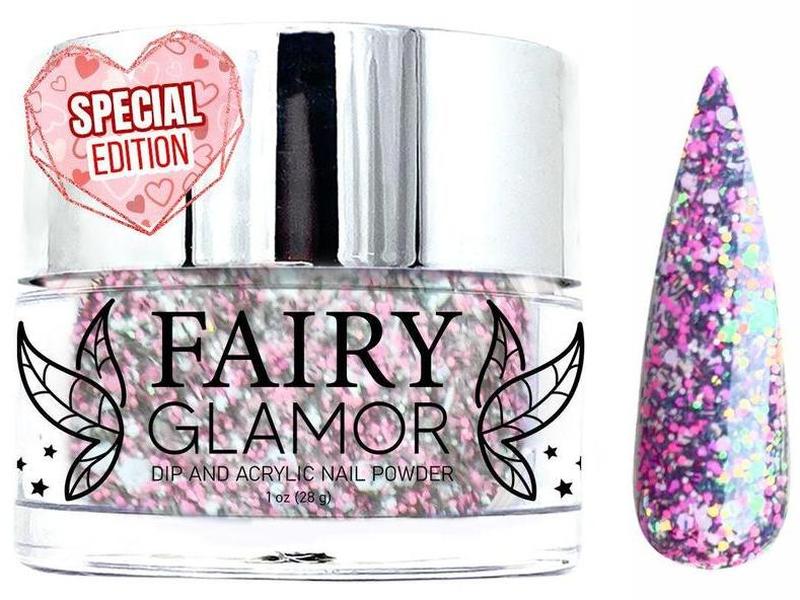
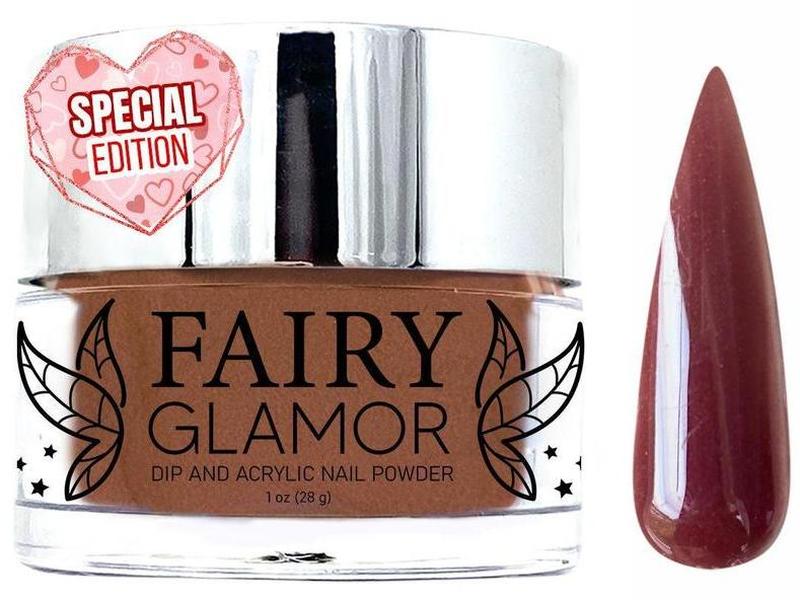
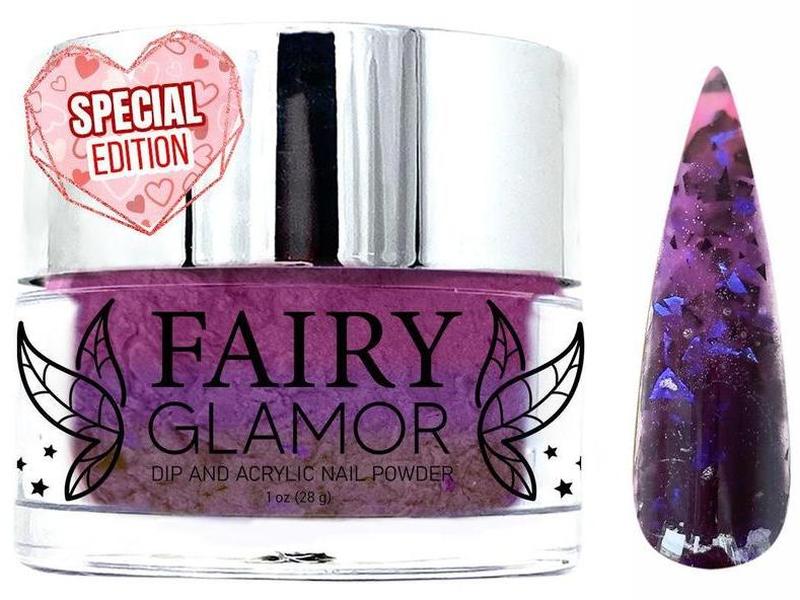
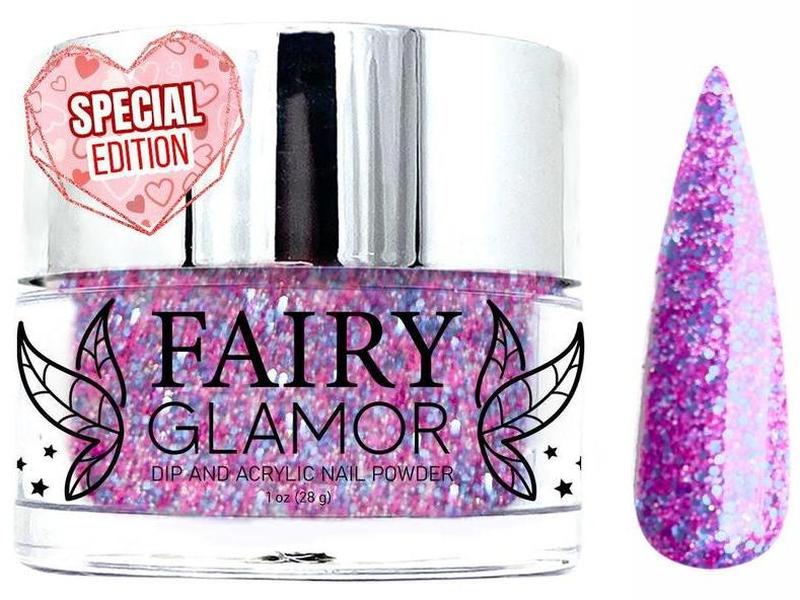
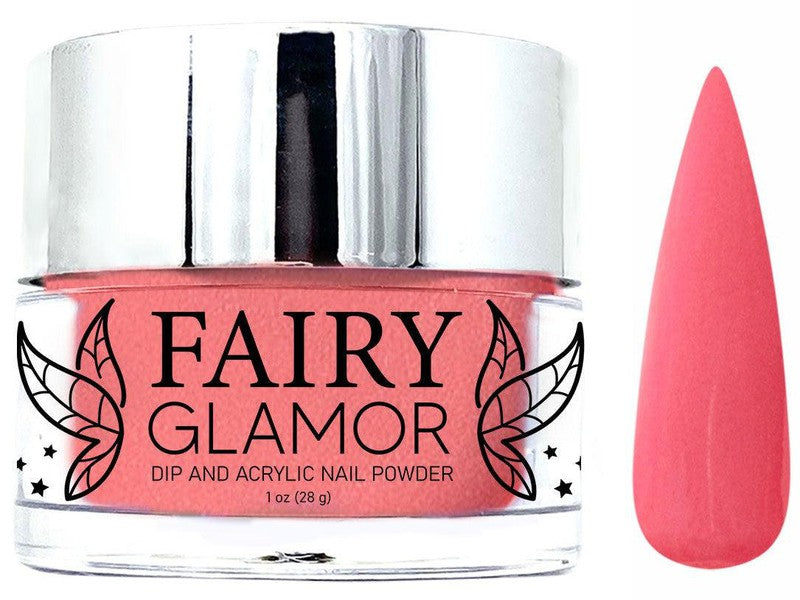
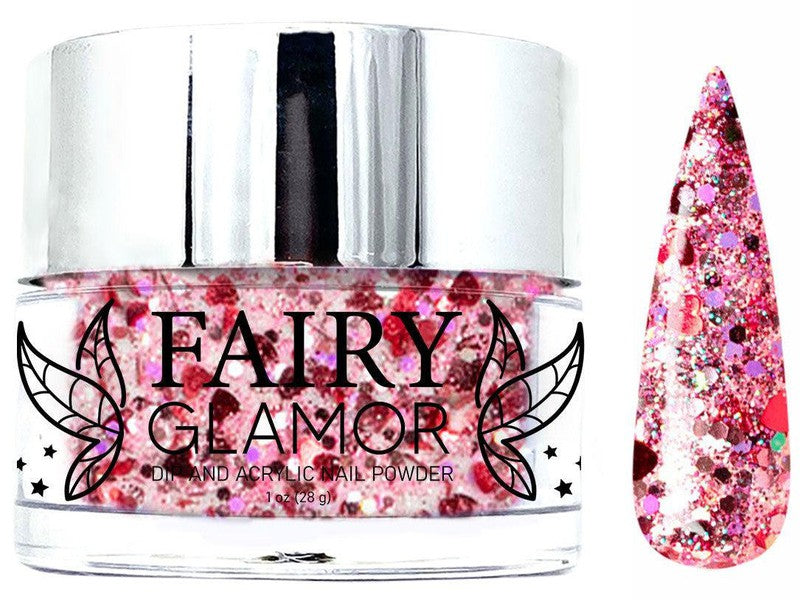
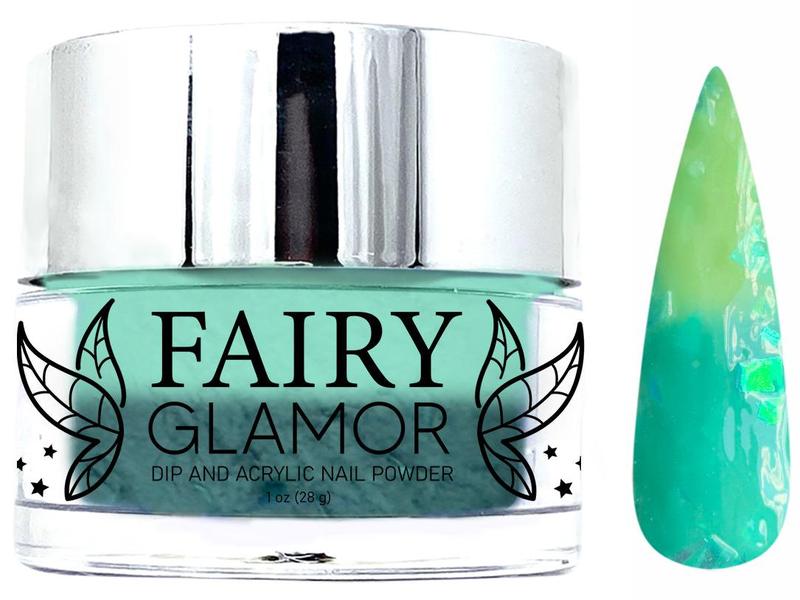
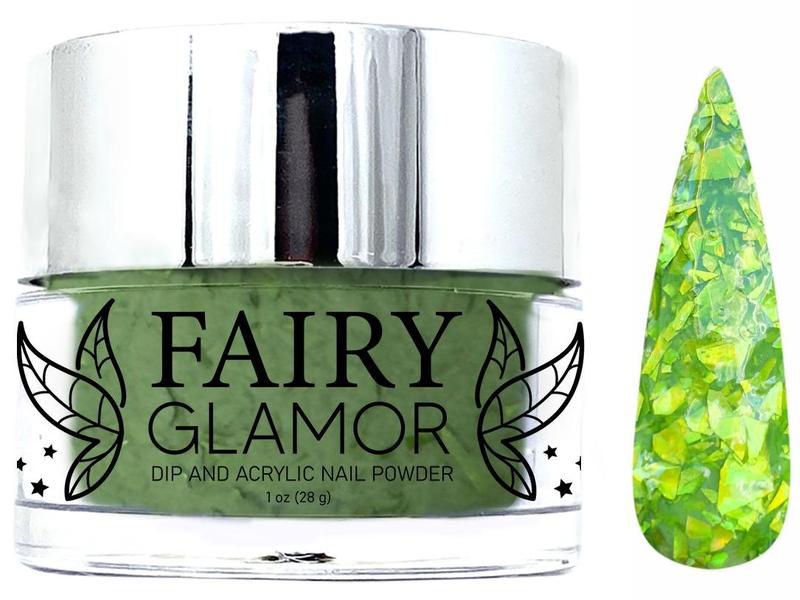
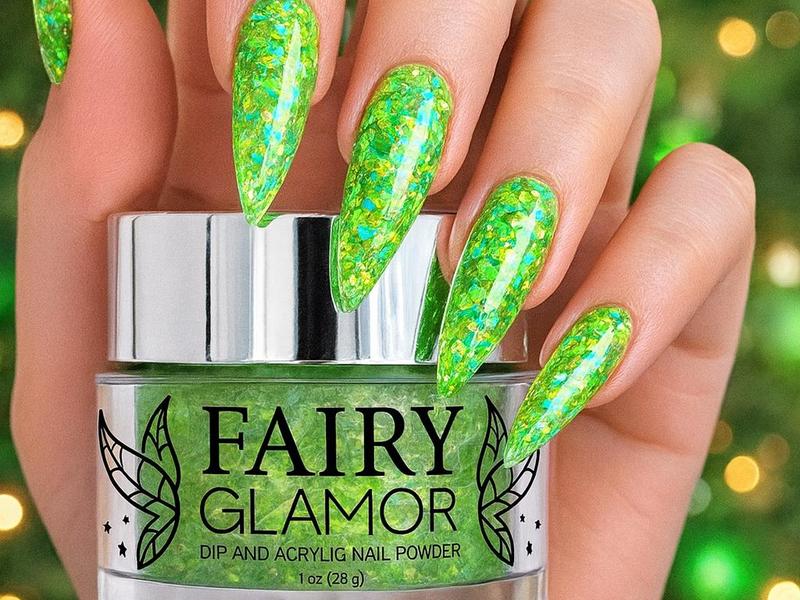
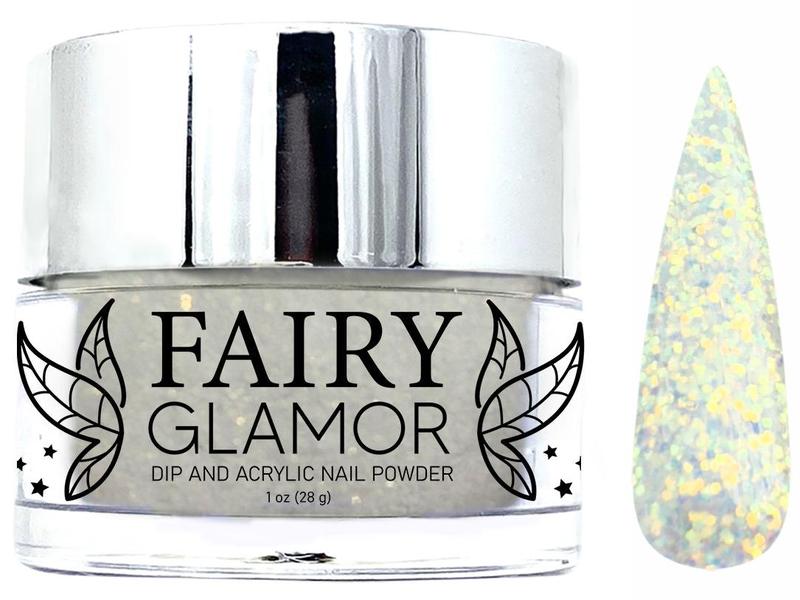
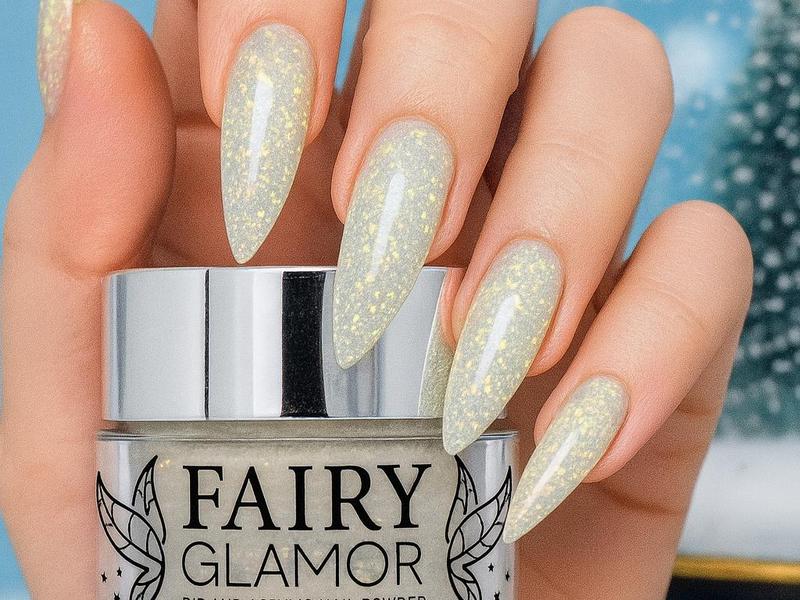
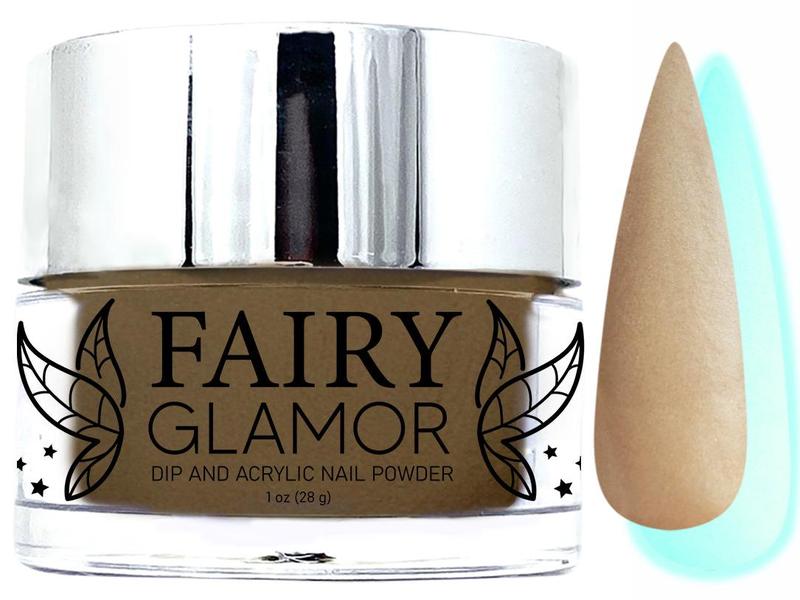
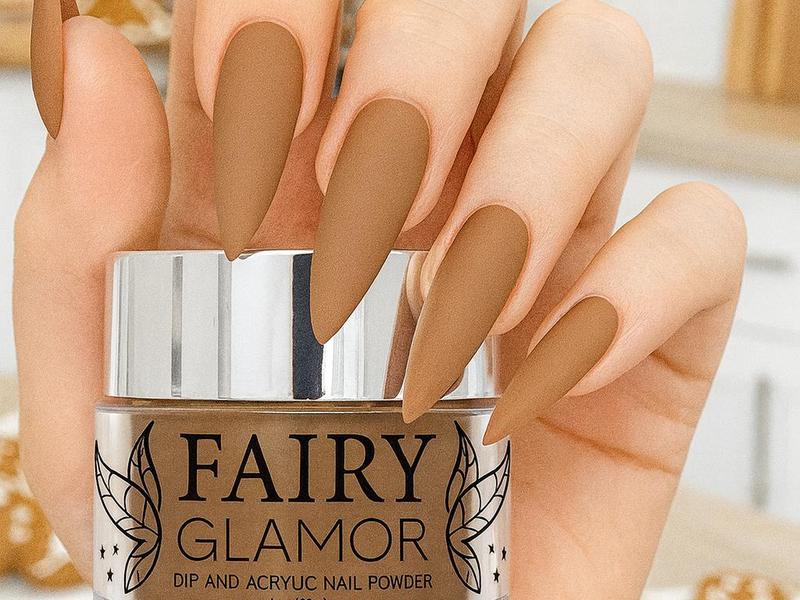
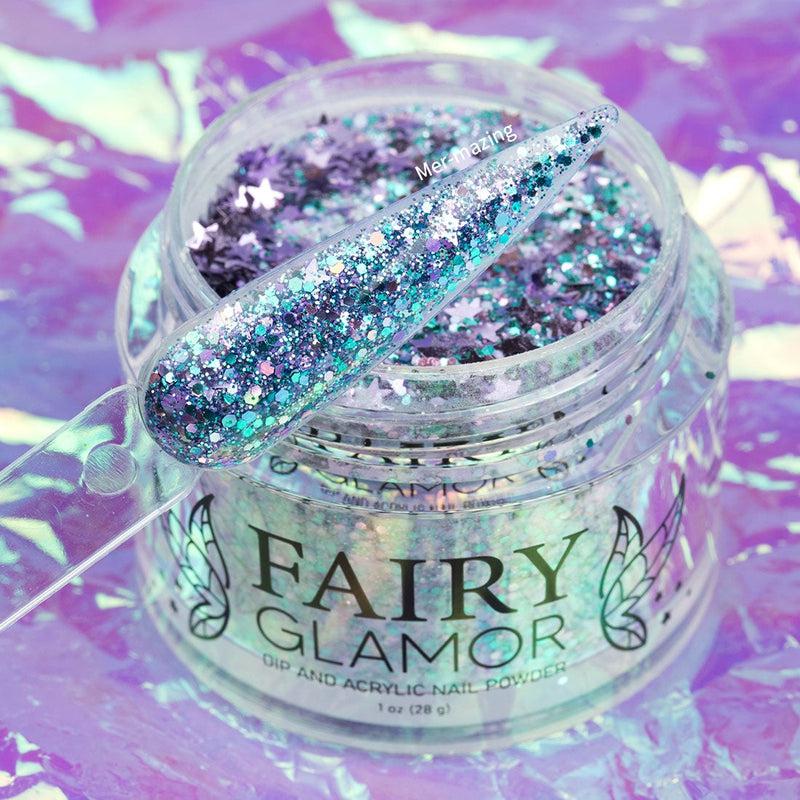
- Acrylic Powder (be sure to use ours; click here to view our catalog)
- Glass cup to hold monomer liquid
- Nail file
- Manicure tools, like clippers
- Nail extensions (optional)
- Nail art, like stickers (optional)
Steps:
- Prep nails; be sure to keep reading for a complete guide to acrylic.
- Get your brush, monomer, and powder ready
- Dip your brush in the monomer; just the tip of the brush. Don’t submerge the entire brush in the liquid, as it can ruin the brush
- Gently dip your brush in the powder at a 45-degree angle to form a bead; don’t cover the entire brush in acrylic, just the tip
- Place the bead at the apex of your nail and gently press the top of the bead to flatten it around your cuticle area, being sure to not go over the cuticle
- Swipe the bead downwards to the middle of the nail, working quickly. Acrylic dries fast
- Pick up another bead of powder and place it in the center of your nail
- Sculpt the second bead of powder down to cover your entire nail
- Wait around 1 minute for the powder to dry completely
- Buff the nail into shape as desired and then seal with a top coat
Click here for a comprehensive guide to acrylic nails; if you’re set on getting acrylics, this is the article for you.
Here’s our guide to getting your acrylic nails glossy if that’s something that you’re struggling with.
What Are Gel Nails?
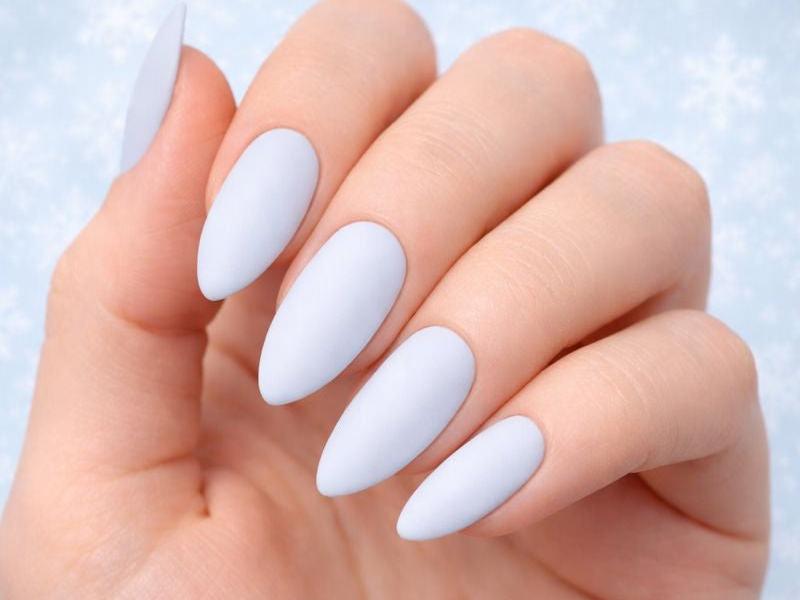
Nail gel polish is a long-wear version of traditional nail polish that is meant to be faster, less smelly, and longer-lasting than that bottle of drugstore nail polish you’ve had for years. Nail gel is thicker than regular polish and is used to paint color over the nail; there is no lengthening unless you add false nail tips.
Similar to acrylic, gel polish can wear your nails down and dehydrate them. However, the effect is less severe than acrylic, and the colors are much easier and cheaper to switch out than acrylic.
How do I Apply Gel Nail Polish?
Here’s what you’ll need:
- Nail file
- Lint-free wipes
- Gel base coat
- Gel color polish
- Gel top coat
- Rubbing alcohol
- UV/LED nail lamp
Steps:
- Wash your hands and clean underneath and around the nail
- Push your cuticles back
- Gently file your nails into the desired shape; then, take the file and buff off the shiny top layer of the nail; this helps the gel last longer. Don’t be too harsh with this
- Take off the nail powder and dehydrate the nail beds with a lint-free wipe soaked in rubbing alcohol
- Once the alcohol has dried, paint a thin layer of base coat over each nail, being sure to “cap” the top of the nail. Be very careful to avoid the cuticle and skin next to your nails
- Cure under the nail lamp for 30-60 seconds
- Paint your first layer of gel polish over the surfaces of all the nails, using as few brushstrokes as possible. Take your time with this!
- Cure under the lamp for 30-60 seconds
- Repeat step 7 with a second layer of polish and cure
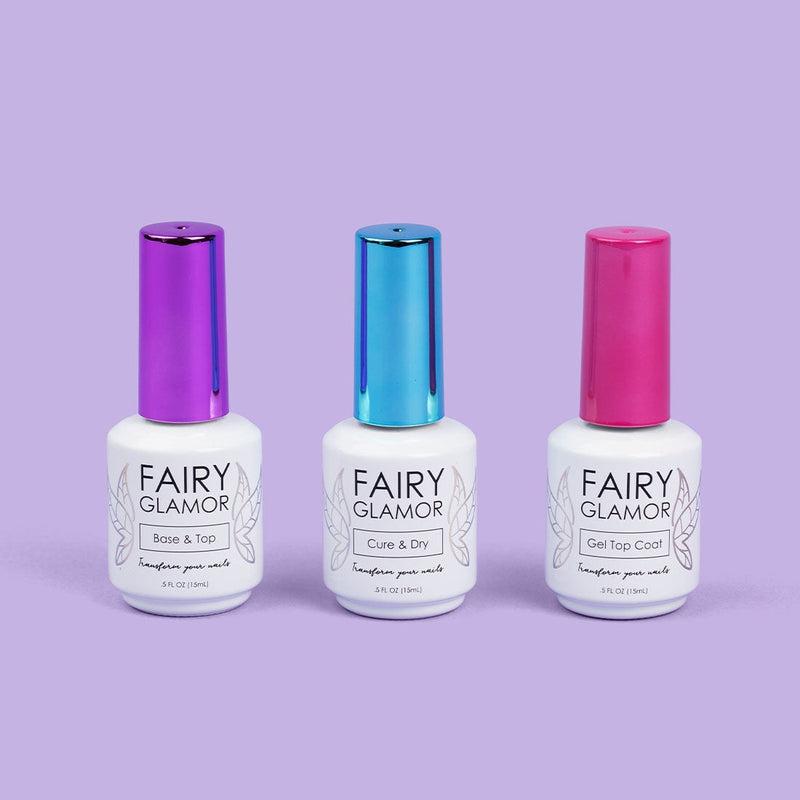
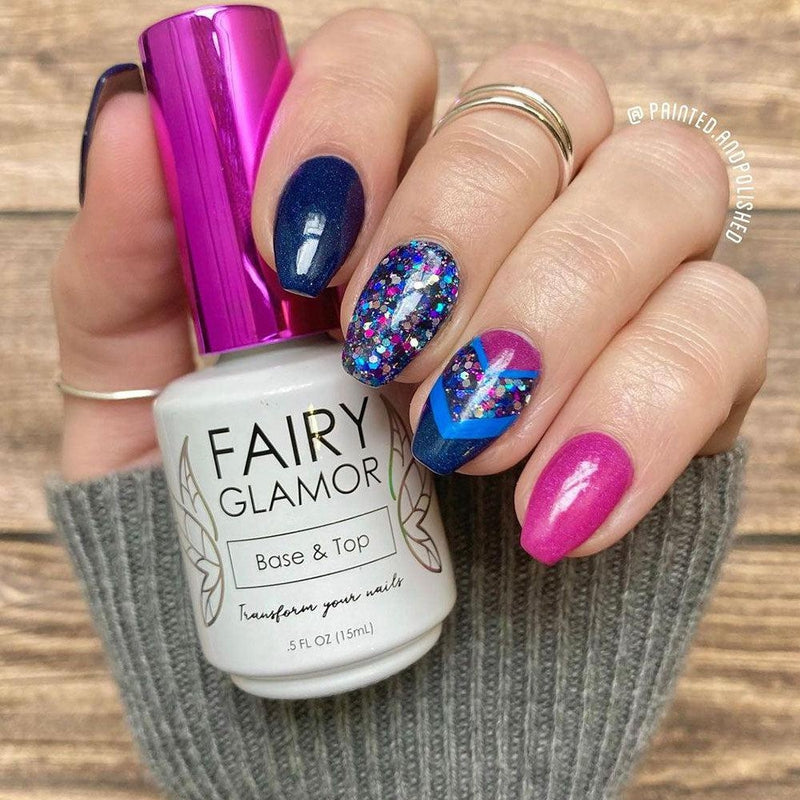
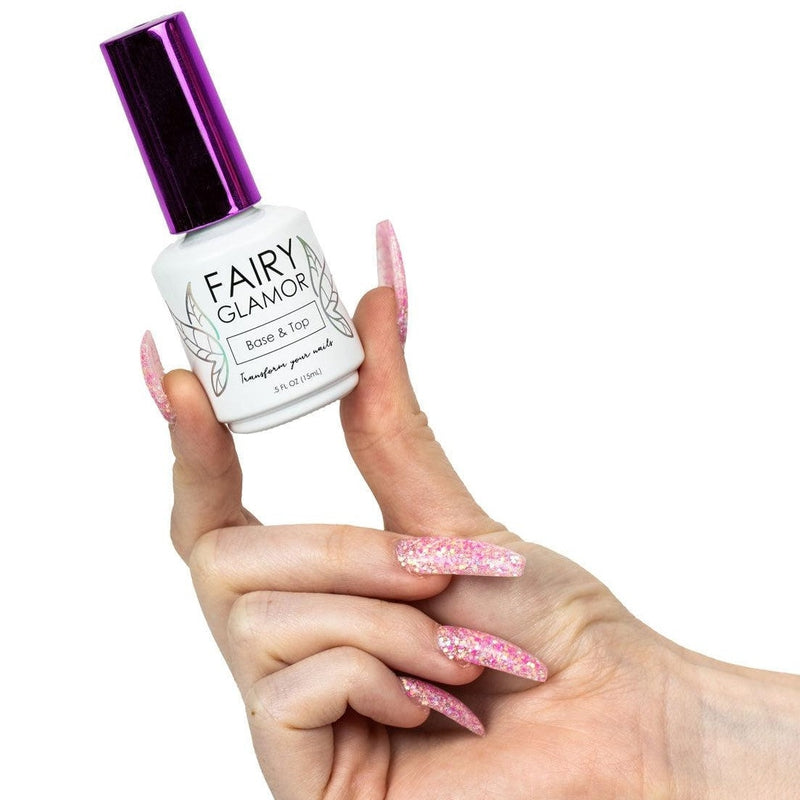
- Paint your gel top coat over each nail and cure under the nail lamp; click here to purchase our gel top coat, which only needs around 30 seconds to cure
- If you’re using a no-wipe top coat (ours is), you don’t need to wipe off any residue from the nails. If you’re using a wipe top coat, take a lint-free wipe soaked in rubbing alcohol to remove the sticky residue off the tops of each nail
What’s The Physical Difference Between Gel and Acrylic?
Acrylic is used to lengthen, thicken, and add color to the nail and comes in a powder form. It’s much harder to do than gel, especially if you’ve never had it/seen it done before. It can also take longer since you need to form each nail, while the gel is just a few swipes of polish. Acrylic is generally much thicker than a gel manicure and lasts 2-3 weeks before they start growing out noticeably. Gel, best case scenario, lasts 2-4 weeks without chipping if done correctly.
Acrylic also has a powerful smell when first applied due to the monomer liquid. Most gels are resin-based and have a minimal odor, making them okay to use in a minimally ventilated room, such as a bathroom.
Okay, But Which is Cheaper?
First of all, let’s consider going to the salon for both.
Acrylic in a Salon
If you went to have acrylic nails done by a professional, you would spend gas to get there, time waiting to be seen, time to explain what you want and to pick colors, and you could potentially get a beginner nail artist who doesn’t know what they’re doing. However, you could also have a great manicurist and get the best manicure of your life!
Depending on the style, complexity, length, and color, a complete acrylic set could cost you anywhere from $30-70, not including a tip. If you choose extra-extra-long acrylics with some crazy nail art, you could even expect to pay a few hundred dollars. The tip is usually around 15-20% of the total price; you would be considered very rude to leave the salon without giving a tip. Unfortunately, if you don’t like your nails, you might not be able to get a refund.
Gel Manicure in a Salon
Similar to going to a salon for acrylic, you’re still spending gas and time on explaining what and explaining what you want. If you’re choosing a solid color for your manicure, this process is pretty straightforward, but if you want some cute flowers or other nail art painted, you might have to explain what you want a little bit more.
Gel polish is cheaper than acrylic because it is easier to do and less time-consuming. Most full gel sets cost around $20-40 without a tip if you choose a solid color; any nail art will be an extra expense depending on the complexity. The tip should be 15-20% of the cost of your manicure, and you may not get your nail back if your gel was done incorrectly or begins to chip within only a few days. Whether you’re planning on getting acrylics or gel polish done, be sure to read reviews of the salon online and call to ask if there’s a money-back guarantee before going.
So, Which is Cheaper at a Salon?
Gel.
What if I DIY My Nails?
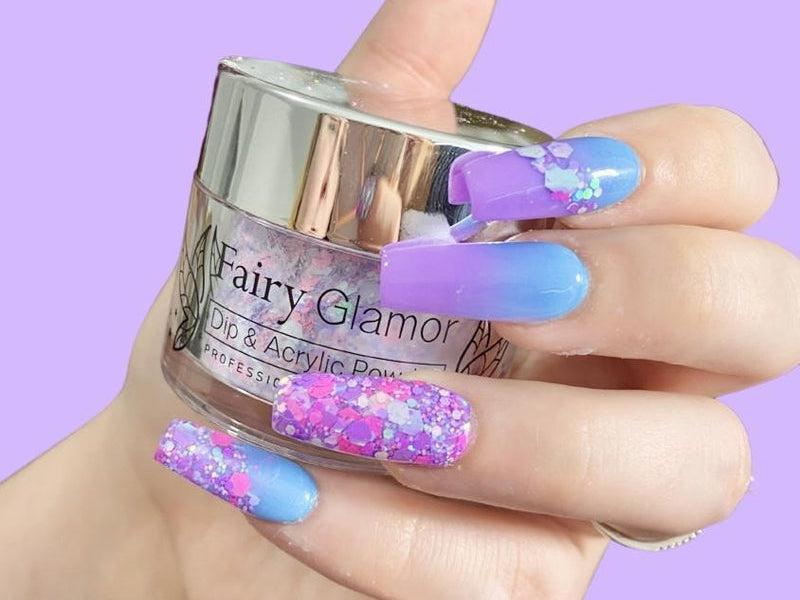
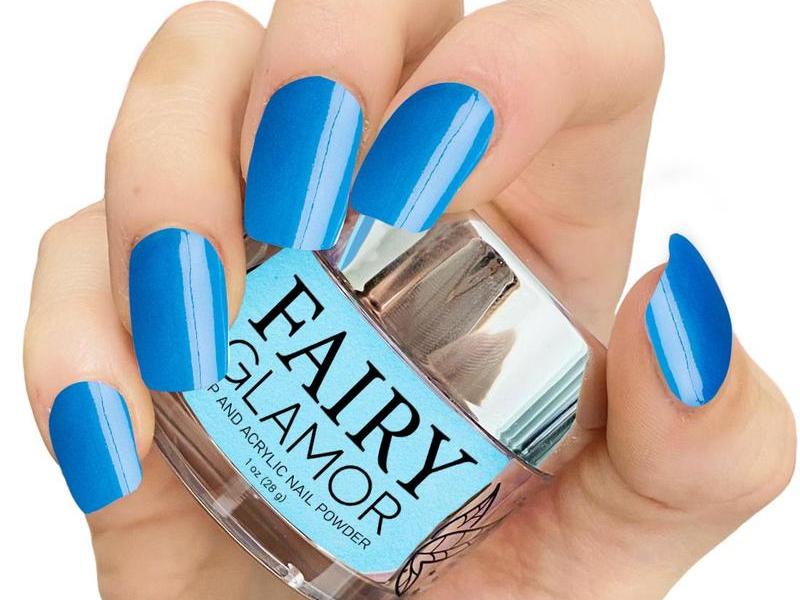
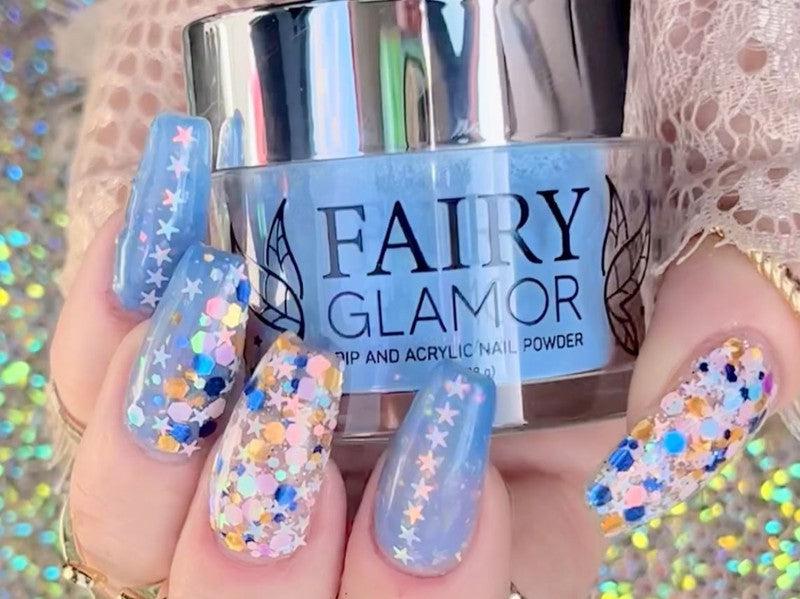
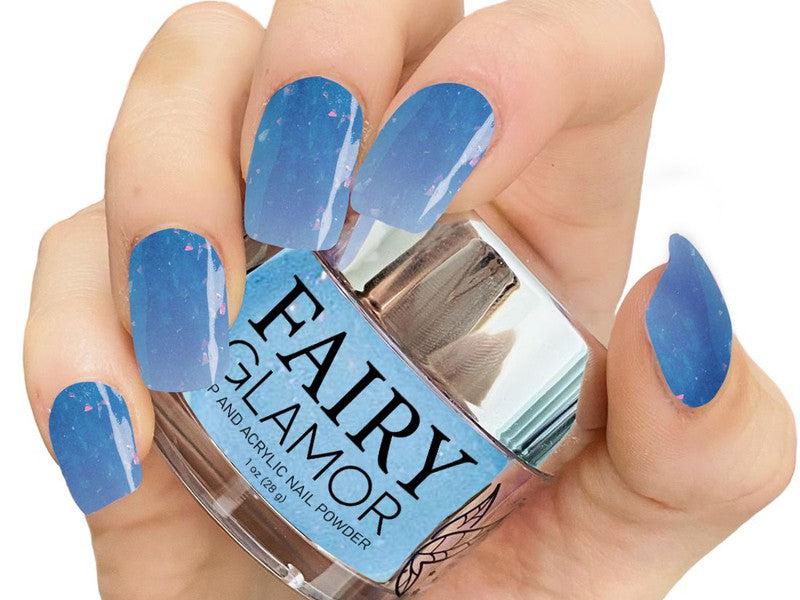
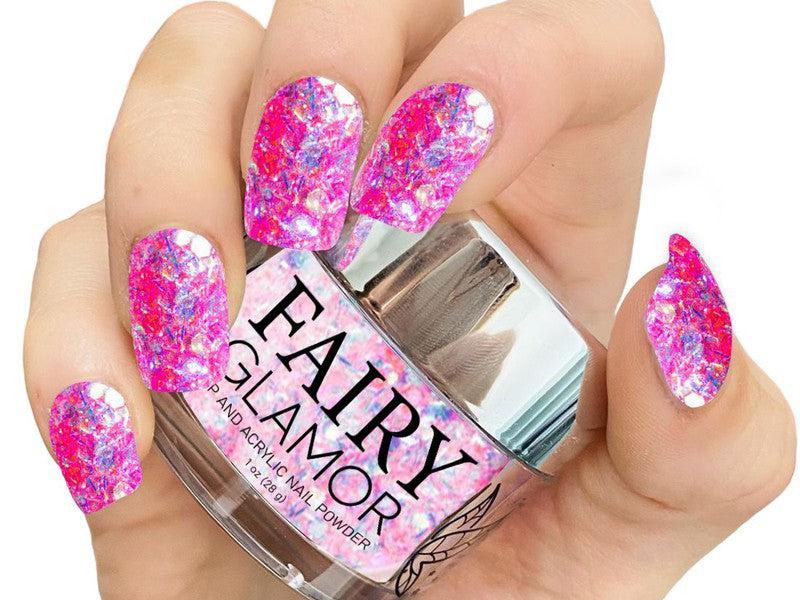
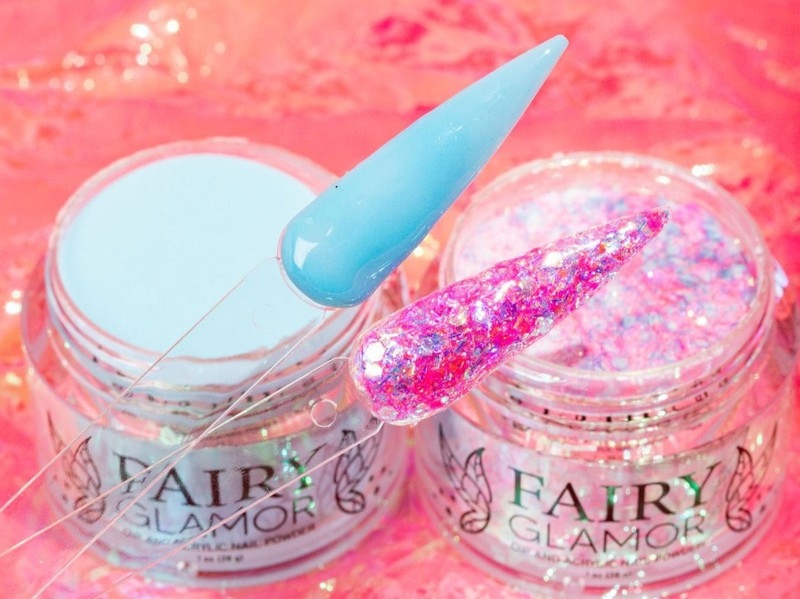
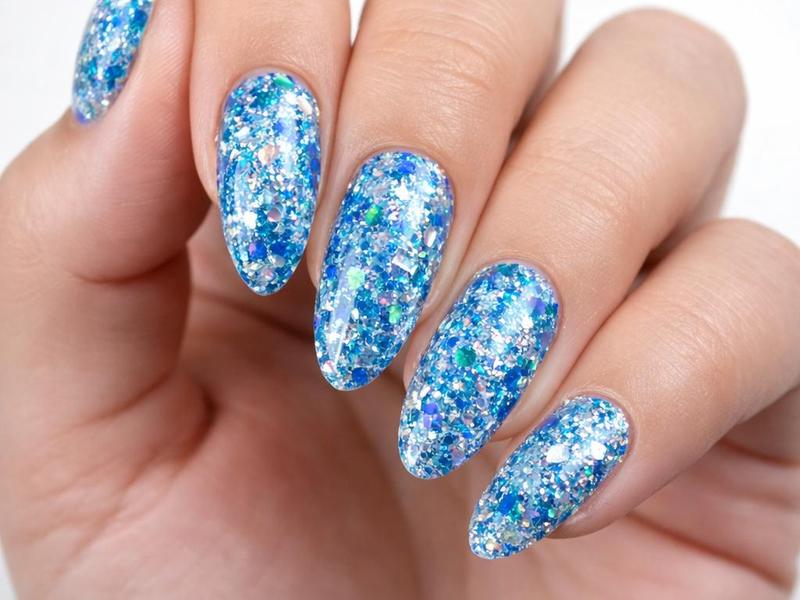
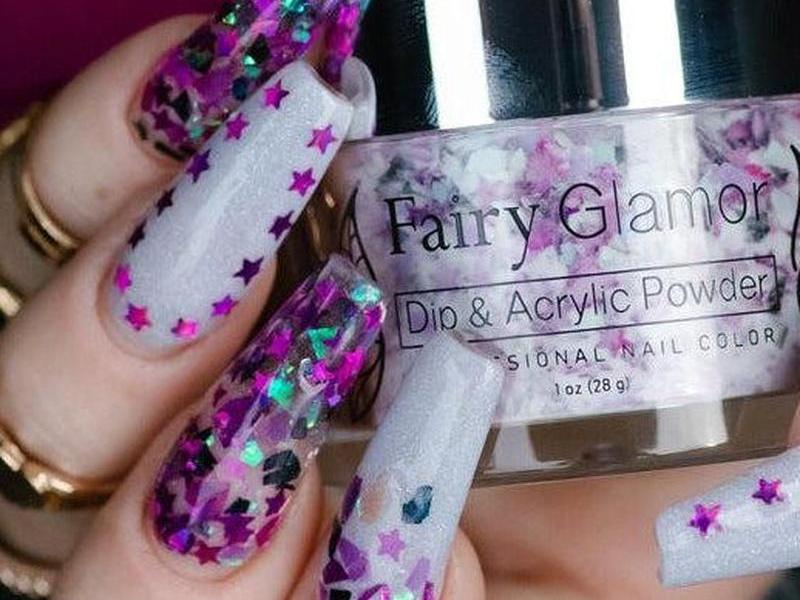
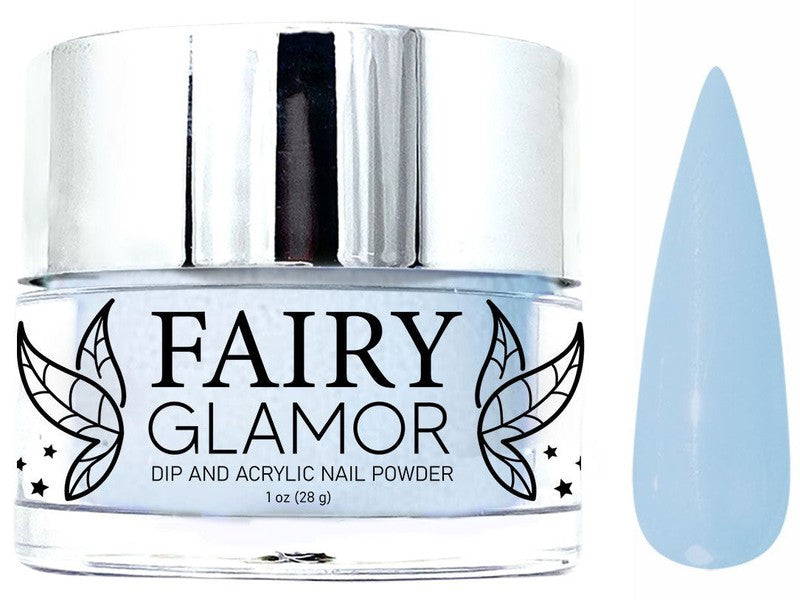
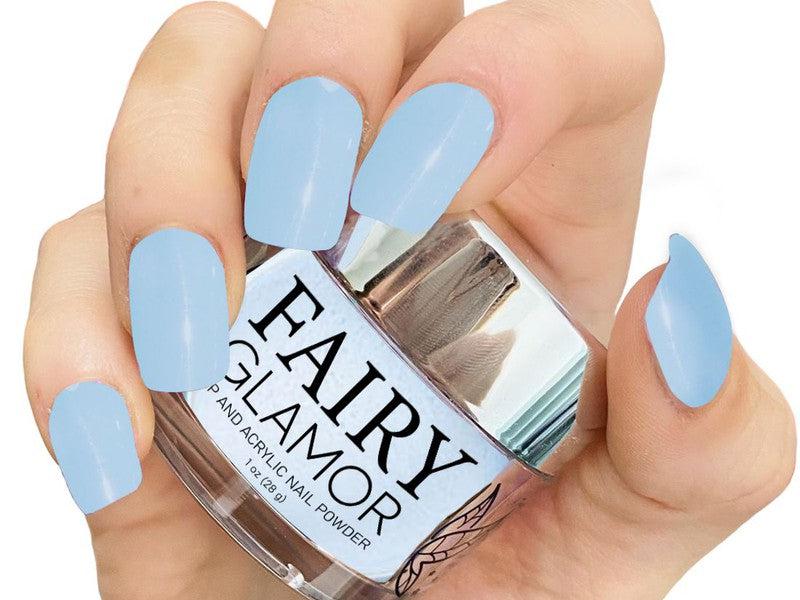
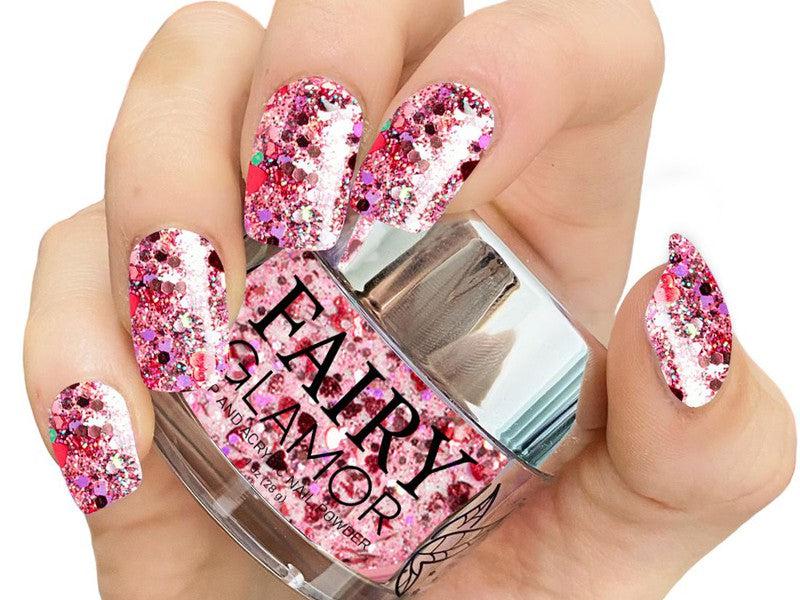
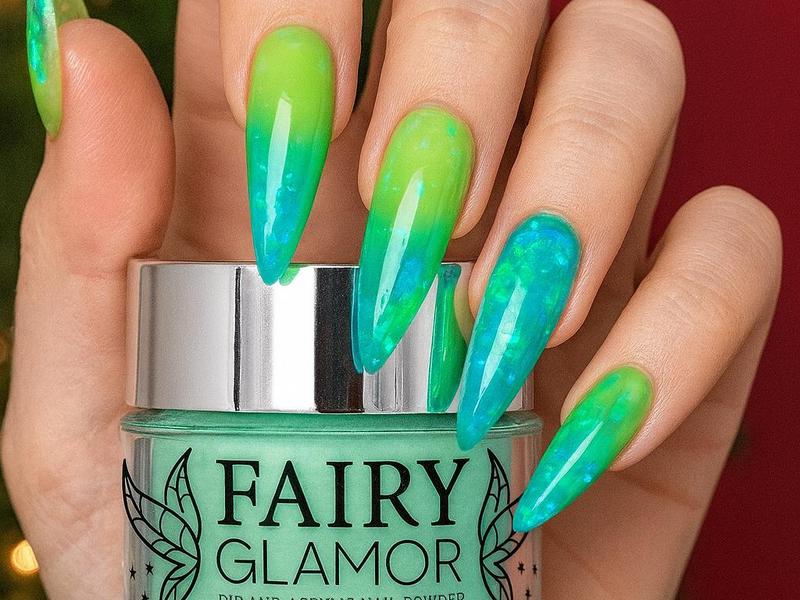
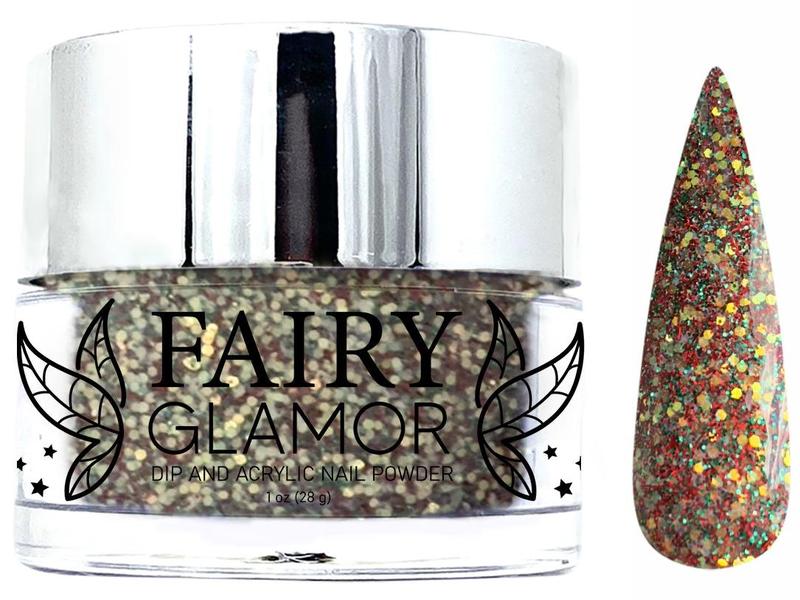
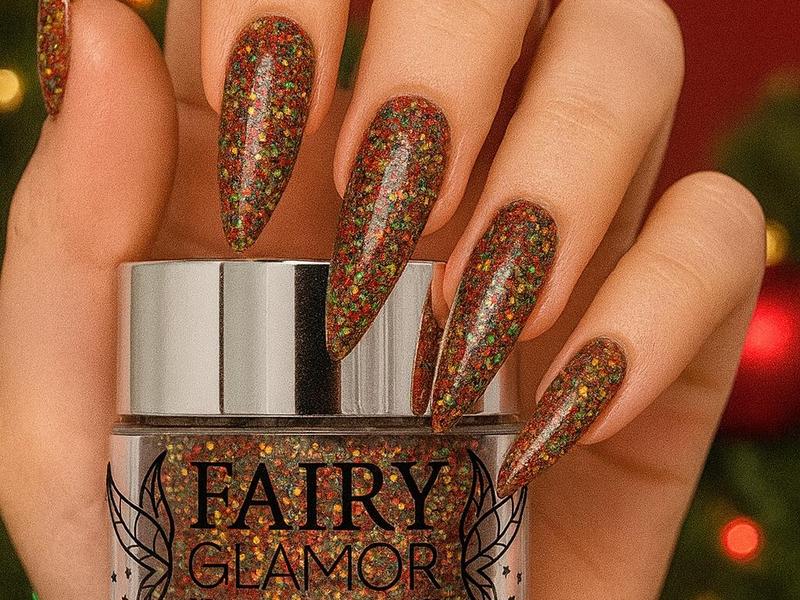
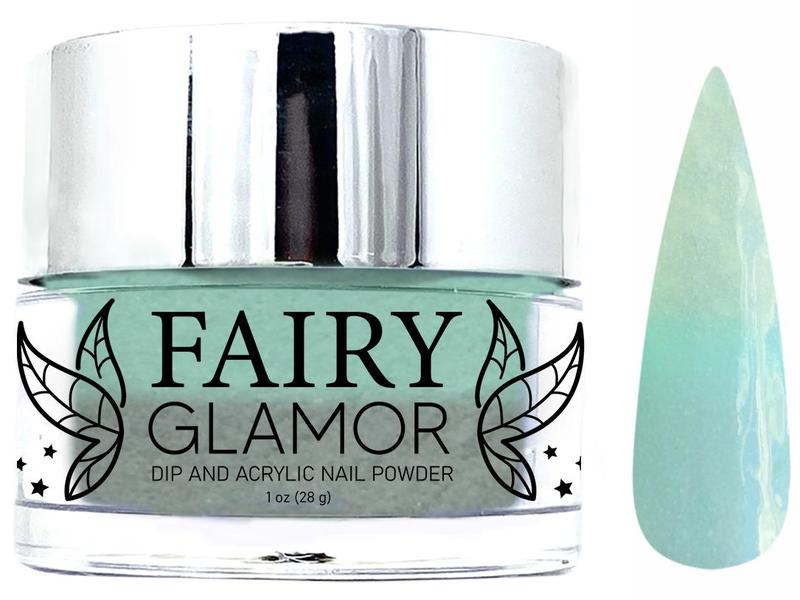
AcrylicAcrylic kits usually cost a little bit more than gel kits, but acrylic can be a fun way to amp up your nail experiences. Additionally, our acrylic can be used as dip powder, a less damaging version of acrylic. Click here to read more about dip powder and acrylics.
For our basic dip liquid set (which is currently on sale for $29.95!) and one pot of acrylic (all our acrylics are $14.95), you can expect to pay around $45 which is probably less than what you would pay in a salon without tip. In addition, you can use our acrylic powders and dip liquids until they run out, saving you hundreds of dollars.
GelWe don’t currently offer any gel nail polishes, but gel polishes are easier to ruin than acrylic powder, making DIY acrylic and dip cheaper in the long run.
Quick Recap:
- Gel is usually cheaper in a salon
- Acrylic and dip are usually cheaper when you DIY, and each manicure costs only a few dollars

