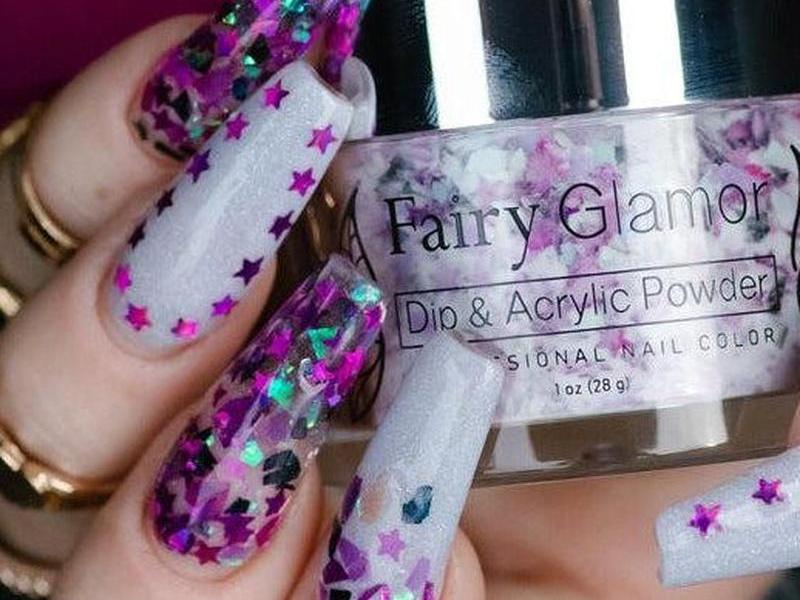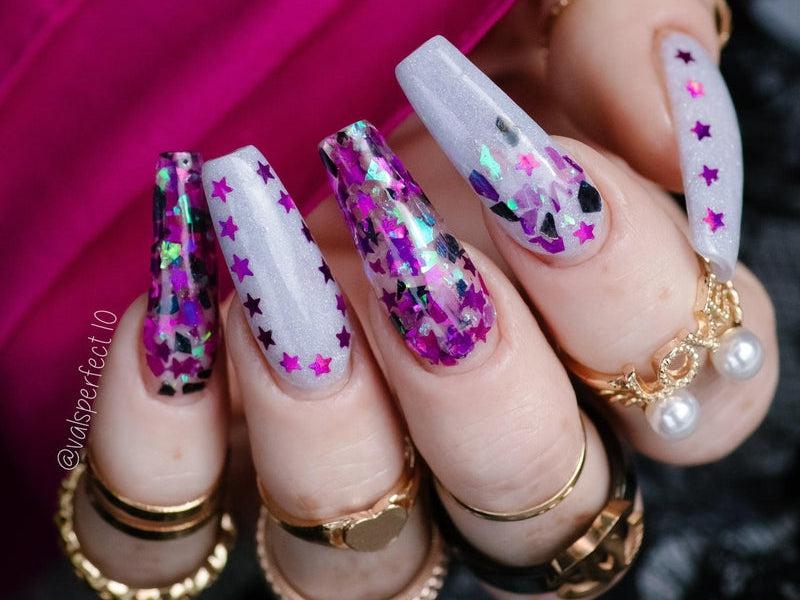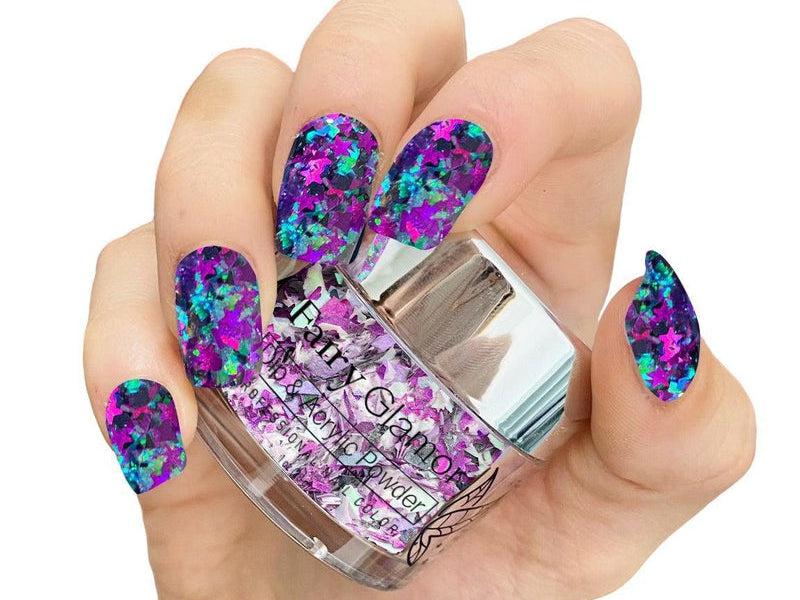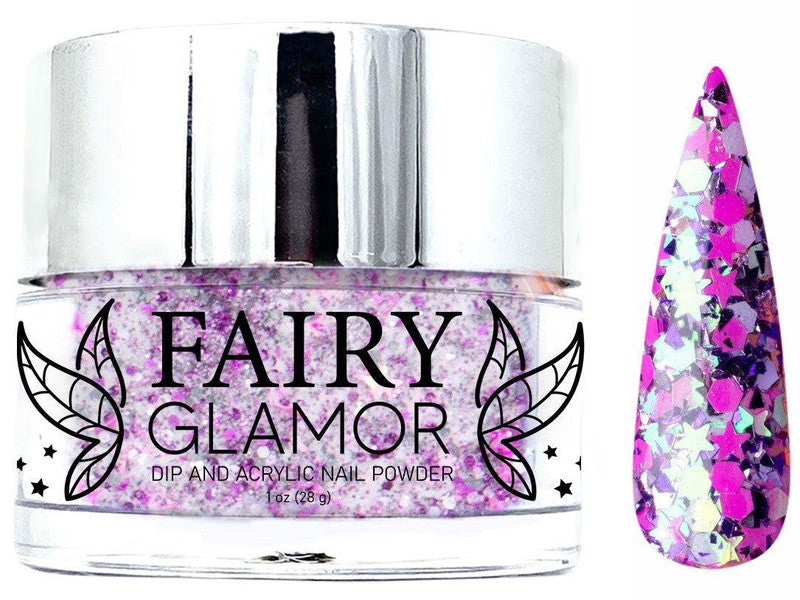
About Dip Nail Art.
The answer is a yes; it is very much possible to do nail art with dip powder. For a long time, people have been dreaming of having a manicure that will stay more than two weeks, which will not chip at any point and will appear done by a professional. Unfortunately, regular nail polish chips easily and frequently.
Dip powder nails have become a common trend for the past years because of the many viral videos posted on Instagram pages. Dip powder nails offer you unbelievable results that are long-lasting, natural-looking, and very many types of colors to pick from. Nail dip powder is a perfect choice compared to gel, full acrylic, and nail polish. This article will talk about the dip powdered nails and everything you would wish to know about them.
What are dip powder nails?
Dip powder nails are types of manicures and a perfect option for acrylic, gel nails, and nail polishes. The whole process involves removing all the present polish, shaping, and using a bond or dehydrator to do away with any oils and debris. The surface is then built up with a base coat and natural powder to make it thick and durable. After that, colors are applied using various layers using the coated base where later on, the nails will be dipped into a pot having highly colored powder, or you can pour it to your nails. This process is repeated for every nail, depending on what effect you want to acquire. To finalize the look, you have to seal or activate the coat to harden the powder and the topcoat to enhance its beauty and fresh manicure shine. You can place the powder on both natural and fake nails, which turns out to be a perfect option for everybody.
Here is a quick step by step process on how you apply dip powder nails:
- Buff your nail bed.
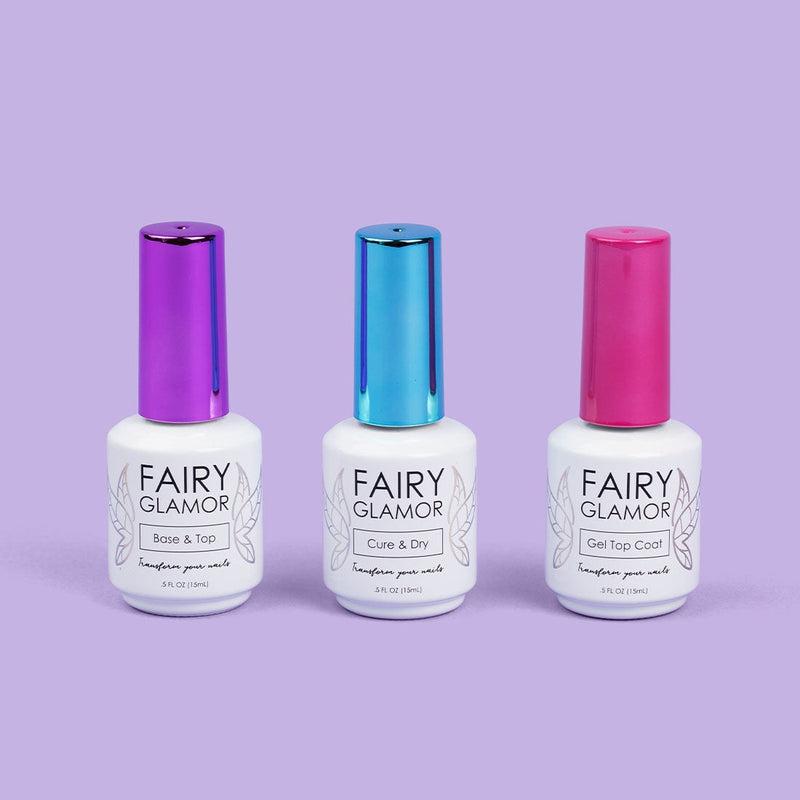
- Apply your base dip liquid coat as you would a nail polish.
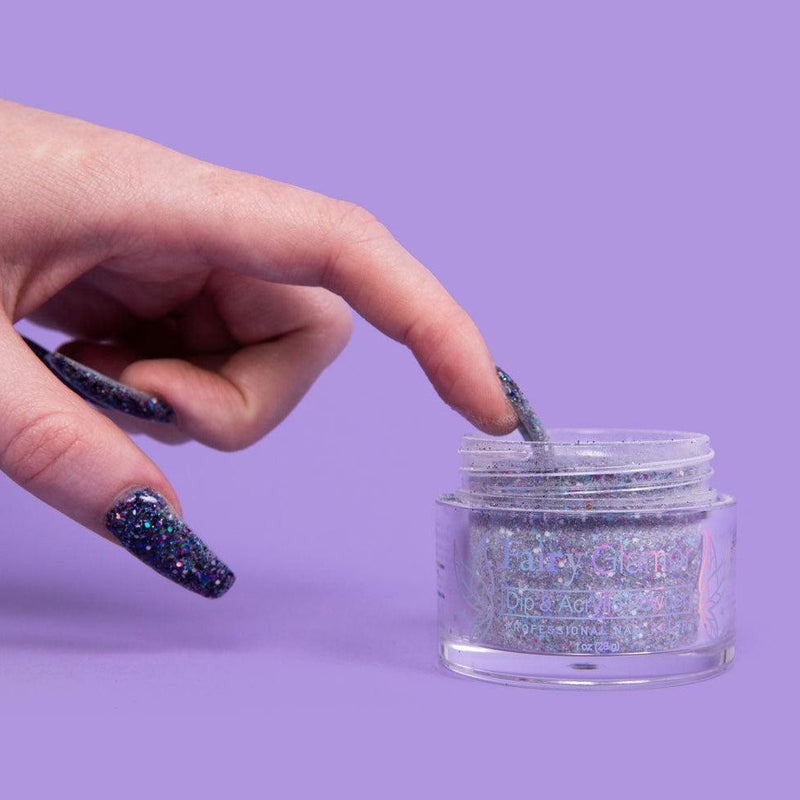
- Dip your finger into the acrylic powder and hold for 3 seconds.
- Remove your finger and brush away excess powder.
- Repeat these steps another time.
- Then apply dip activator liquid all over your nail.
- Wait a few seconds and then apply your dip topcoat for a glossy finish.
How long does a dip powder nail last?
This varies depending on the rate at which your nails are growing; normally, they can last for two to four weeks. The best part of dip powder nails is that they grow outwards instead of chipping off like nail polish. This means that they do not appear untidy when their time is due.
What are the different methods of doing nail art with dip powder?
French Dip NailsFrench dip powder nails:
French manicures have a classic and elegant appearance. This design can be easily be created with ease using pale pink and white powder. Immediately your nails are prepped, coat the whole bed using the base coat. Begin the process using the pink base color by dipping the whole nail into pink. This process should be repeated until you achieve a good color build-up. When the pink layer is done, dip the tips into the white powder. You can change the smile line shape by adjusting the angle of your fingers as you dip. After getting the French tips appearing as you desired, use the activating liquid and a topcoat.
Here is a step by step tutorial on how to do french dipped tips:
- Apply your base dip liquid coat.
- Dip the tip of your finger into the white powder first.
- Immediately dip your whole finger into the french pink powder.
- Repeat this process and carefully line up the white and pink powder with your previous application.
- Seal with your dip activator coat.
- Apply your choice of topcoat.
Dip nails with tips:
Do not feel intimidated for having short nails, or you always bite them for there is a solution for you. You can still have long and stylish nails using dip powders. The process used here resembles the one of adding length for acrylic or gel nails. The natural nails are shaped and buffed, and the tip is glued on. It is advantageous for you to choose a tip for you can take any that you want. Immediately the glue dries up, the tip is filled and blends with the real nails. Later on, a clear powder coat is added to smoothen the shape, making it thicker and longer-lasting.
Here is a step by step tutorial on how to use fake tips with dip nails:
- Test your fake nail tip and make sure it properly matches your nail shape.
- Put nail glue about 1/4 of the way down the tip of your fingernail.
- Press the nail tip to your finger and hold for 20 seconds.
- Clip the tip down into the shape or length you desire.
- Buff the tip down where the bottom edge meets your nail to flatten it.
- Apply nail dipping powder over the tip as you would a normal nail.

Ombre dip nails:
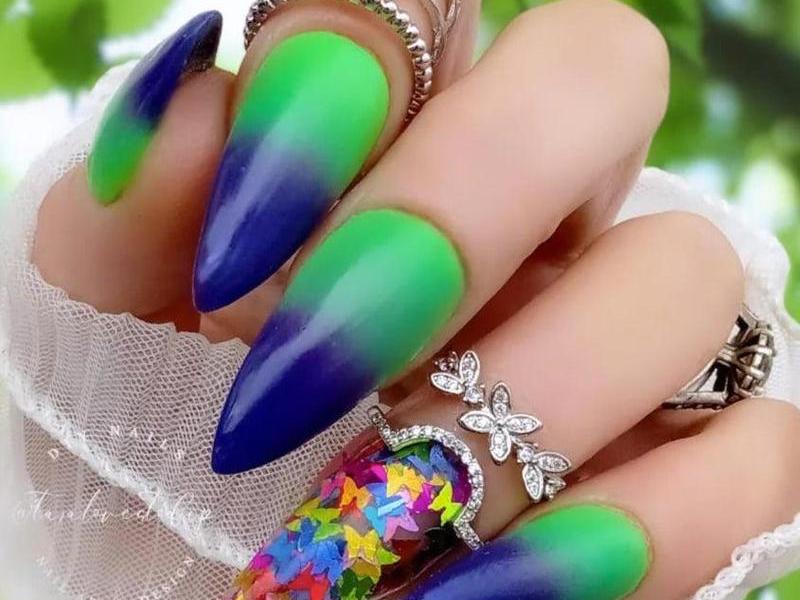
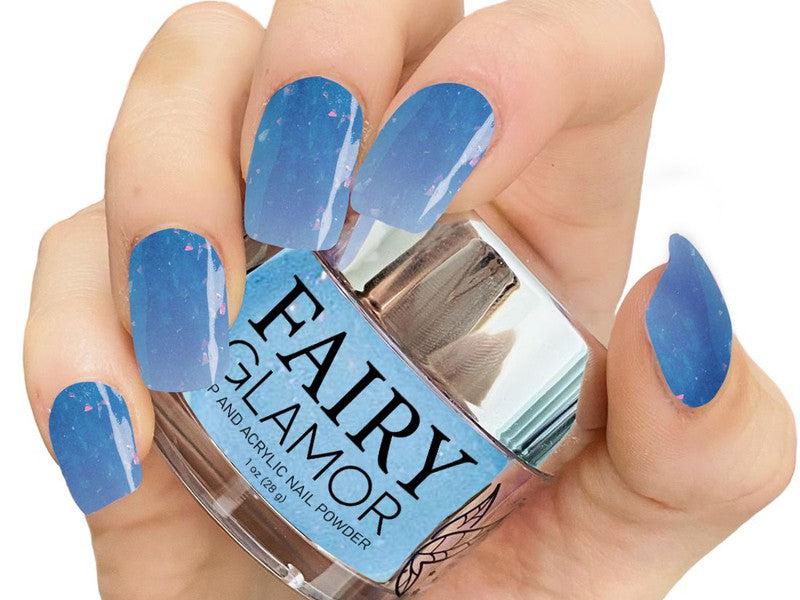
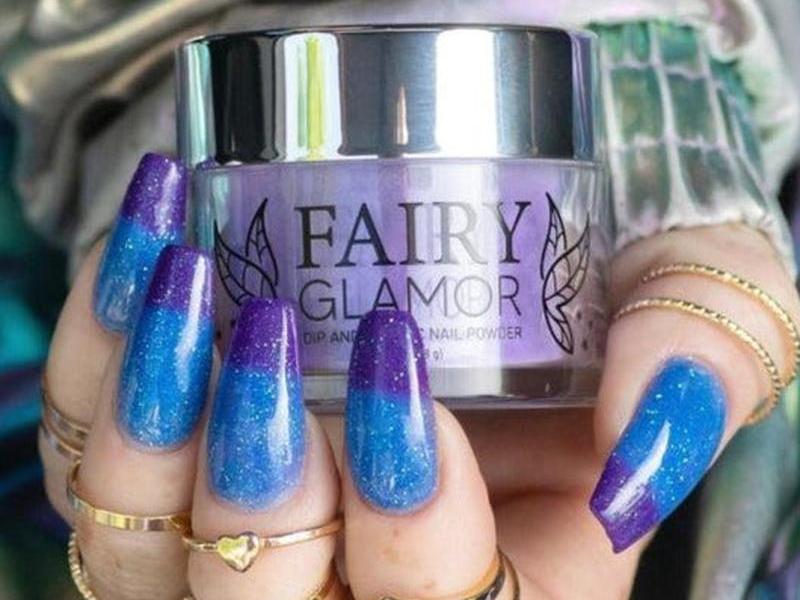
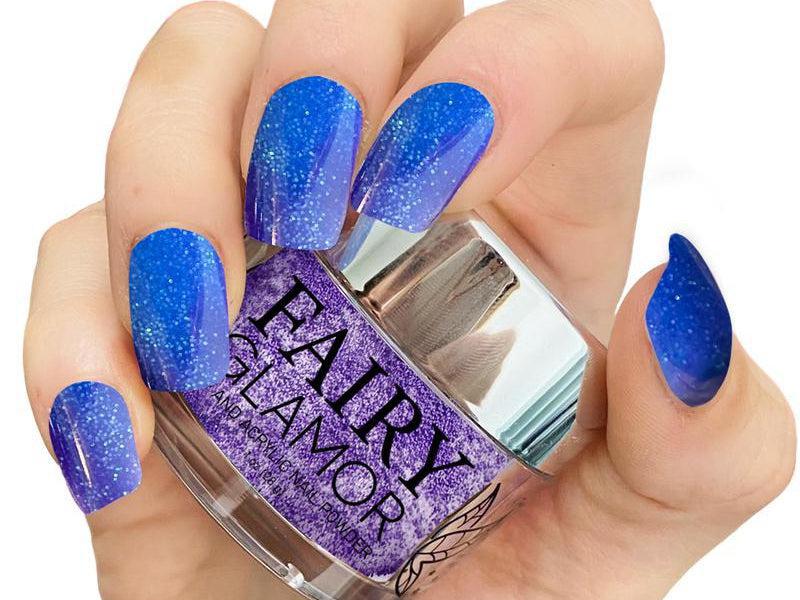
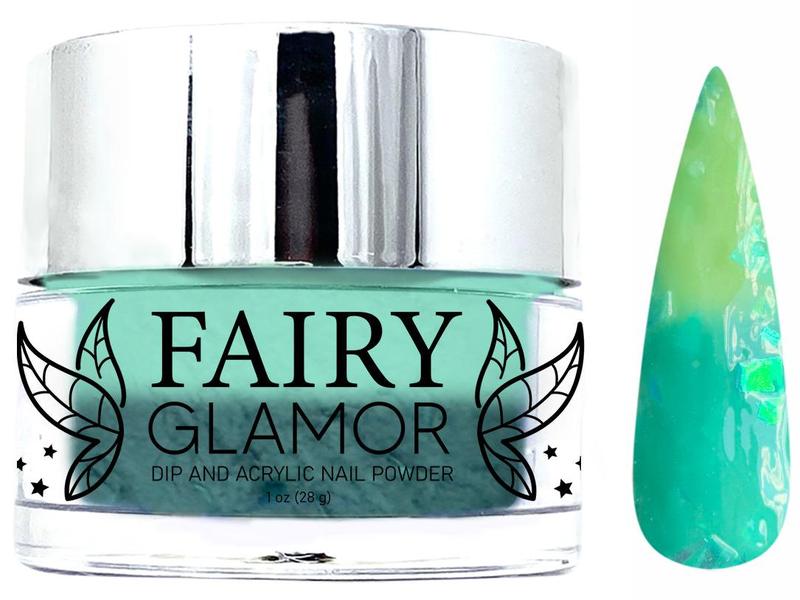
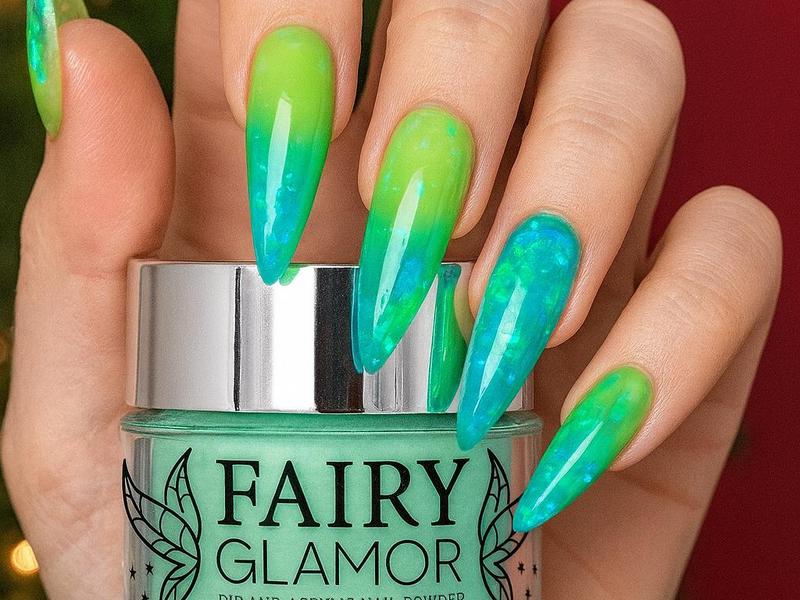
A beautiful ombre effect is achieved by combining two or more colors. The nature of the fine powder makes the creation of this look simple. Several techniques can be tried out. Use a soft brush to softly spread the pigment onto various parts of your nail over the base coat. Another option when doing it from home is to apply the base coat then your first color. Remove all the extra, then apply your nail tip with a second color until you get the desired effects of your nail's color.
Steps for applying quick and easy ombre dip powder nails:
- First apply a single dip color to your nail.
- Take your secondary ombre color and dip your nail halfway into the jar.
- Move your finger up and down to saturate the nail with powder.
- Take a soft brush and very gently brush the tip of your ombre to blend it.
- Then take your desired topcoat and slowly move down the nail, covering both colors and sealing in the ombre.
- Move slowly as to not smudge the ombre. Then you're done!
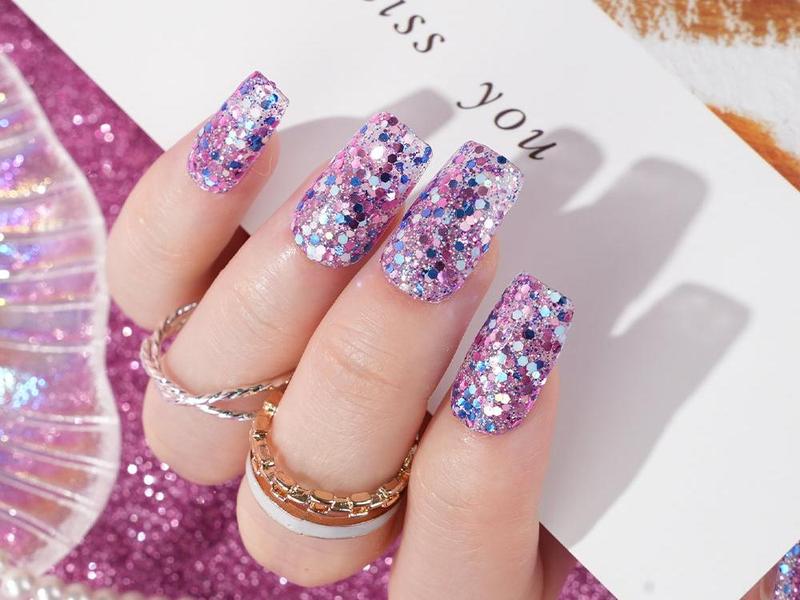
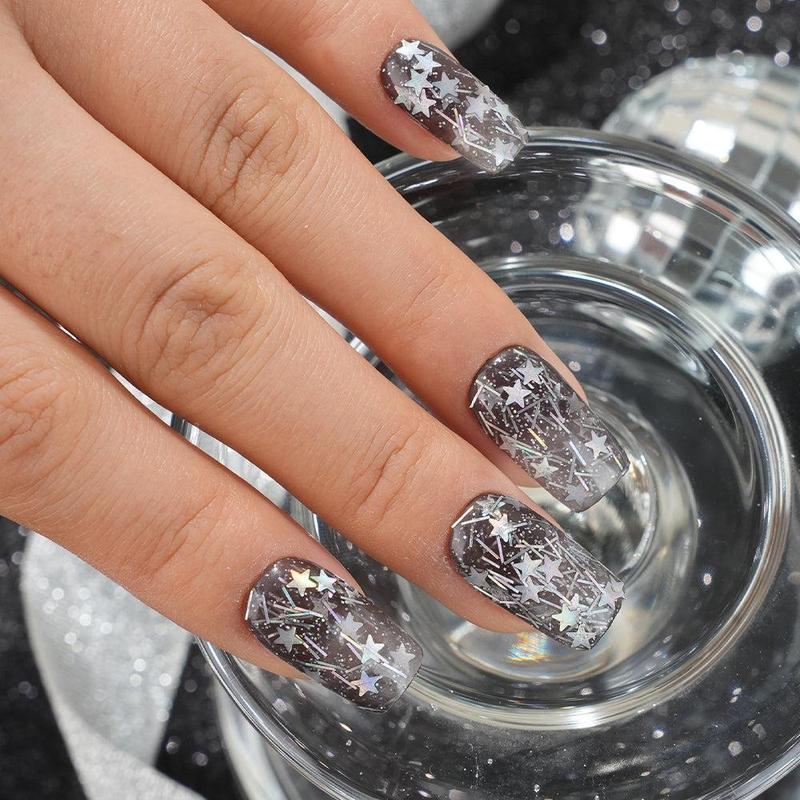
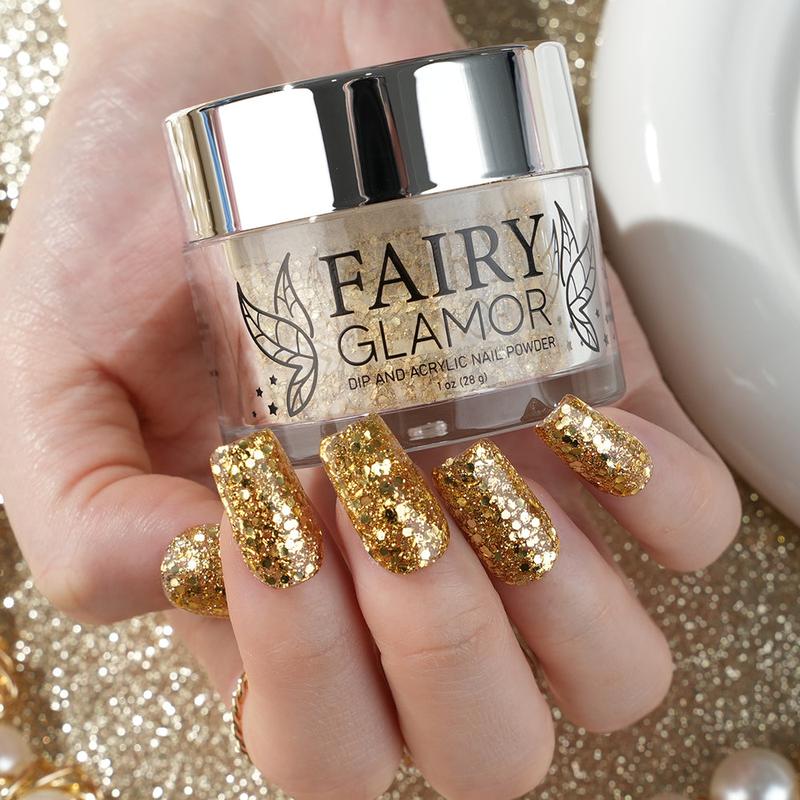
Glitter Ombre Dip Powder Nails:
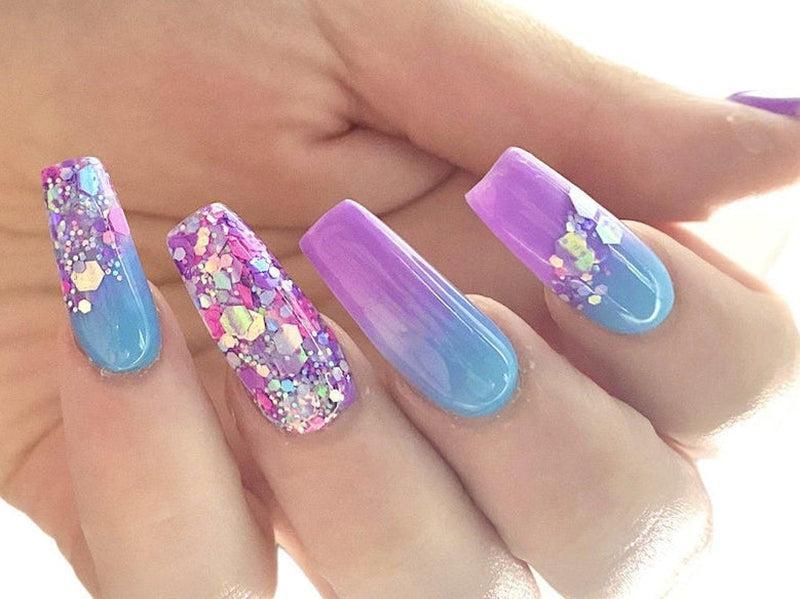
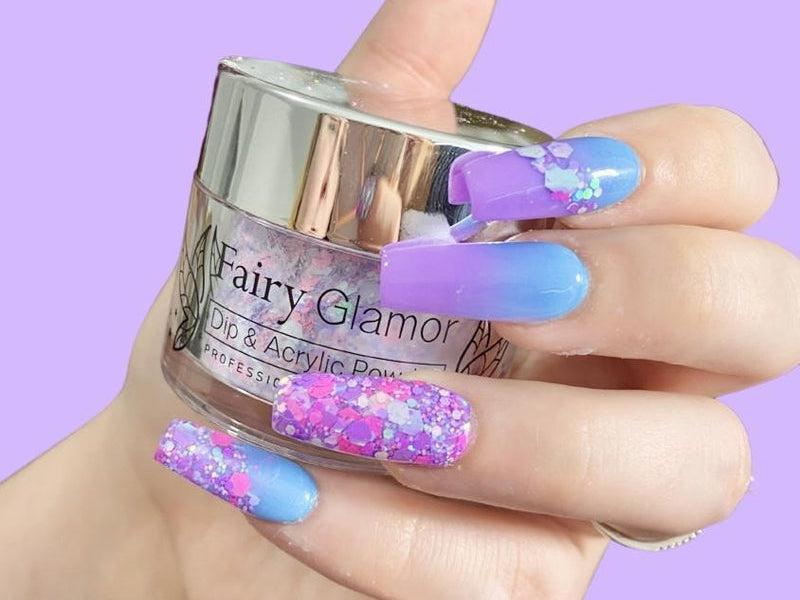
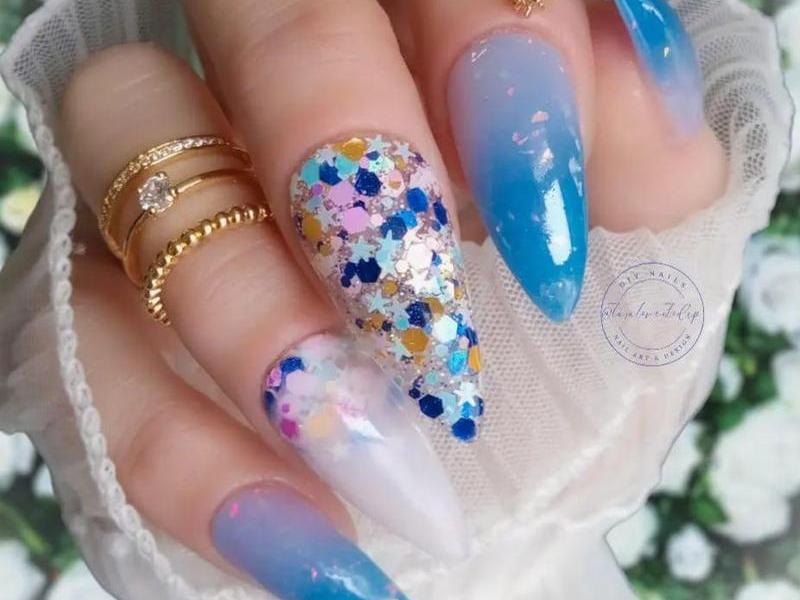
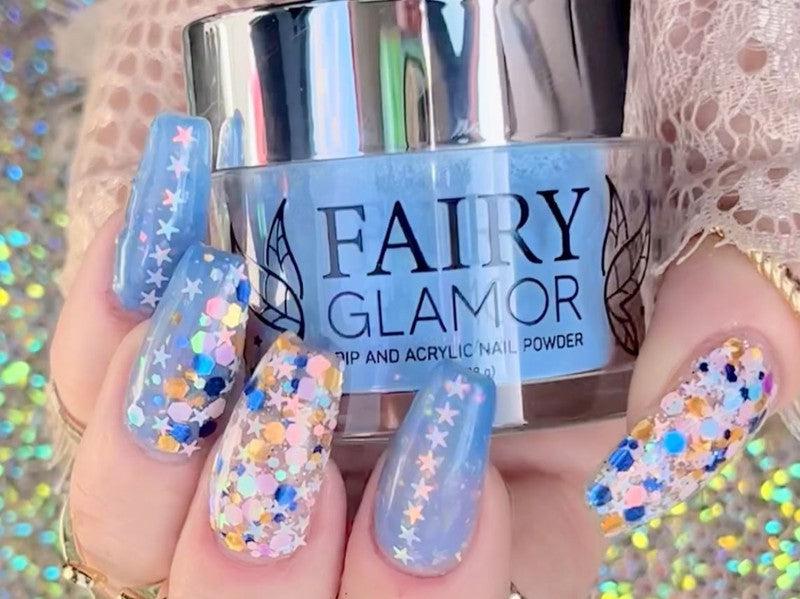
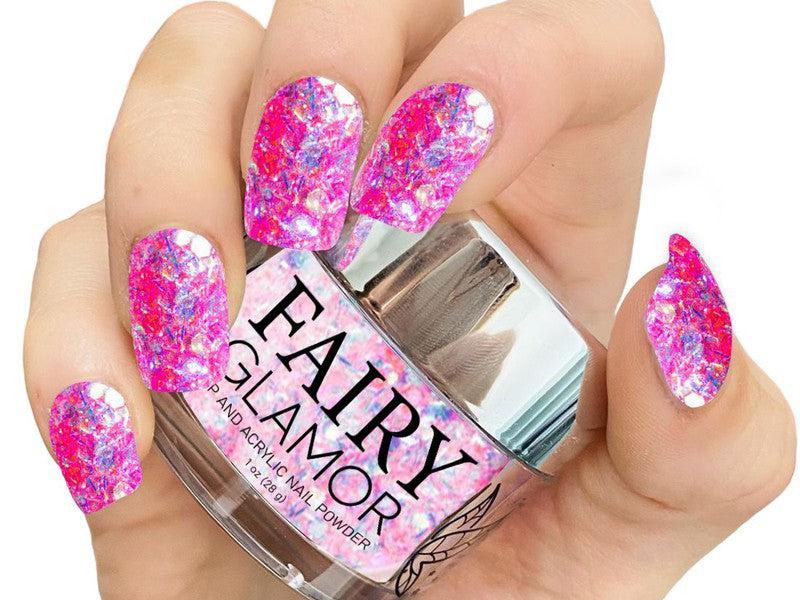
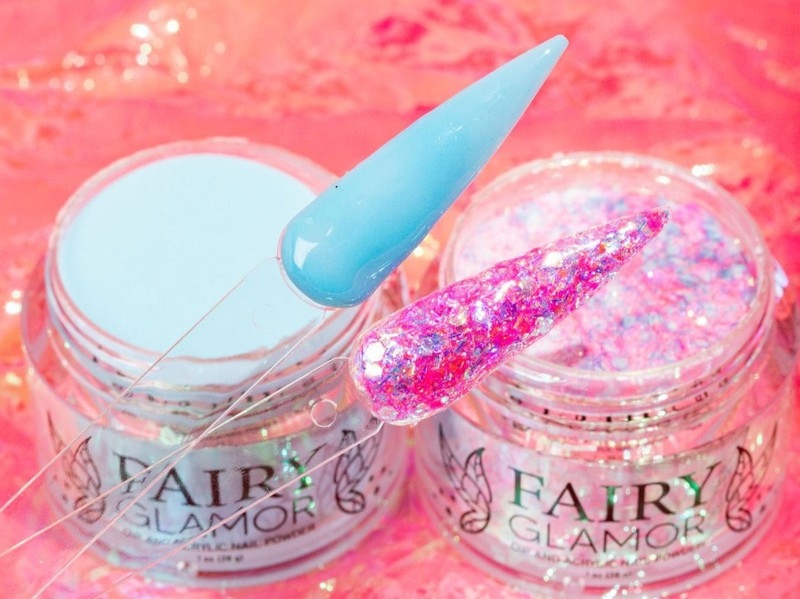
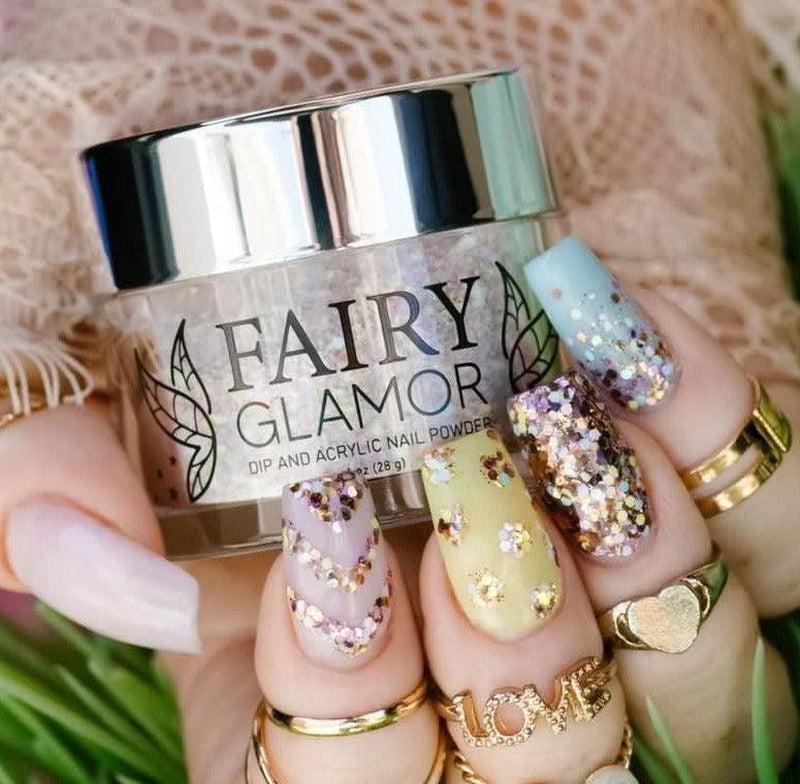
Glitter ombre dip nails are applied differently than solid ombre dip nails. Glitter is bulkier and heavier so the previous ombre method will not work. Glitter ombre is considered easier to do than a solid ombre because it’s quicker to apply and you can be ‘messy’ with it and still have it look great.
Steps for applying glitter ombre dip nails.
- Apply your base dip color.
- Apply base dip liquid glue to your entire nail.
- Use a medium sized, thick brush and did it in your dip glitter.
- Tap your brush over the end of your nail where you want the ombre.
- Use a pointy tool to adjust glitter particles if needed while glue is still wet.
- Wait 20 seconds for glue to dry than apply dip activator liquid.
- Apply your desired topcoat to seal in the glitter and get that shiny finish.
Color blocking:
Color blocking is a technique used to create "blocks" of color using dip powder. Examples of color blocking include french dip nails, chevron nails, and vertical nails.
Here are the steps for a horizonal color blocking technique:
- Apply your base dip liquid.
- Dip the tip of your finger into your first desired color (let's say blue).
- Apply dip activator to the powdered section.
- Dip another small section of your finger into another color (let's say white).
- Repeat until you have 5 horizontal lines. You've now color blocked!
With this method you always have to start at the top of the nail and move down. You need to go fast or your dip liquid will dry without you adding powder. Sometimes you'll have carefully re-apply the base liquid to your exposed nail, depending on how many layer's you'd like to do. It will take some practice but once you get the hang of it you'll be a pro in no time.
Easy Dip Nail Designs to Try at Home
White dip nails:
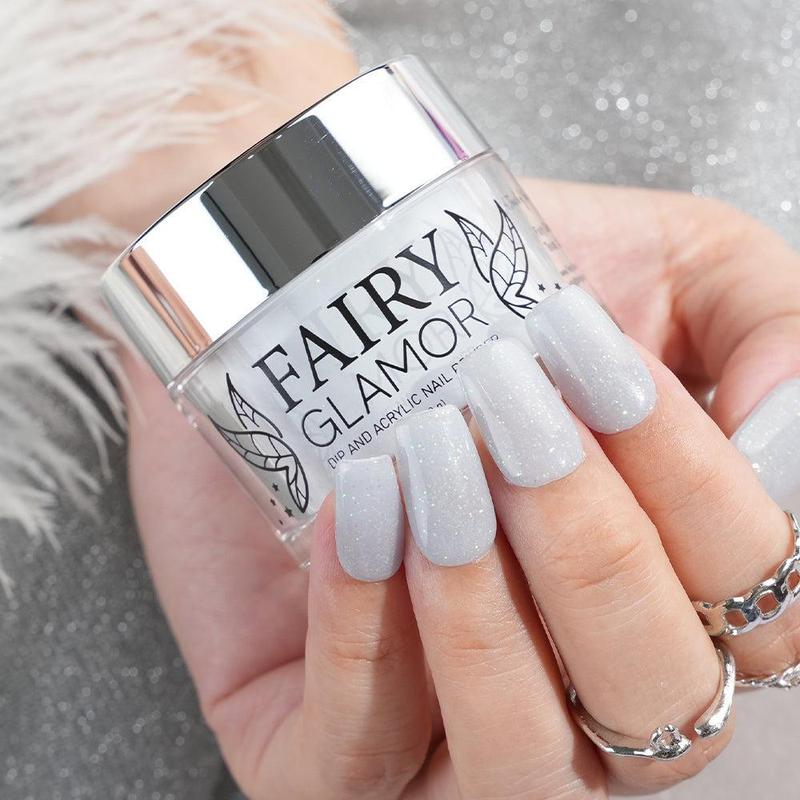
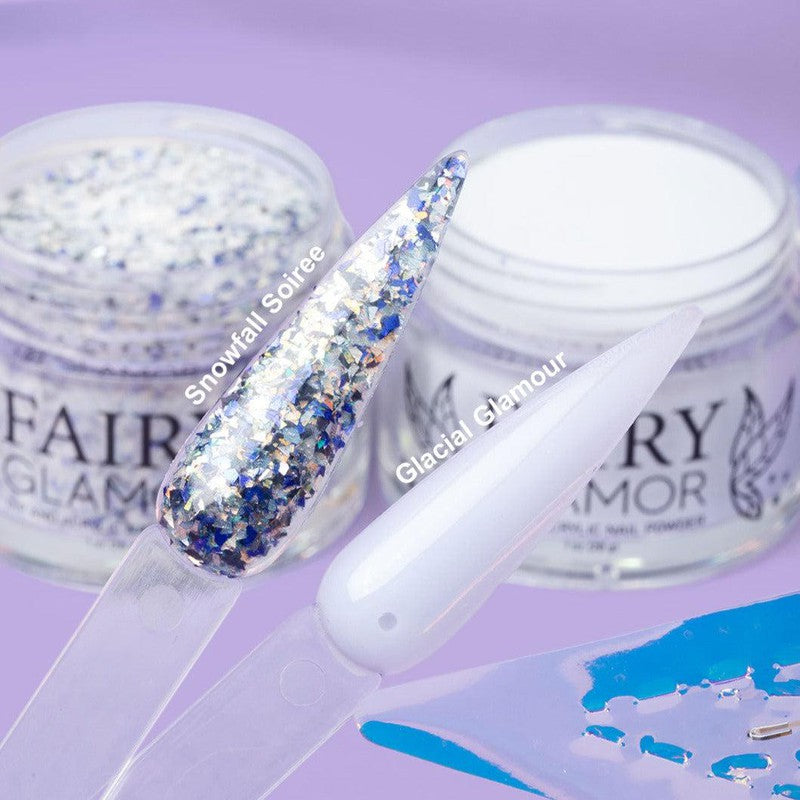
They appear so fresh and clean with bright, white dip powder manicures. Opting for a full white nail makes a bold statement without dark shades such as black and plum. White nails are ideal during summer and look more attractive with lighter colors like pale denim, lavender, and buttercream yellow. The presence of hyperpigmentation and acrylic polymers in the powder makes it less prone to yellowing like gel.
Red Christmas dip nails:
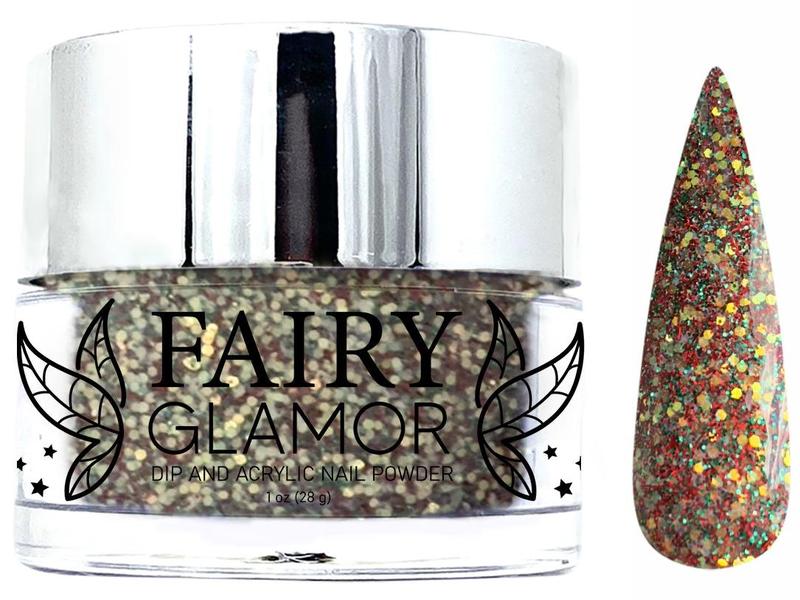
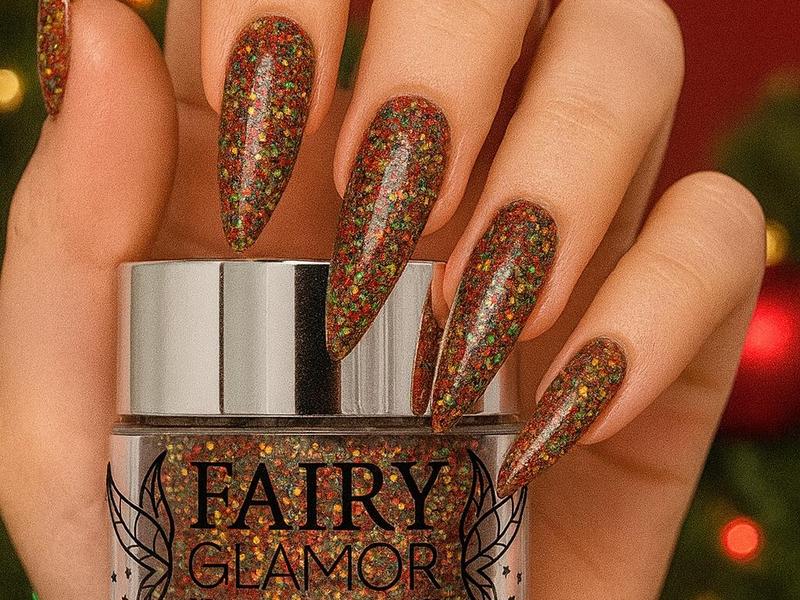
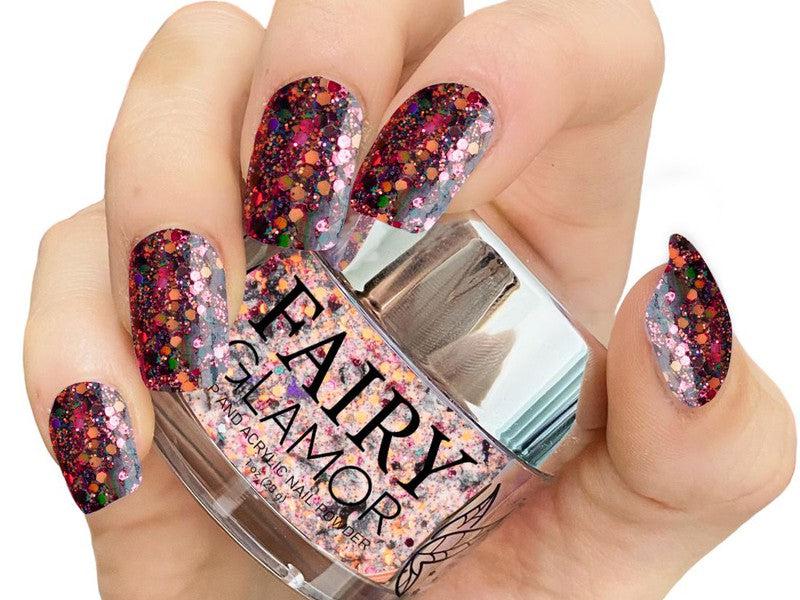
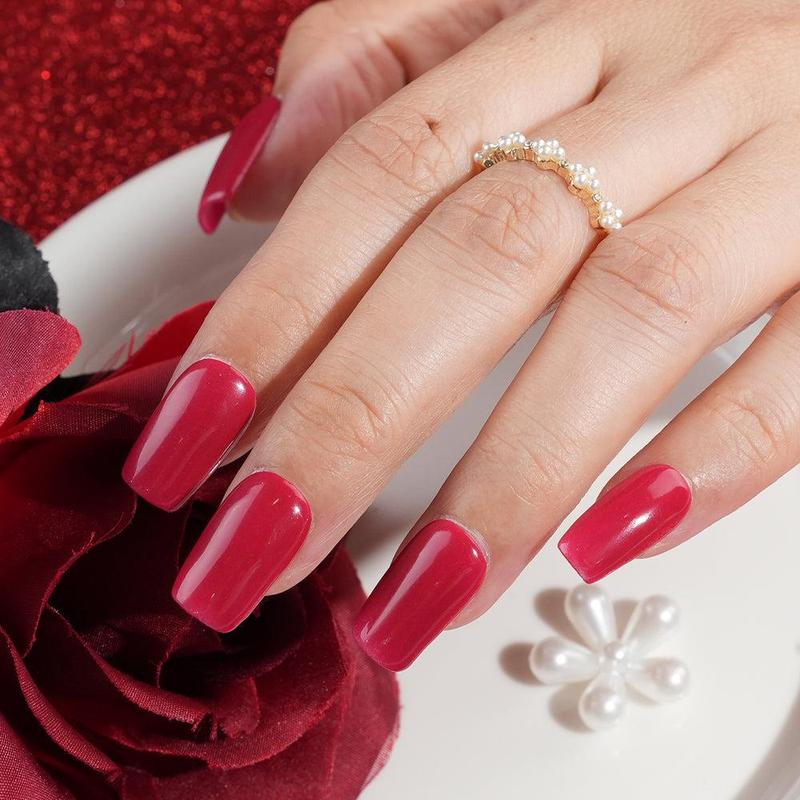
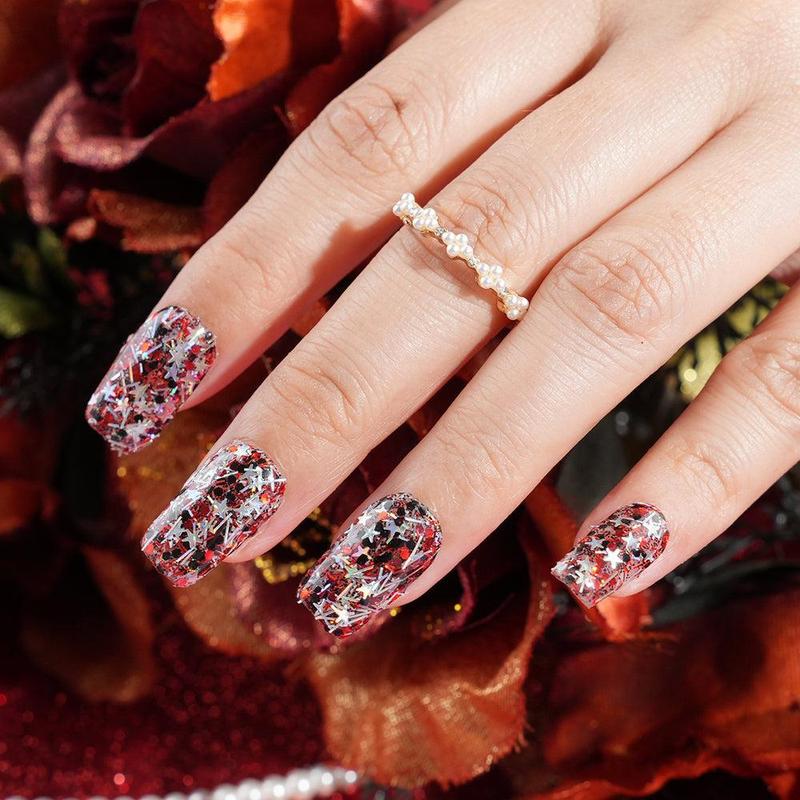
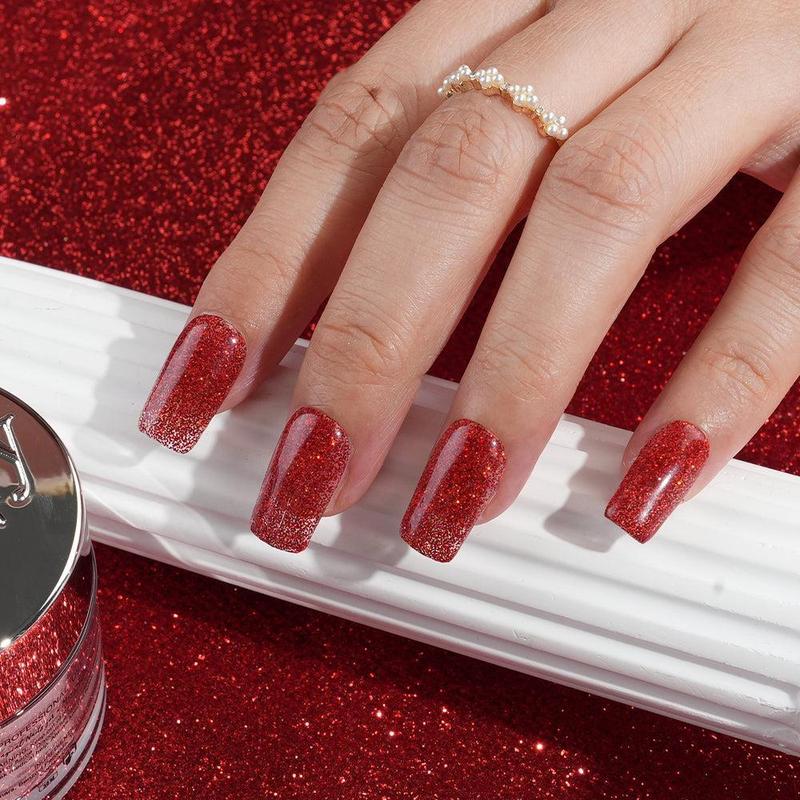
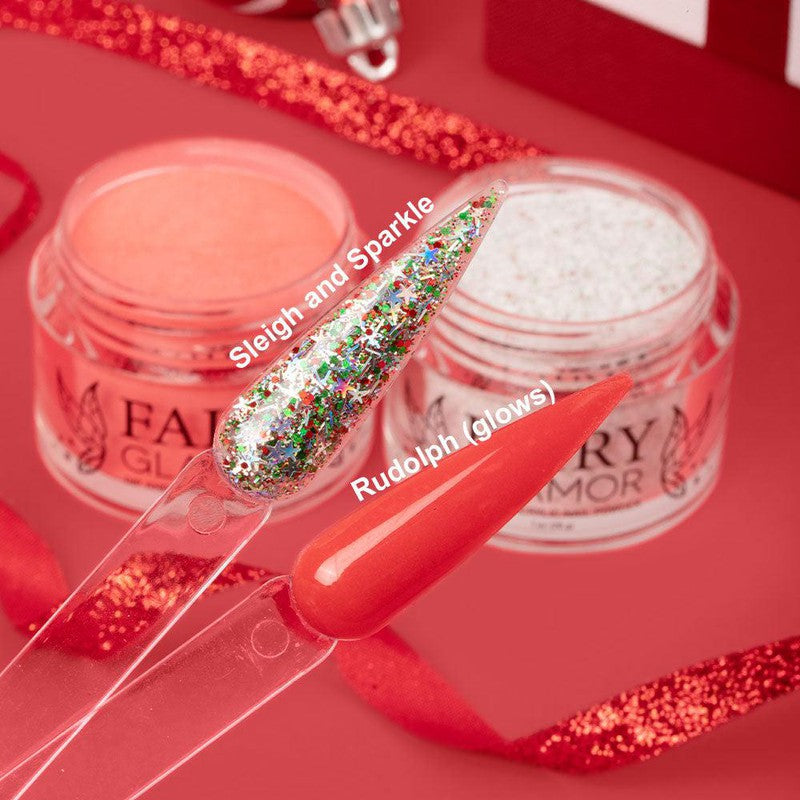
Do you want to bring some festive mood to your fingers? Red Christmas design is the best for you. Go for something straightforward and simple like bright red glitter that will push you until you get into the New Year's Eve party. Combine some gold dusting into a classic red nail for an expensive and high-quality look. You can also get your nail tech to paint snowflakes with a fine-tipped brush. Another option is to do Christmas-inspired ombre mixing, perhaps combining red and green, red or silver for a beautiful and unrepeatable style.
Black dip nails:
Have you ever imagined how classic you will look when you are dressed in black; black shoes, a black bag, black clothes, and black nails? It is one of the ways to become effortlessly stylish no matter what you put on. Black dip powder nails are beautiful since they are exceptionally polished and shiny. They usually chip off; thus no need to worry about anything. Make it simple with plain black, some sparkles added with sparkle of black glitter, or dip the tips in dark charcoal to enhance some dimension. You will always look gorgeous no matter how you wear your black dip nails.
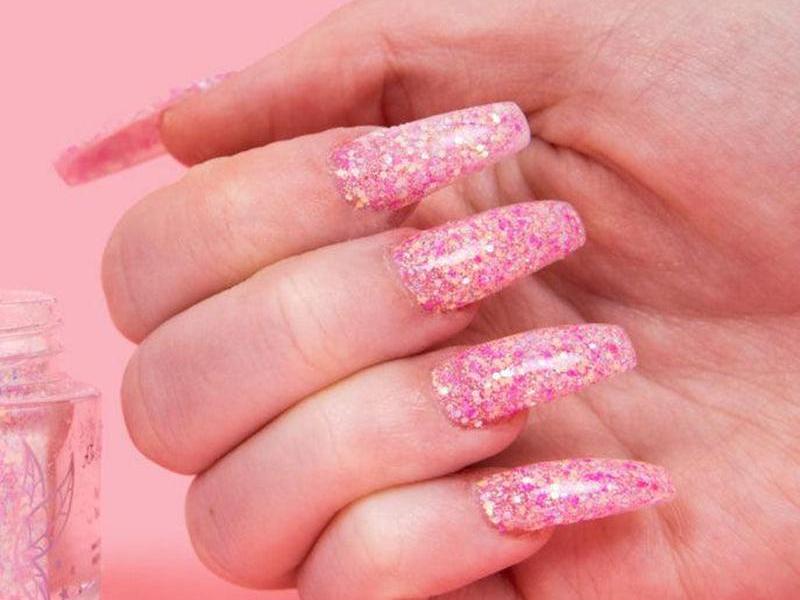
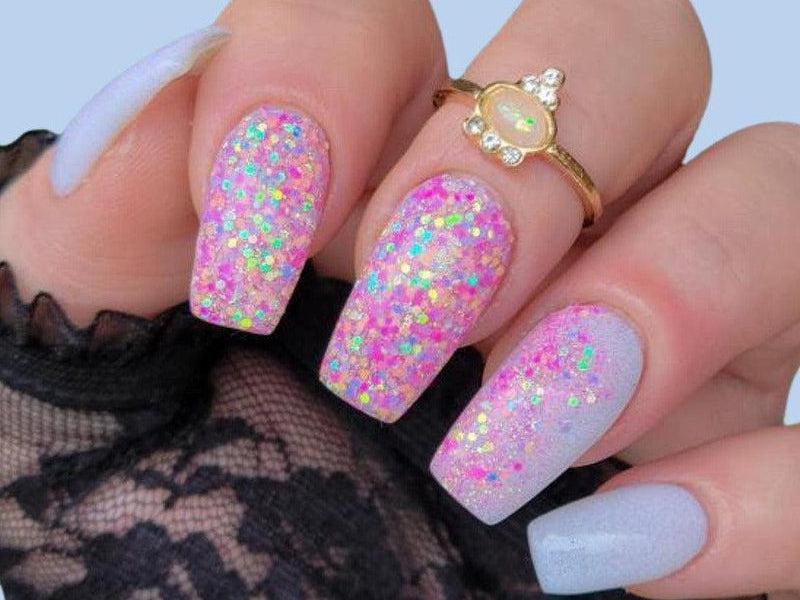
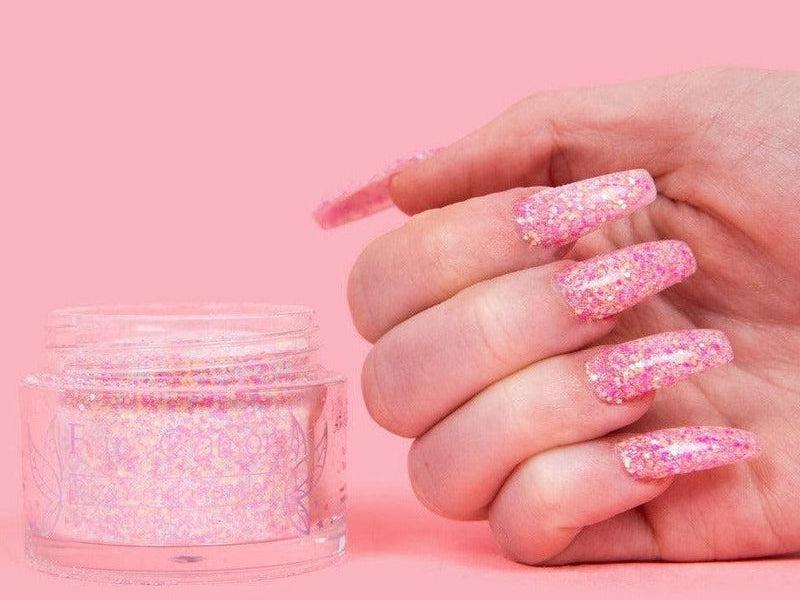
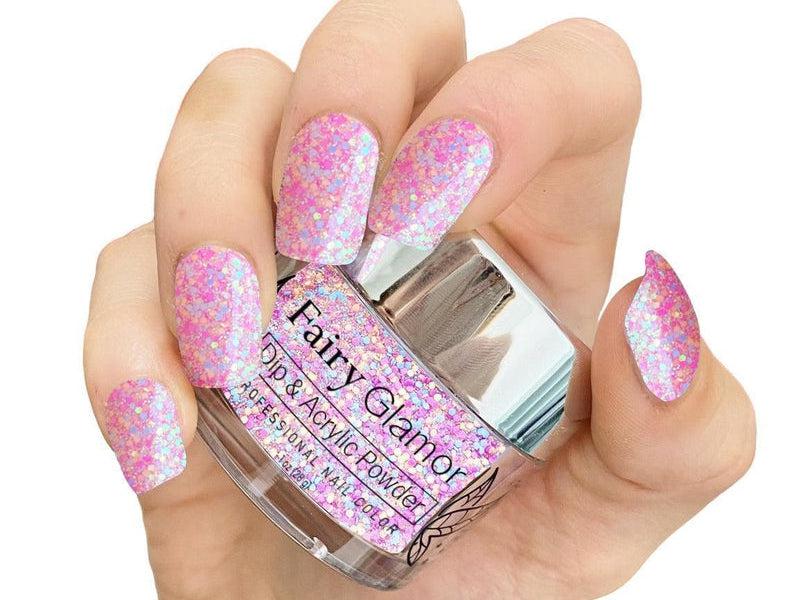
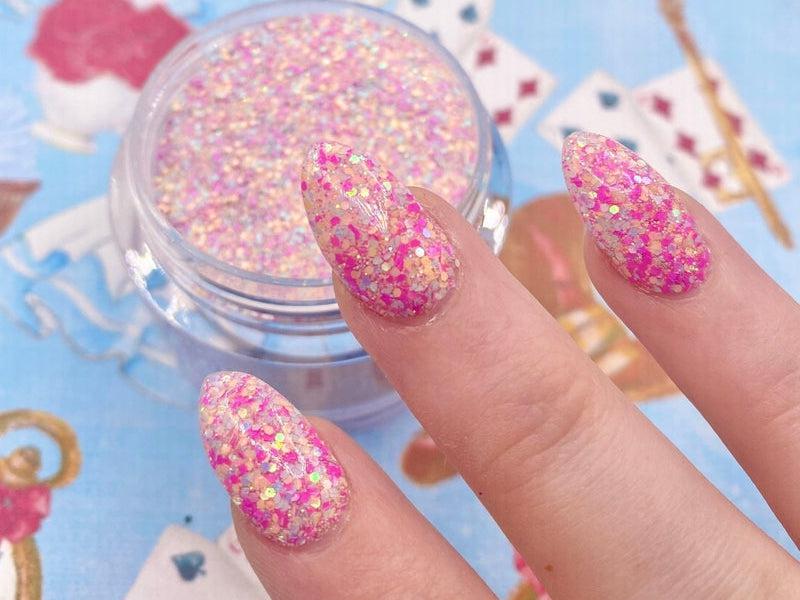
Pink dip nails:
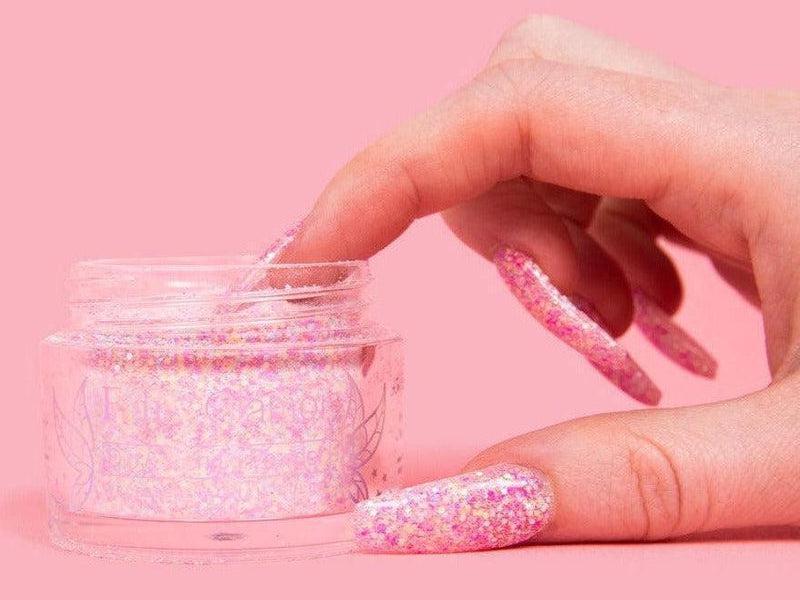
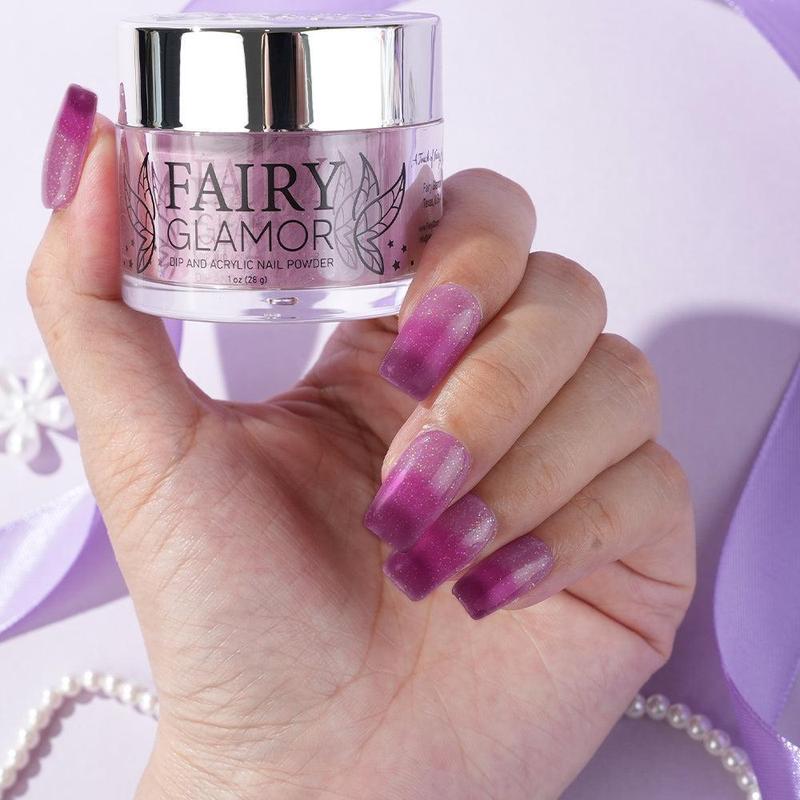
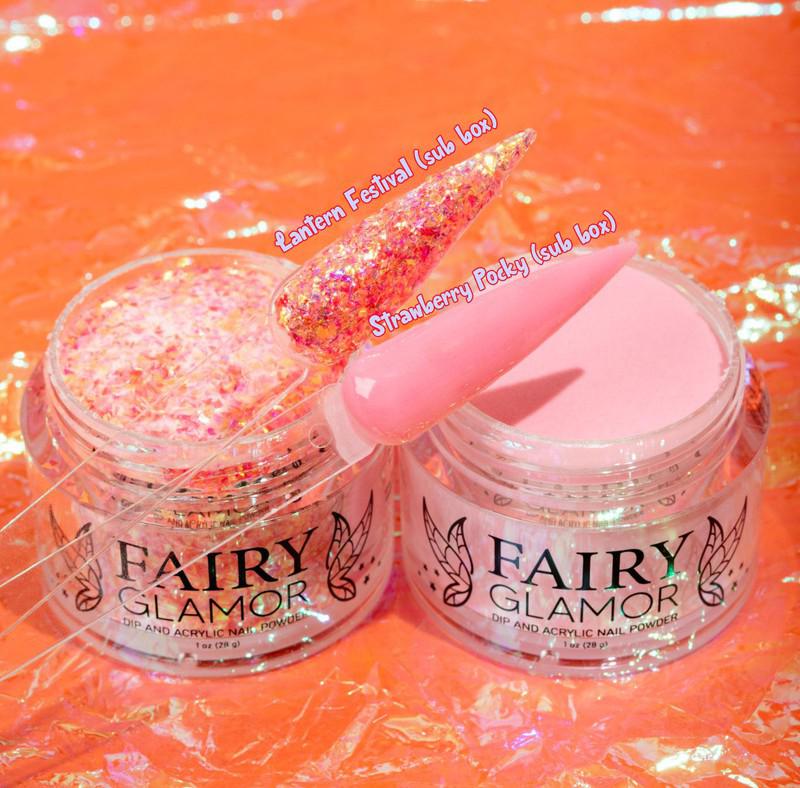
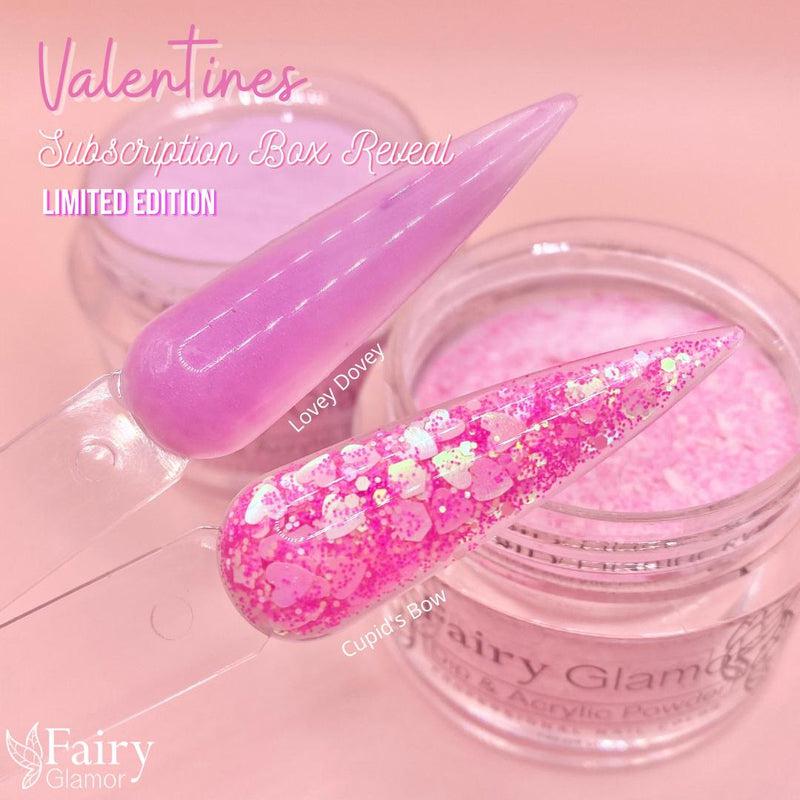
Having endless options of variations and shades of pink dip nails makes it very beautiful. Select a youthful cotton candy or go vibrant with a bright pink that anyone would be proud of. If you need something more vanquish, go for a pretty pastel or soft peach. If you want to appear bold, the perfect selection for you is either fluoro hue or perhaps a deep pink with plum undertones.

