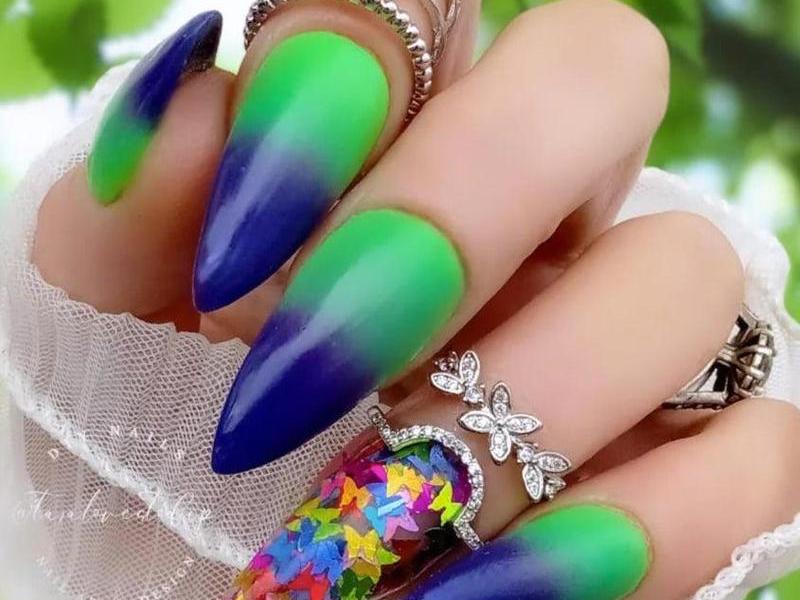
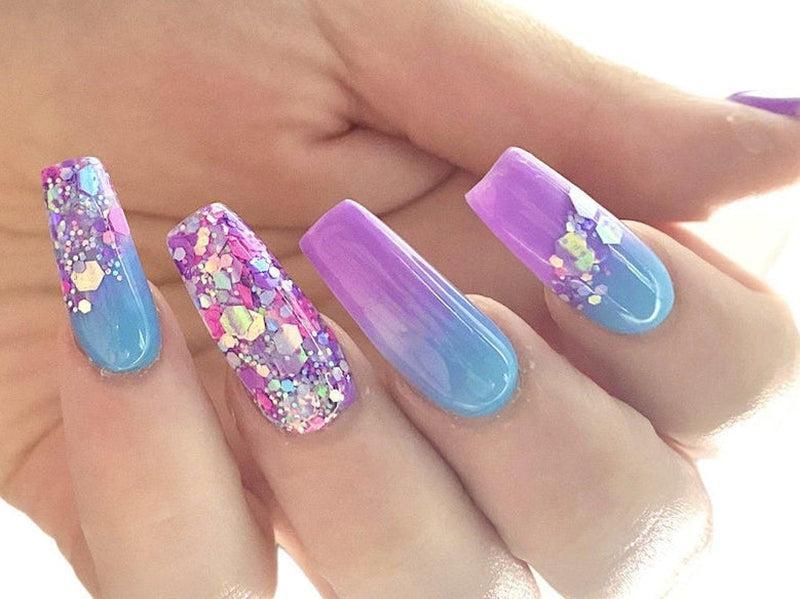
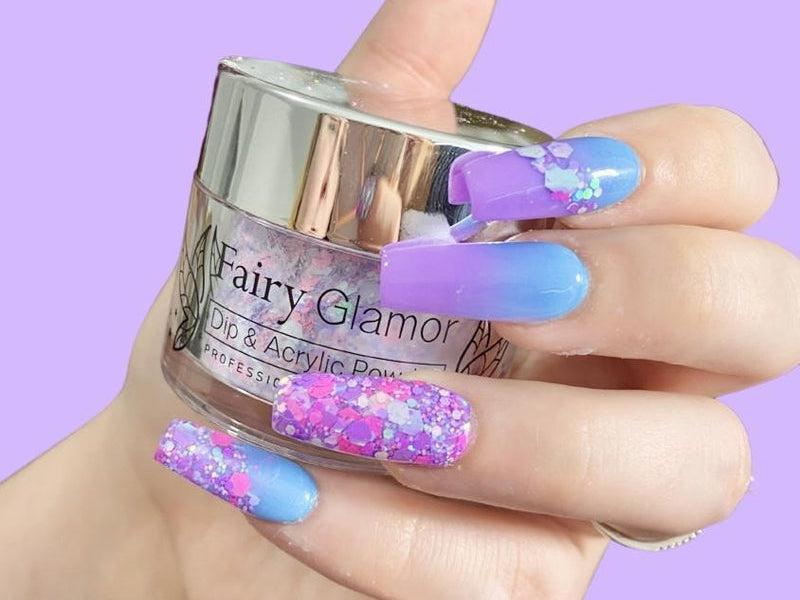
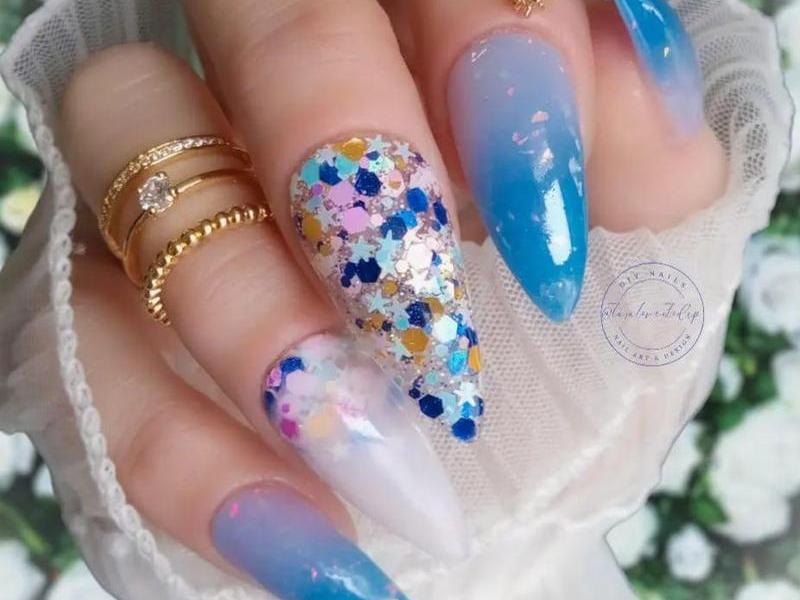
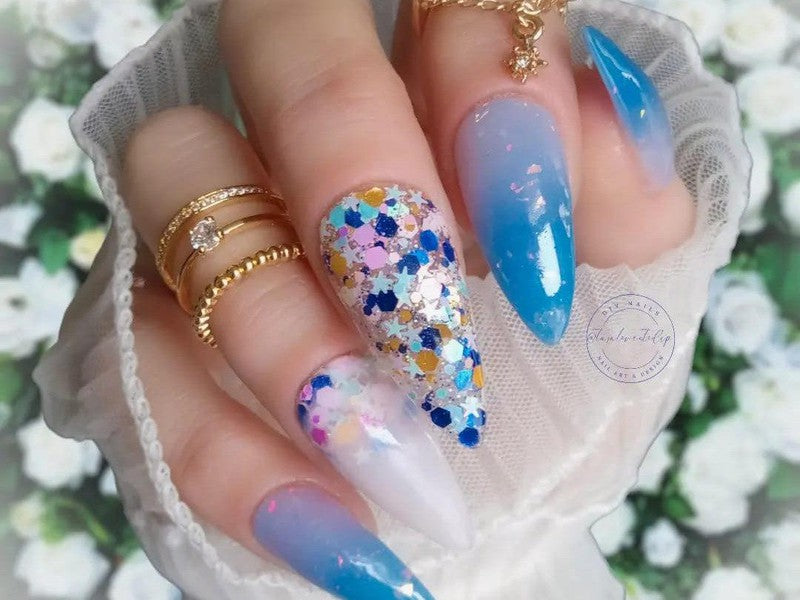
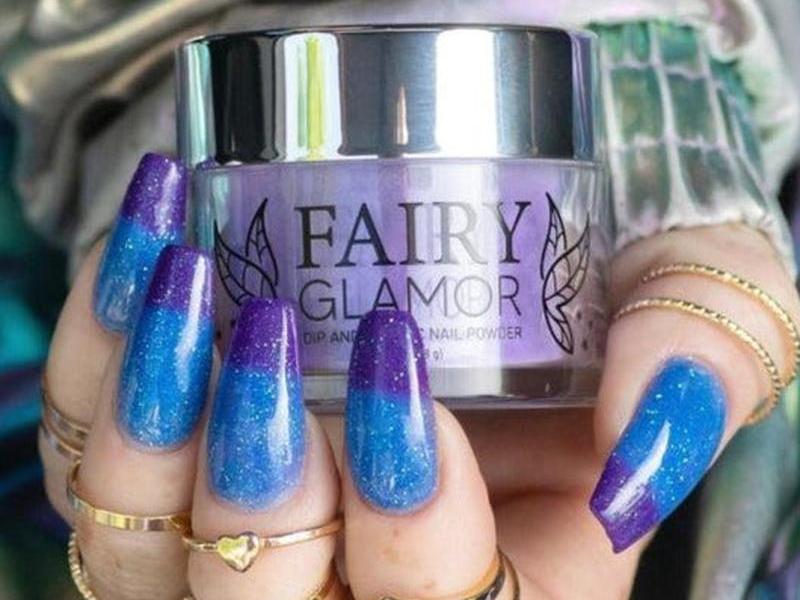
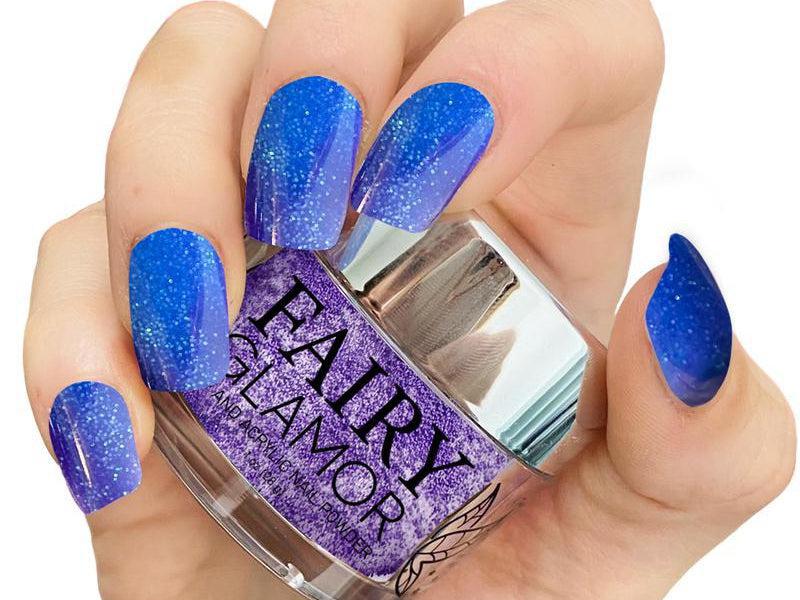
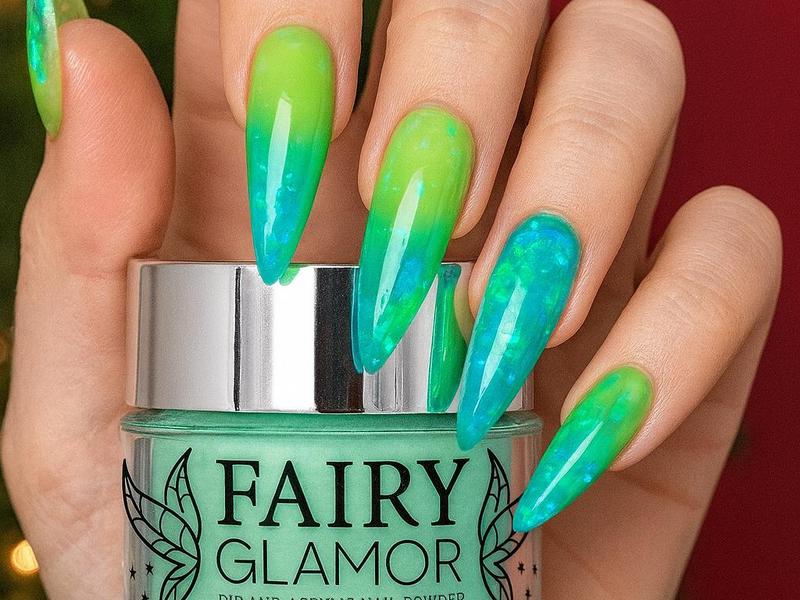
Can you ombre dip powder nails? Of course! Ombre dip powder nails look so stunning and are super easy to do once you learn how. It may take a couple tries but once you get the hang of it, you’re good to go! The best part about ombre dip nails is there’s hundreds of different ombre color combinations you can try and it’s much easier than acrylic ombre (in my opinion!).
We’ve created a quick ombre dip nail tutorial video if you’re more of a visual learner. So feel free to watch that or follow along through our photos. We’ve added a few helpful tips and tricks to help you get started, because honestly I had a tough time watching tutorials on Youtube at first. I couldn’t tell what the heck I was doing wrong, because while this method is fast, if you don’t know what you’re doing the ombre won’t come out right and will smudge! Let’s avoid that, shall we?
How to do ombre dip nails, the easy and fast way.
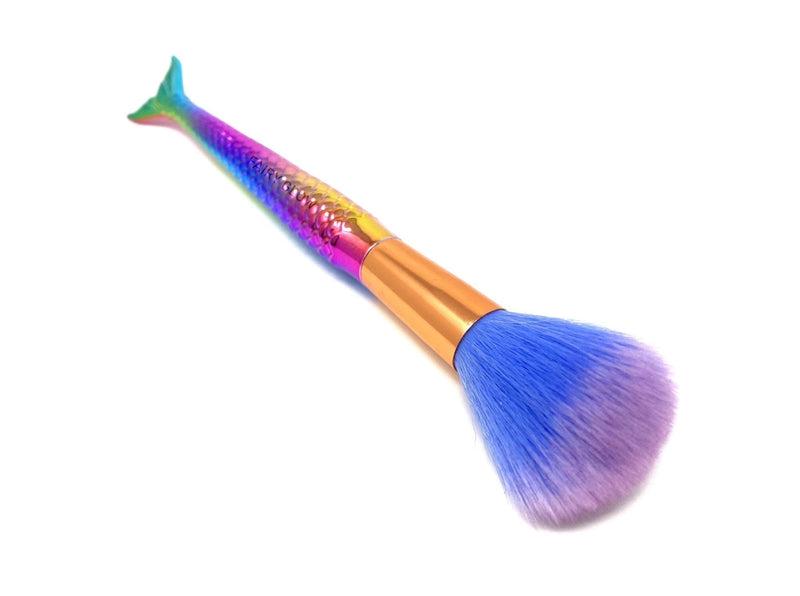
There are several ways you can do ombre dip nails. I love this method (sometimes called the dip ombre method) because it’s much less messy and less work than the others. One such method is to use a dusting brush, which I don’t particularly like because the powder goes everywhere (and it’s just a lot more work in general).

Step 1. Apply your base dip color.
This is the easy part! Pick any two colors and apply one color, in full, to your nails.

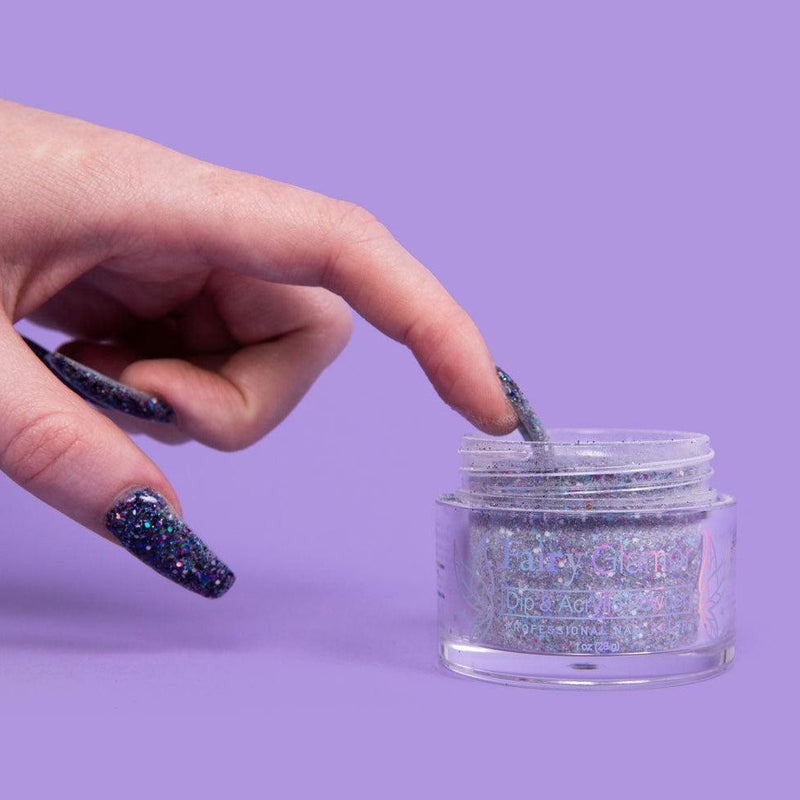
Step 2. Dip your nail halfway into the second color.
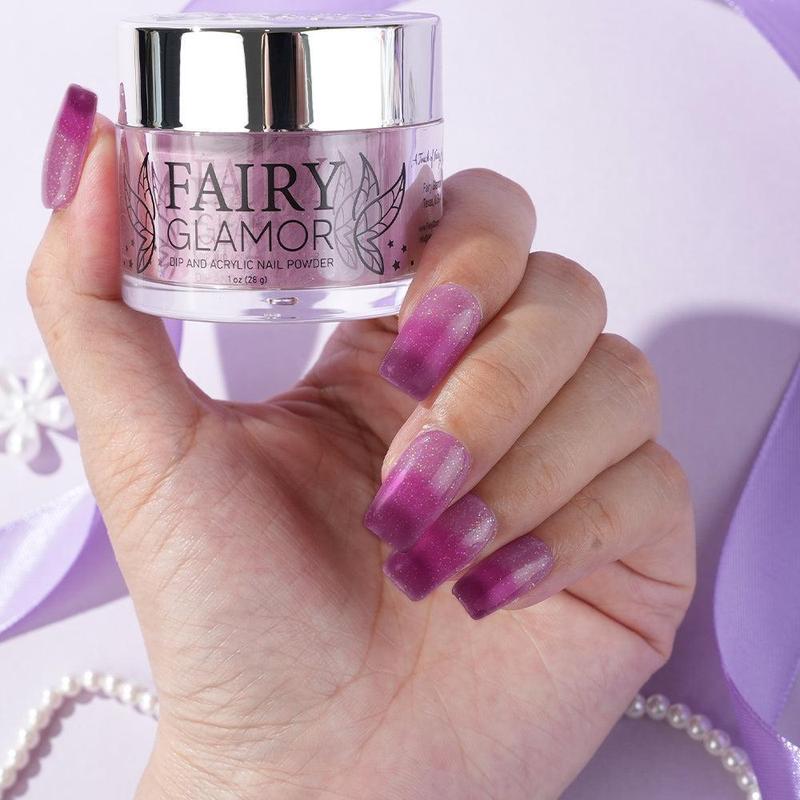
Here we picked purple and pink for our two colors. We used purple as our secondary color. You’re going to dip your finger repeatedly halfway into your secondary color (or however far you’d like the ombre to go) for around 10-20 seconds until the color has saturated the nail. The powder will be loose, so be gentle! And keep in mind once we do step 4, the ombre will end up shorter than where it’s currently at. So if you want a half ombre, dip your powder around 3/5ths of the way up. This will make more sense once you’ve tried step 4.
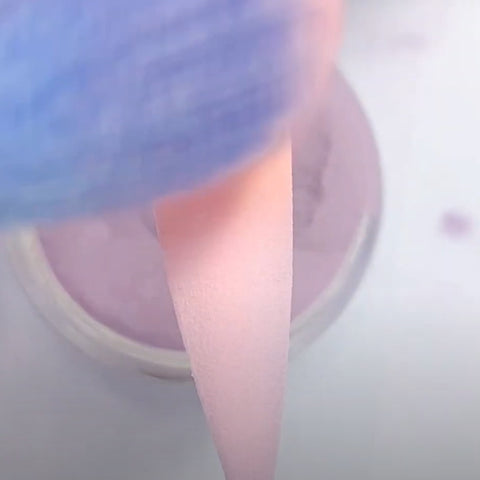
Step 3. Gently brush the tip of the ombre powder to "lighten" the color.
This should only take around 1 swipe! Make sure to only brush the tip of the ombre, not the entire ombre. You're softening it where the two colors meet to create the ombre effect.

Step 4. Slowly apply your top coat, starting at the top (away from the secondary color).
Step 4 is the most difficult part of the process and will take some practice. Because the secondary powder is loose on your nail, you’re essentially using the top coat to seal it to the primary color. You must start at the top and slowly, in long (not short!) motions, gently stroke the top coat over the ombre. If you brush too hard, the ombre will smudge down the nail. You only want to do two strokes, enough to seal the ombre in your top coat.
Tip: Use more topcoat than you normally would. A big dab is best! If you use too thin of an amount, your brush will smudge the secondary color much easier.
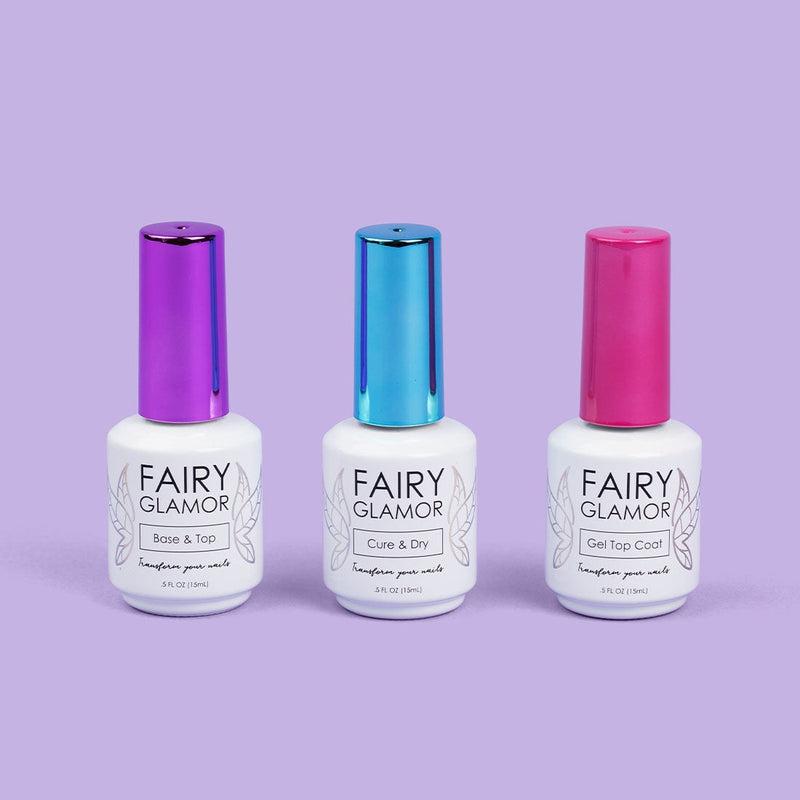
Tip 2: I like to use a gel top coat because it’s thicker than a normal polish top coat. The thicker coat will help prevent your ombre from smudging.

And that’s how you apply ombre to dip nails!
I hope this ombre dip powder tutorial was useful in some way. It’s really an easy and quick way to make your nails look super pro! I’d suggest practicing on a swatch first before moving to your actual nails, since messing up the sealing can really mess up the look of the ombre (and it’s quite difficult to fix once it’s screwed up).
Do you have a special method of doing ombre dip nails? Do you like ombre dip powder application better than acrylic? Do you find it easy? Let us know in the comments!













Comments
Can you encapsulate like when doing chunky glitters?
Activator will smear the ombre. You can activate before doing the ombre effect, but not after. As long as you encapsulate the powder with a gel top coat the effect should stay 💜
Why is there no activator? I assume it is because that would give it less of an ombre look. But what is the repercussion of that?
Why is there no activator? I assume it is because that would give it less of an ombre look. But what is the repercussion of that?
Why don’t you activate ?