Acrylic nails are an art form. Perfectly sculpting, placing beads, and blending colors into effortless ombres all take practice and care, the brush being your most important tool. Your acrylic nail brush makes or breaks your entire manicure, whether you’re a seasoned nail tech or a beginner just learning to do nails at home. But what happens when your acrylic hardens in the brush and the bristles turn into rocks?
The Importance of the Brush

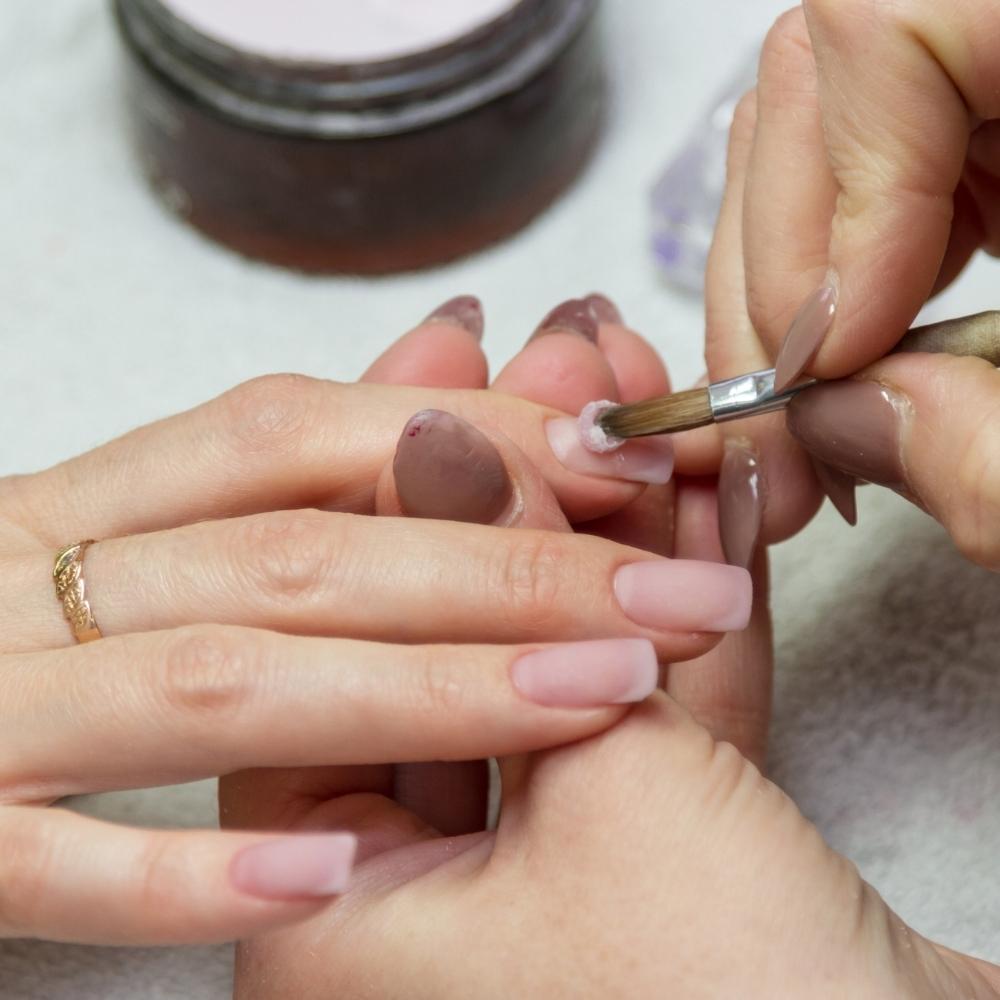
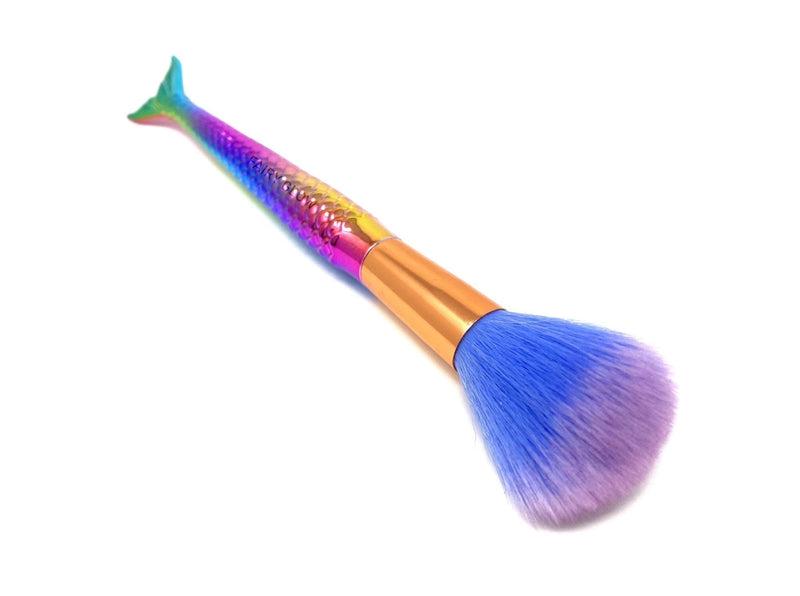
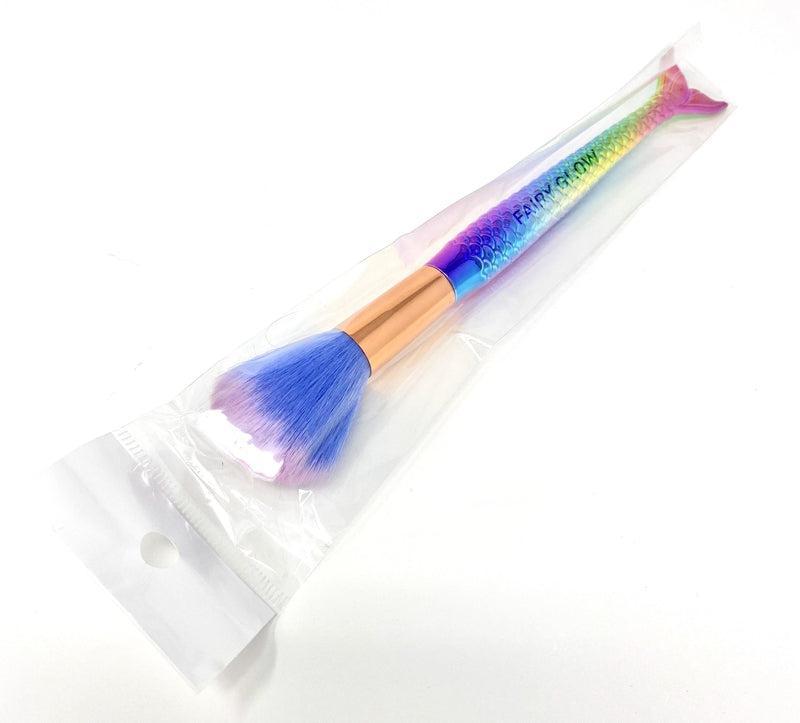
The nail brush is what a pencil is to a sketch artist. The size, weight, and bristle type of your brush will change the speed and look of your manicures. The brush is dipped into the monomer liquid (the ‘activator’ of the acrylic powder, which is the ‘glue’), strained, and then the tip is submerged in acrylic powder to form a bead. This bead is carefully placed and pressed onto the nail (natural nail, nail tip, or full-cover tip) and shaped as desired. The brush helps mold the bead along the nail, creating shapes or a smooth surface. Need a great brush? Check out our signature Fairy Glamor brush.
You can read more about the different kinds of nail brushes in our blog, “What is the Best Acrylic Nail Brush Size for a Beginner?”
Why Does My Brush Get Hard?
Brush hardness is usually due to incorrect acrylic technique and/or poor brush cleaning. The brush hardens when acrylic is left to dry inside the bristles, sticking them together. A hard brush makes it difficult to place and smooth beads of acrylic, often leaving you with bumpy, uneven nails.
How to Correctly Place a Bead of Acrylic
Having a smooth base is a crucial part of a sleek mani. Making sure you’re correctly prepping your nails for a long-lasting manicure is the first step to an acrylic set, and maybe the most important.
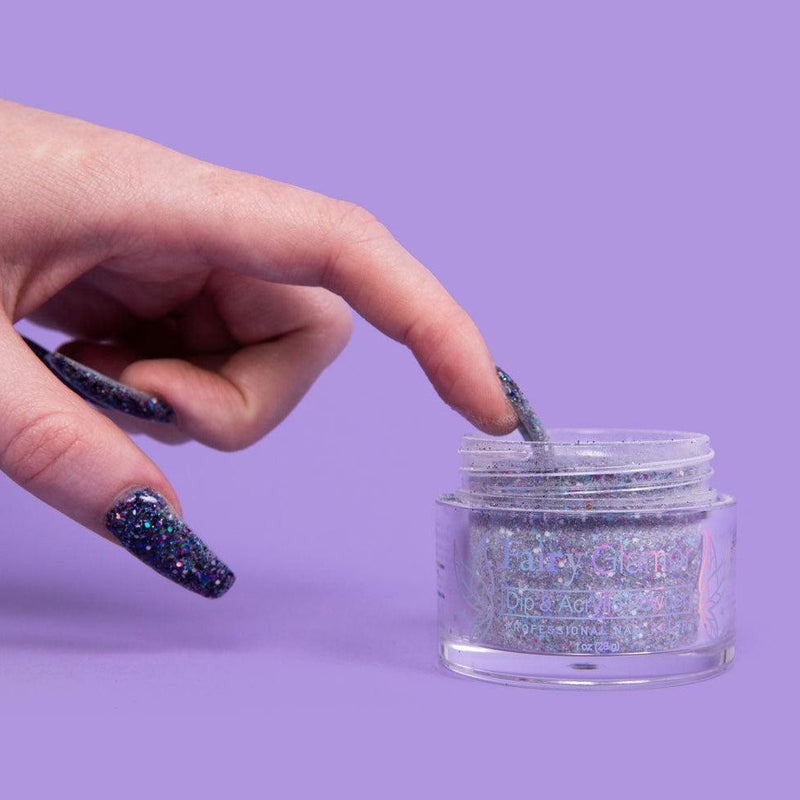
We won’t bore you with a full tutorial, especially if you’re a professional, but the key mistake that leaves nail artists with a hard brush is incorrectly dipping your brush into the powder. The nail brush should be dipped into the monomer liquid and pressed against the glass to remove excess liquid; this is huge. Then, dip the tip of the brush at a 45-degree-angle into the acrylic powder; do NOT submerge the brush completely. Only the tip should go into the powder.
Once you’ve held the brush in the powder for a few seconds, pull it out and admire the perfect bead! Tap the bead onto your desired surface and spread as usual.
Need more help getting a smooth manicure? Check out our blog.
Don’t Forget to Clean!
It is unusual for brushes to get hard if you practice the correct technique. Regardless, if you’re a professional nail artist and complete multiple sets a day, acrylic might get trapped between the bristles of your brush and harden. That’s why it’s important to clean the brush between uses.
Every time you finish using your brush, dip it in the monomer solution and dry it on a paper towel. Inspect the bristles for any bits of leftover acrylic.
If you’ve already got a hard brush, you will need to deep clean it in order to return it to functional use.
How to Deep Clean Your Nail Brush
If your brush is full of acrylic, deep cleaning is your only option.
Here’s what you’ll need:
- Dirty acrylic brush
- Monomer liquid
- Small glass
Steps:
- Begin by rinsing the brush under some water to remove any free debris. Do NOT try to pull off any bits of acrylic, as you will likely rip the hairs out from the brush and destroy it.
- Pour some monomer liquid into a glass. Do not use a plastic container as monomer has been known to have some weird chemical reactions with various plastics.
- Gently set your brush into the monomer liquid and wiggle the bristles around to saturate them.
- Wait two hours or overnight for the monomer to really penetrate the stuck acrylic.
- Once you’ve waited enough and the liquid is cloudy, swirl the brush around to remove any acrylic bits.
- Rinse the brush under water once again and make sure that there is no leftover acrylic. Repeat this process if there are still hard bits stuck in the brush.
Note: if you wait too long to clean your brush, it might be ruined forever. Sometimes the acrylic has bonded so much that it is impossible to remove.
Need more help? Read our full guide to cleaning your acrylic nail brush.

