
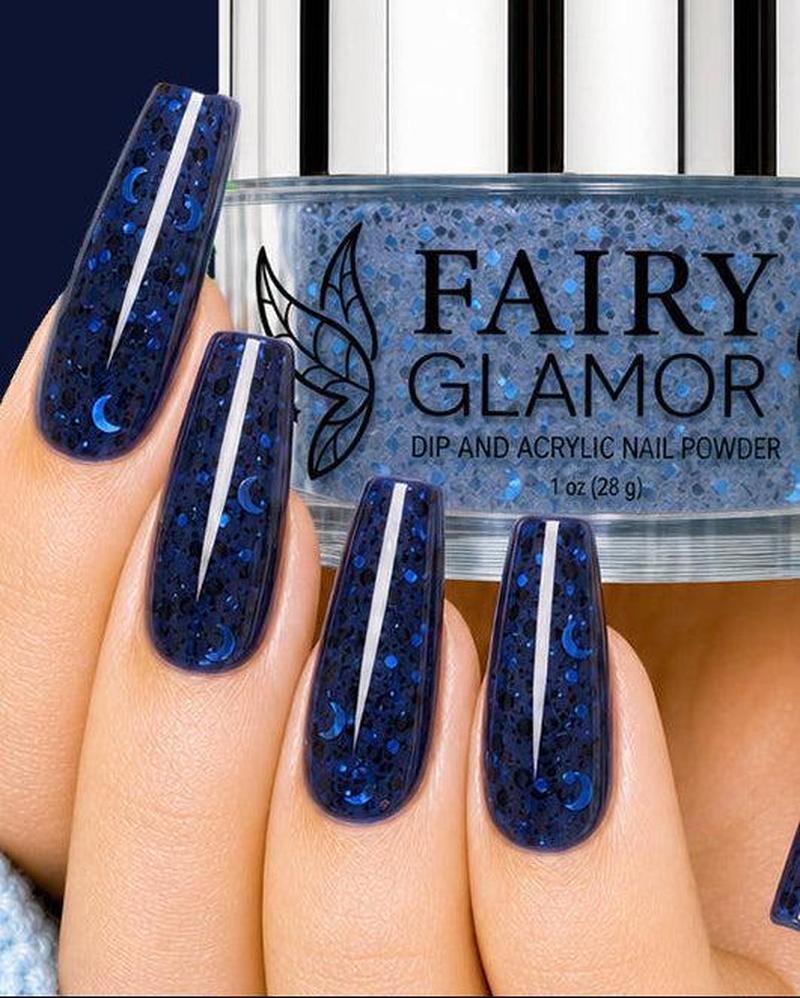
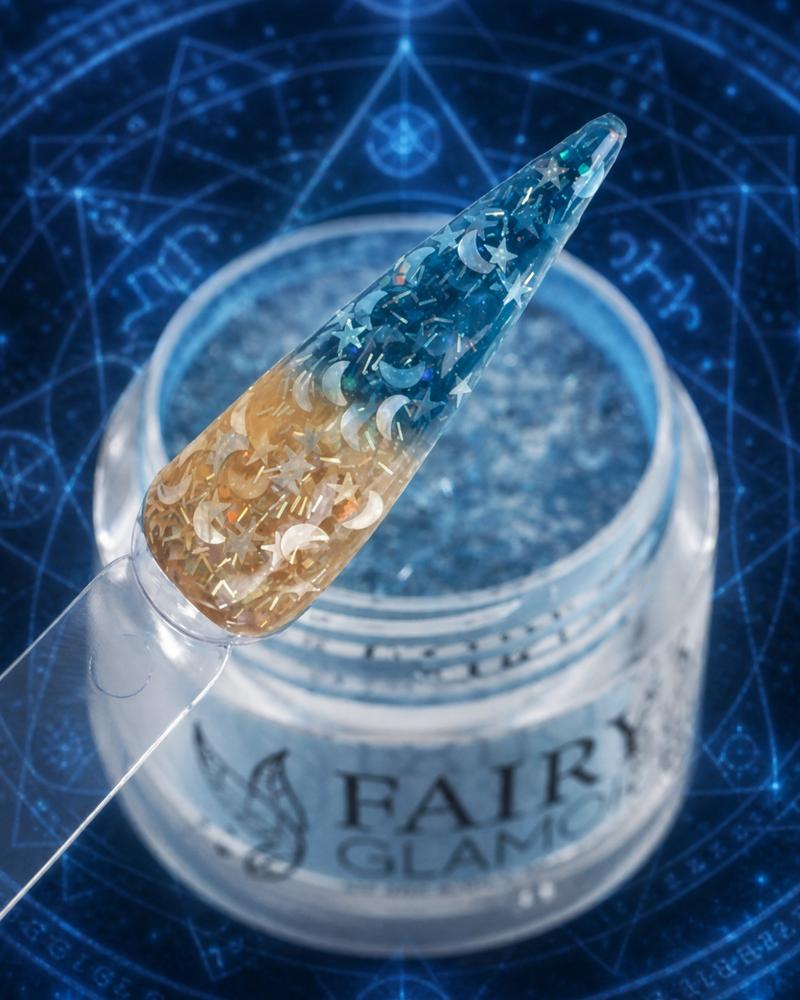
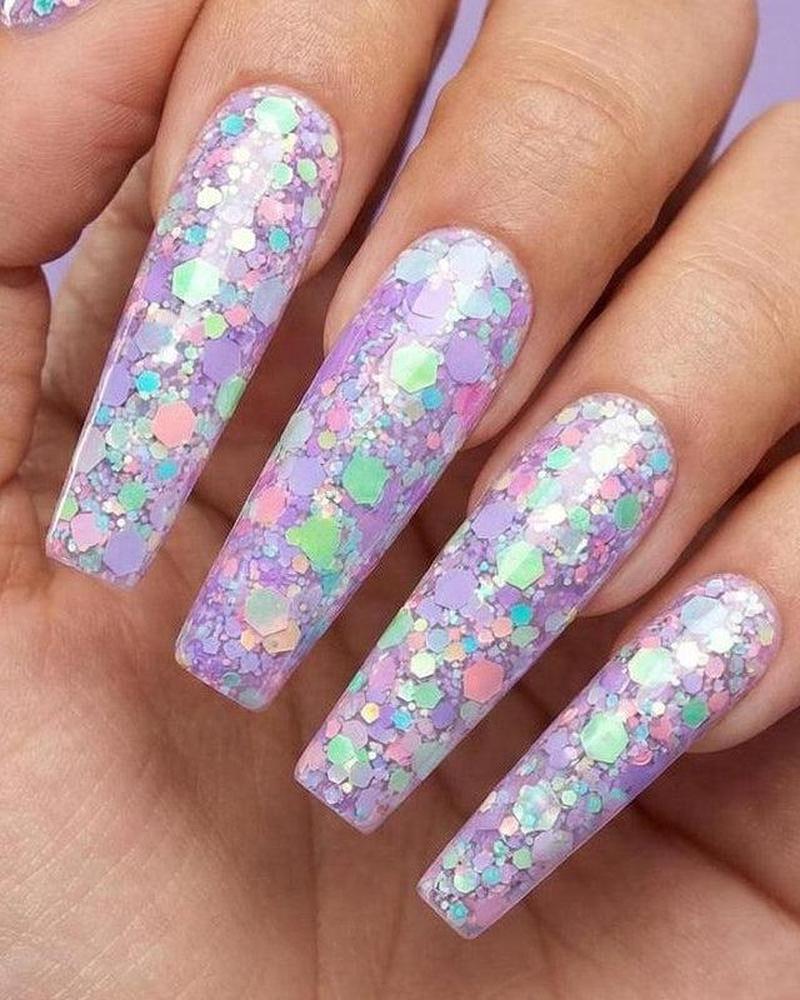
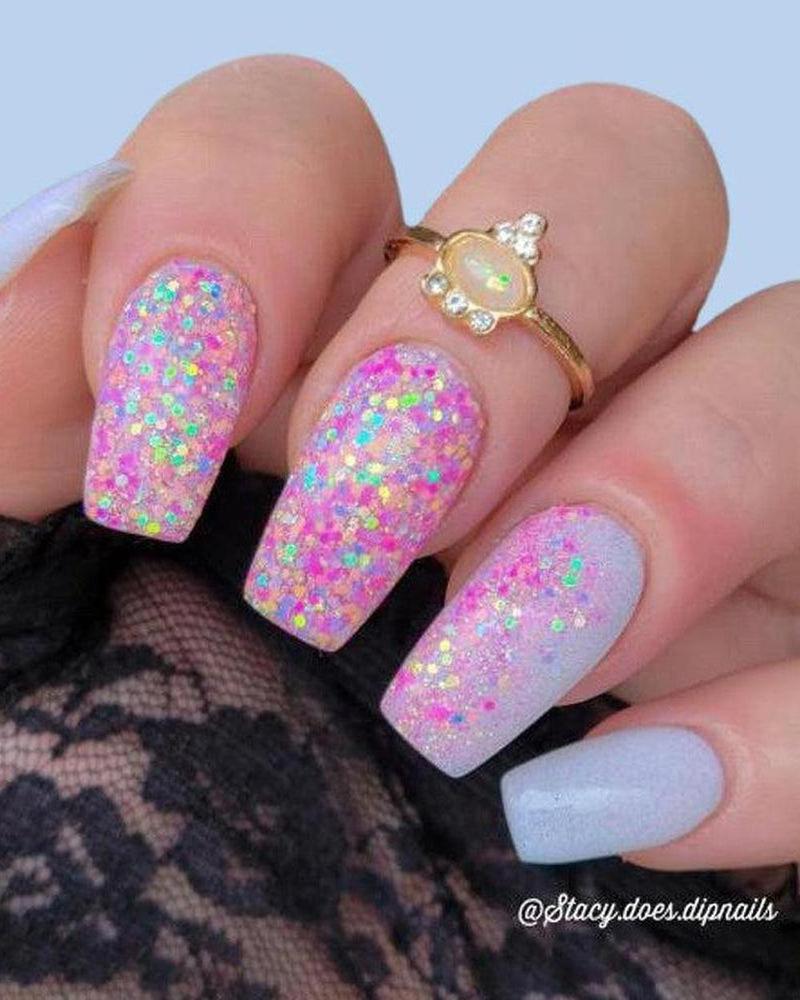
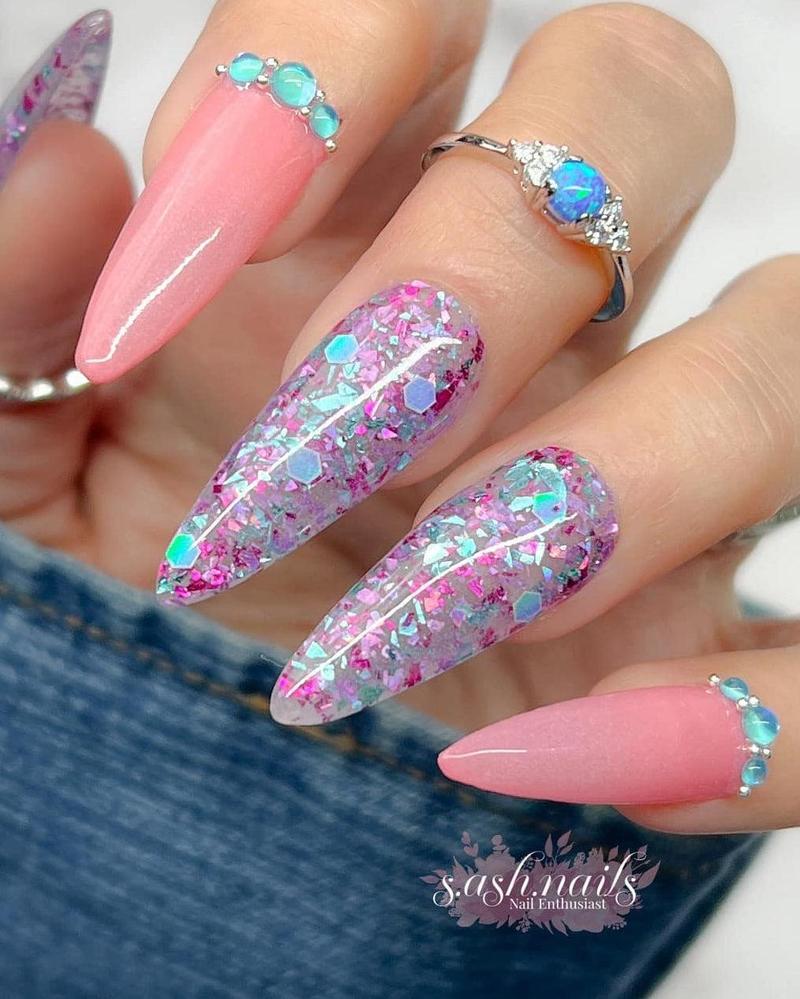
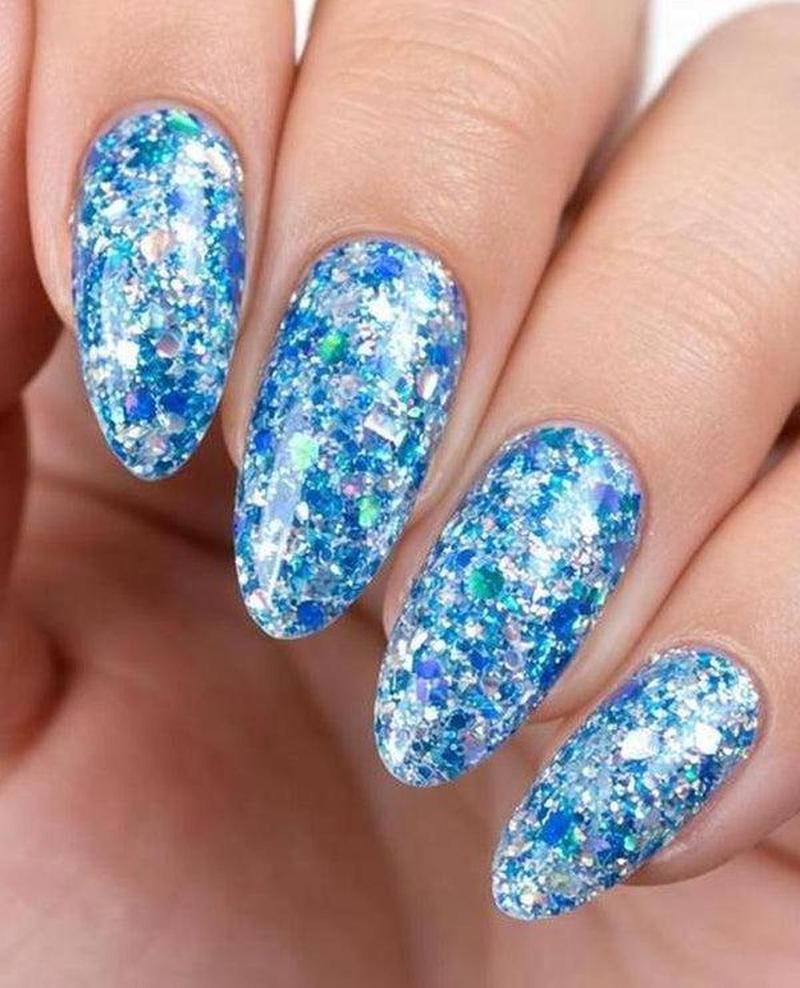
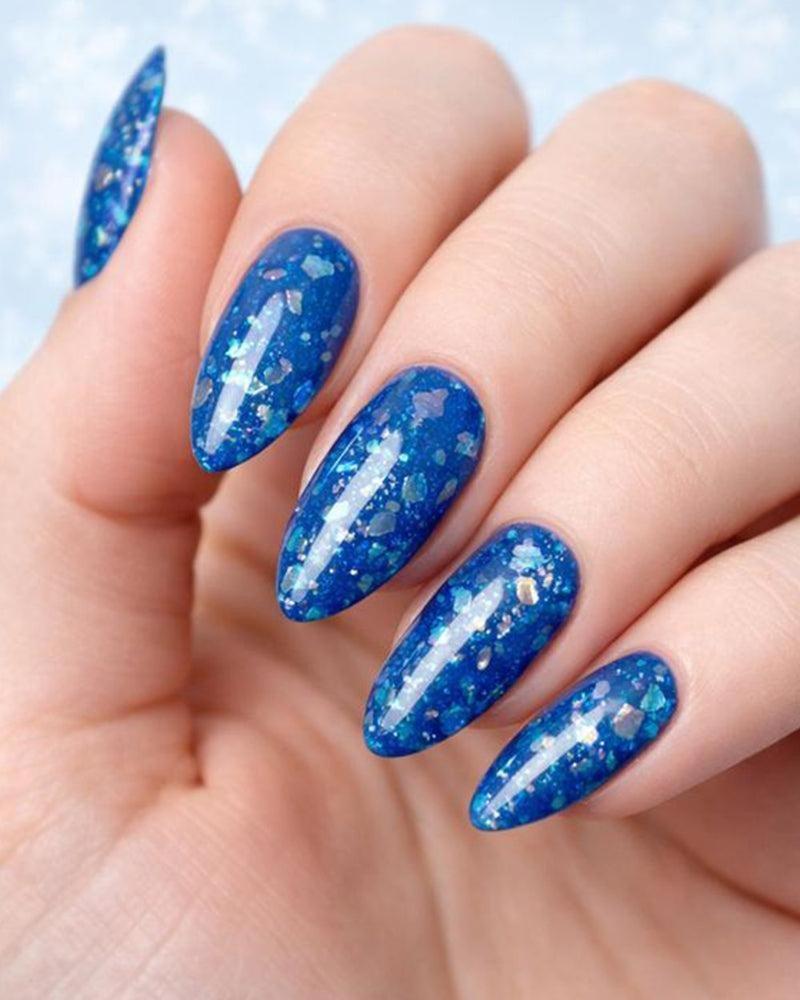


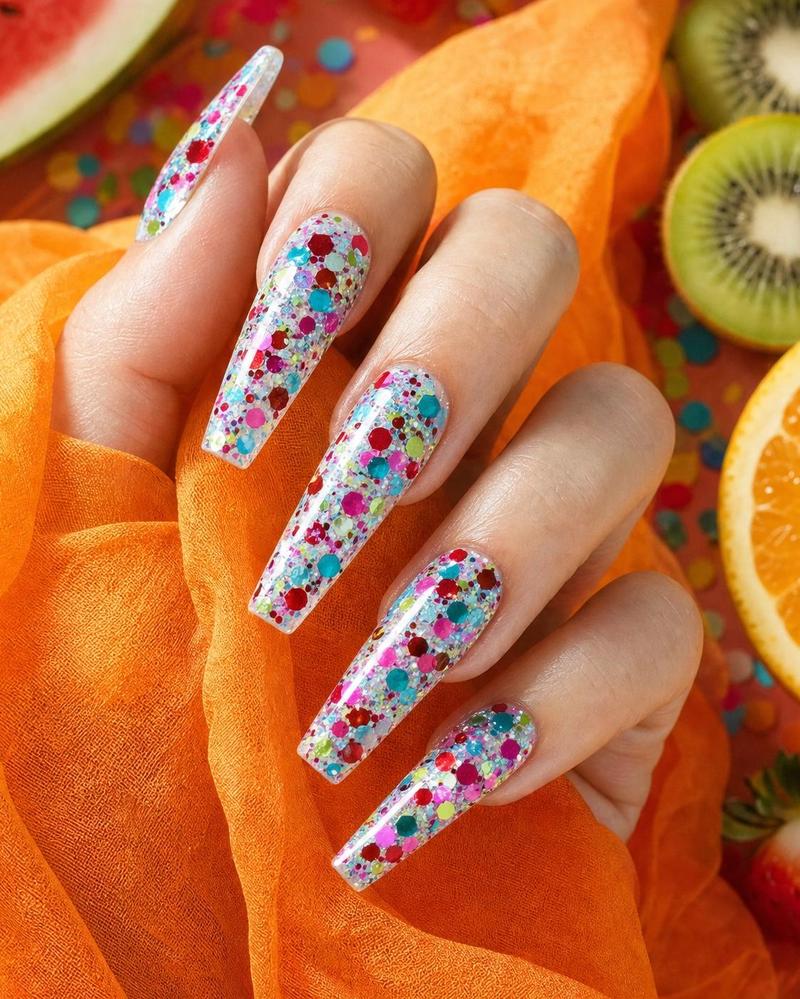
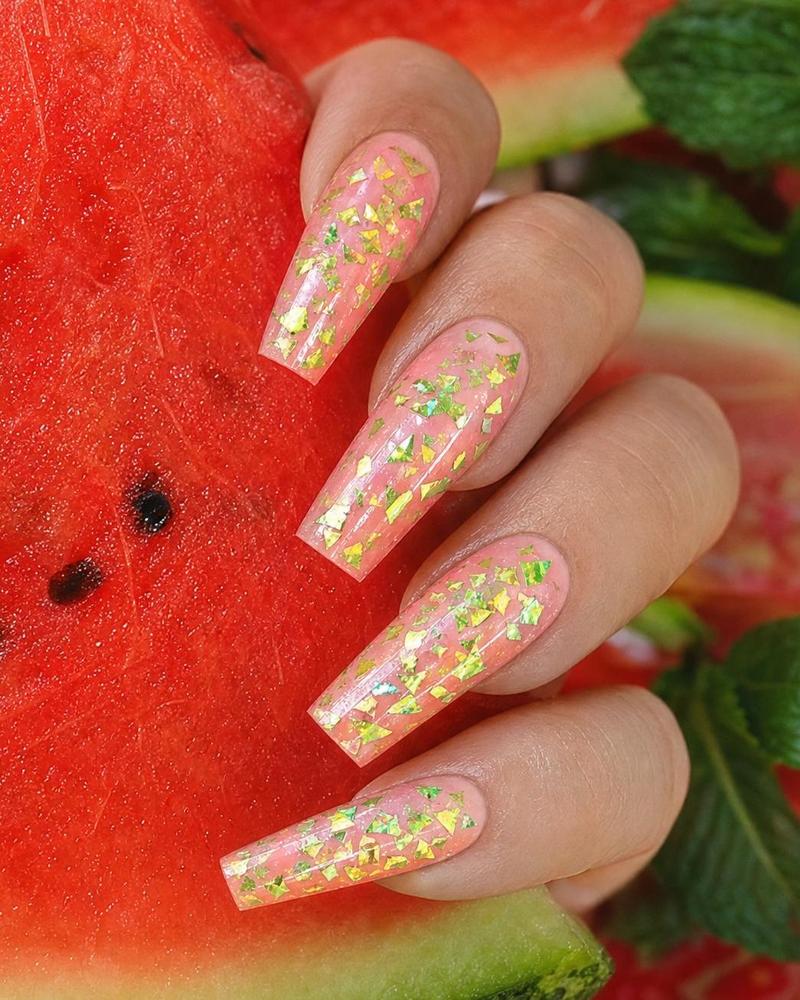
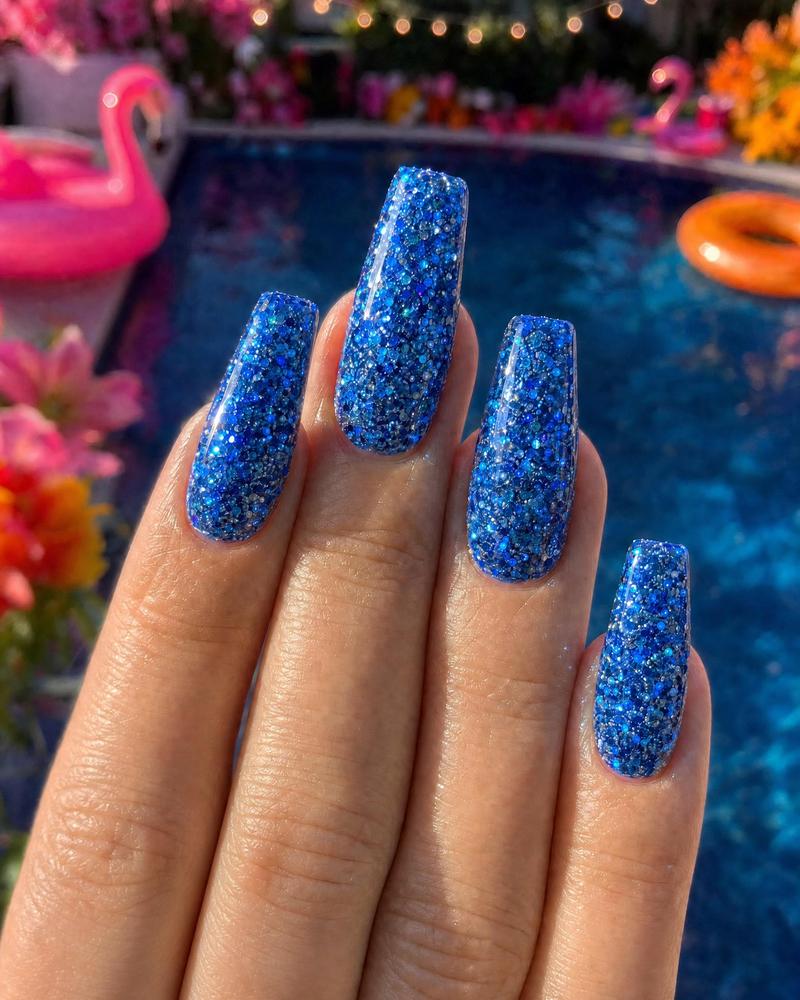
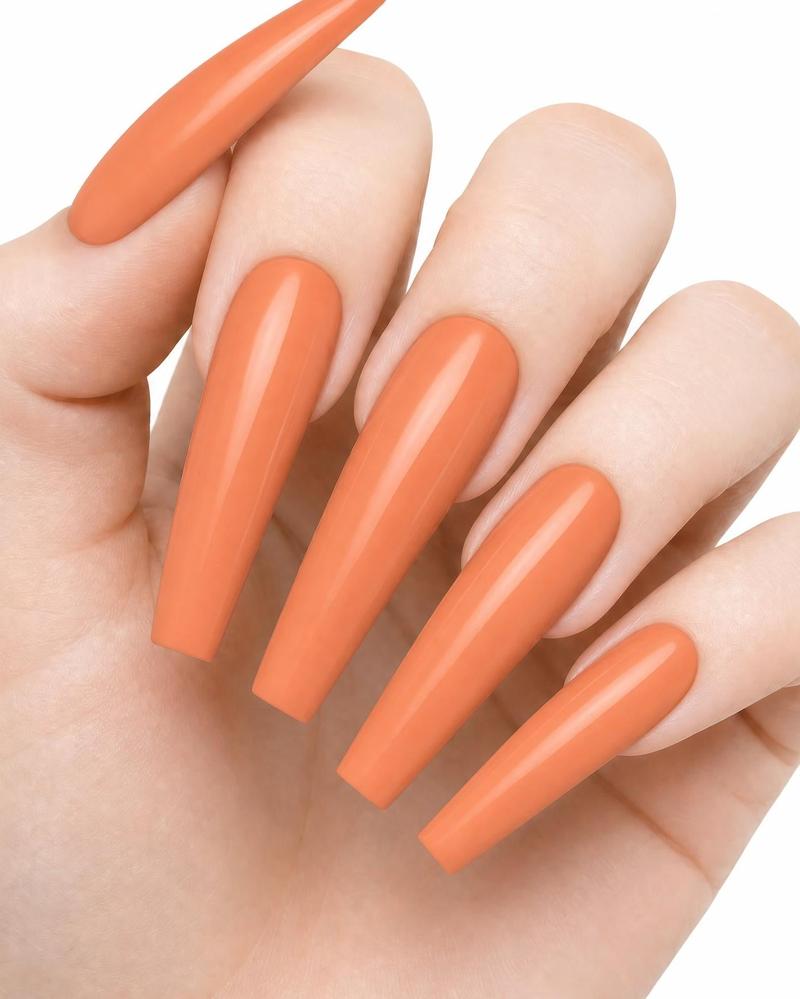
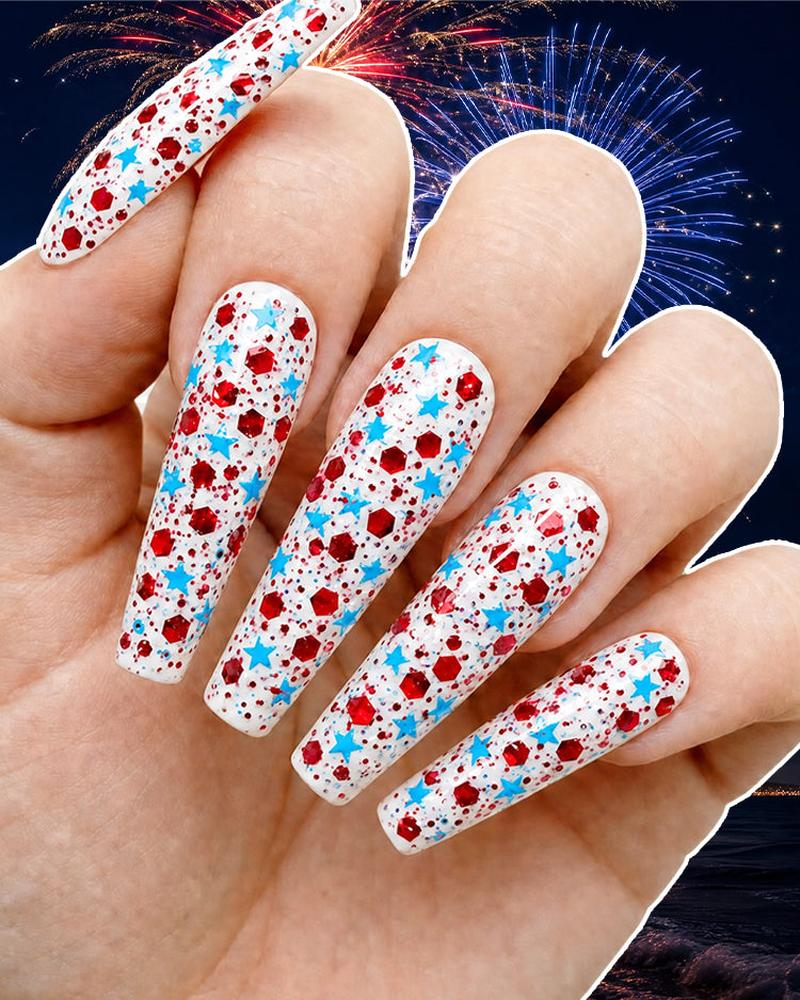
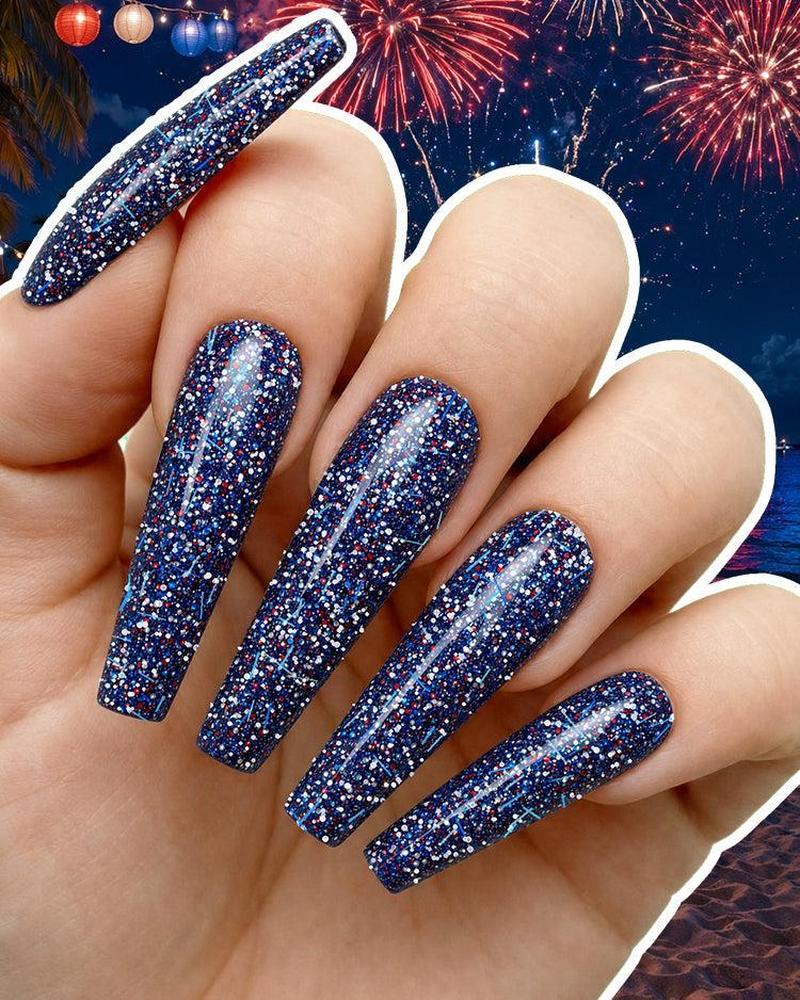
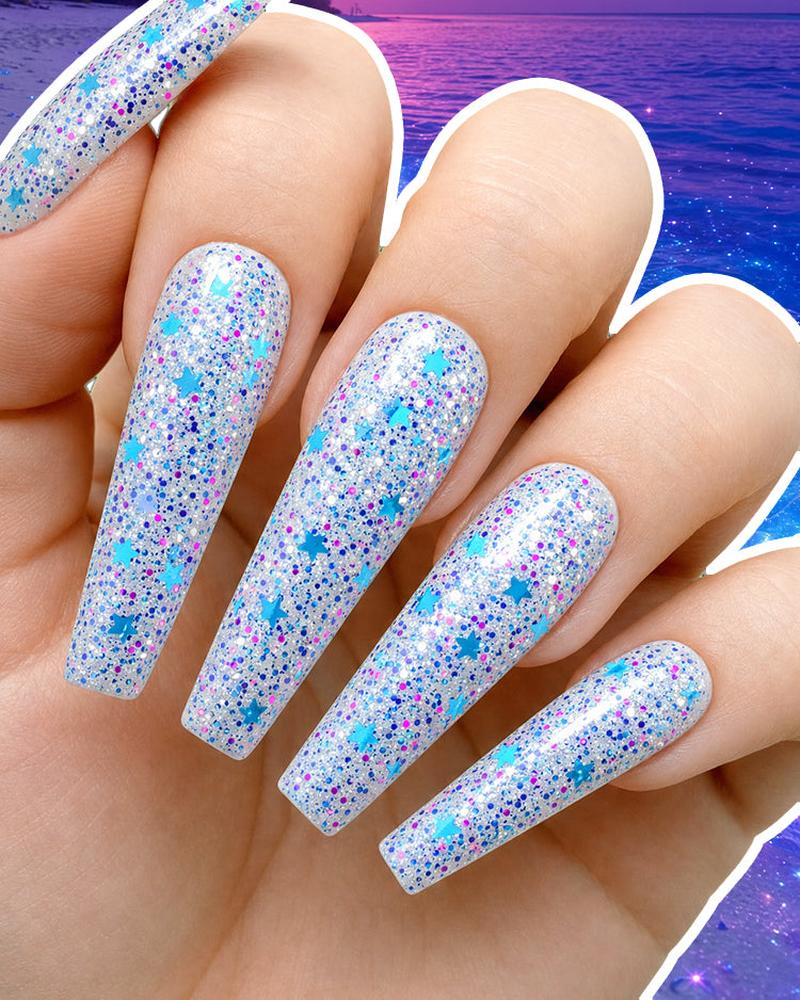
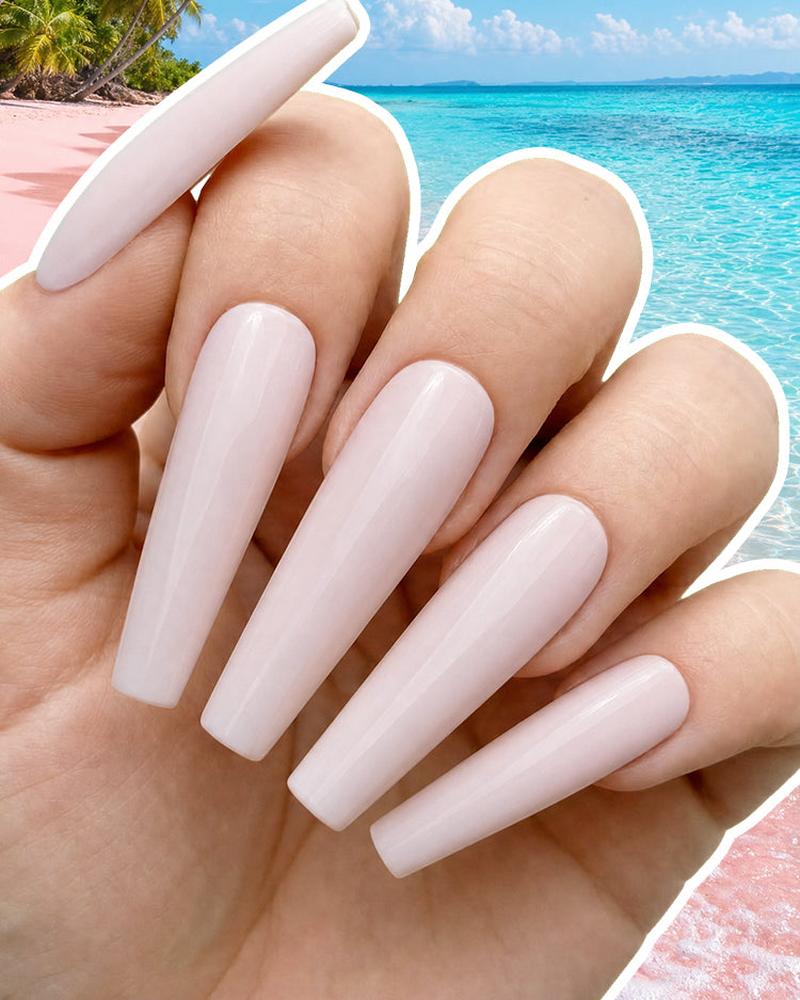
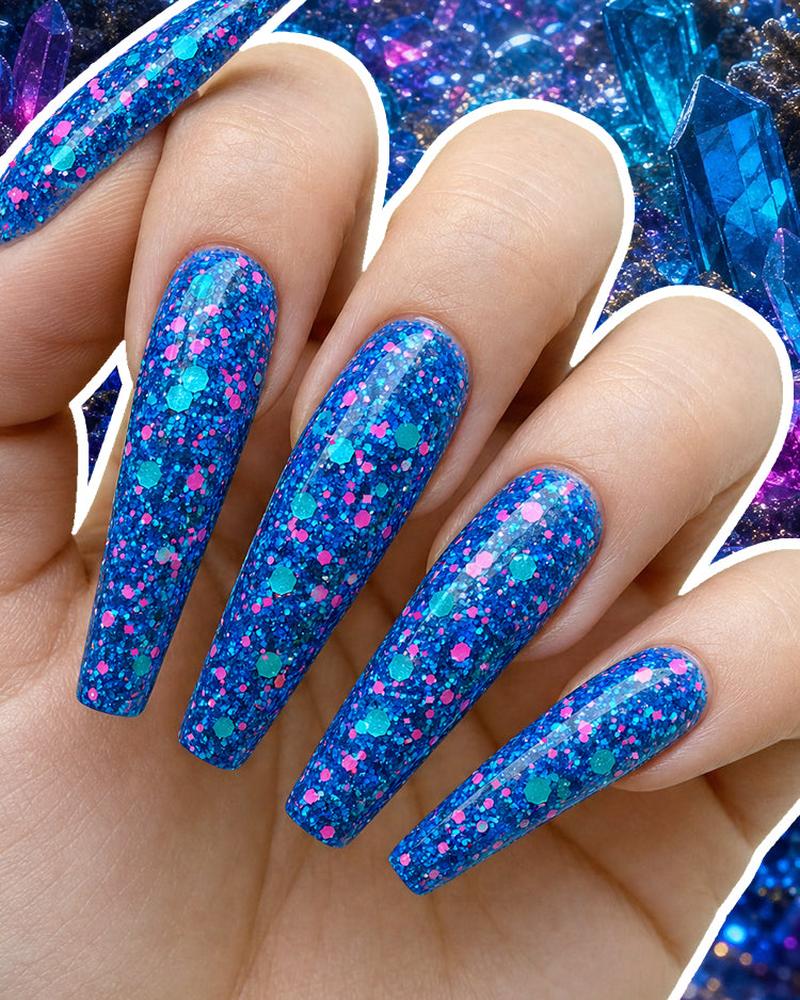
Have you ever seen a photo of somewhere wearing these gorgeous, glittery dip nails and wondered how the heck they manage to apply it? Well, you’re in the right place! We’re going to teach you step by step on how to apply chunky glitter dip nails with a few tips and tricks along the way. We’ll also show you a couple different methods you can use to apply your chunky glitter. Pick your favorite!
Applying chunky glitter with the dip method is an advanced technique. It’s not as simple as applying your base, dipping your finger in the jar, and then calling it a day. You’ll need some proper maneuvering and a few extra tools to get that glittery look you’re after.
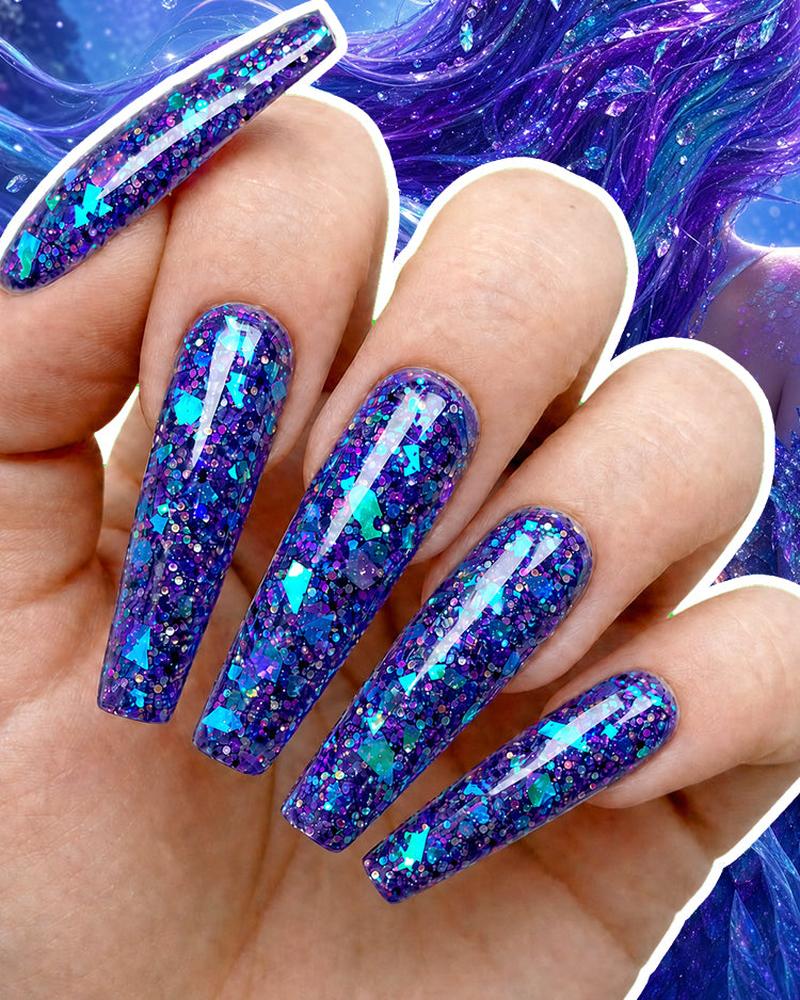
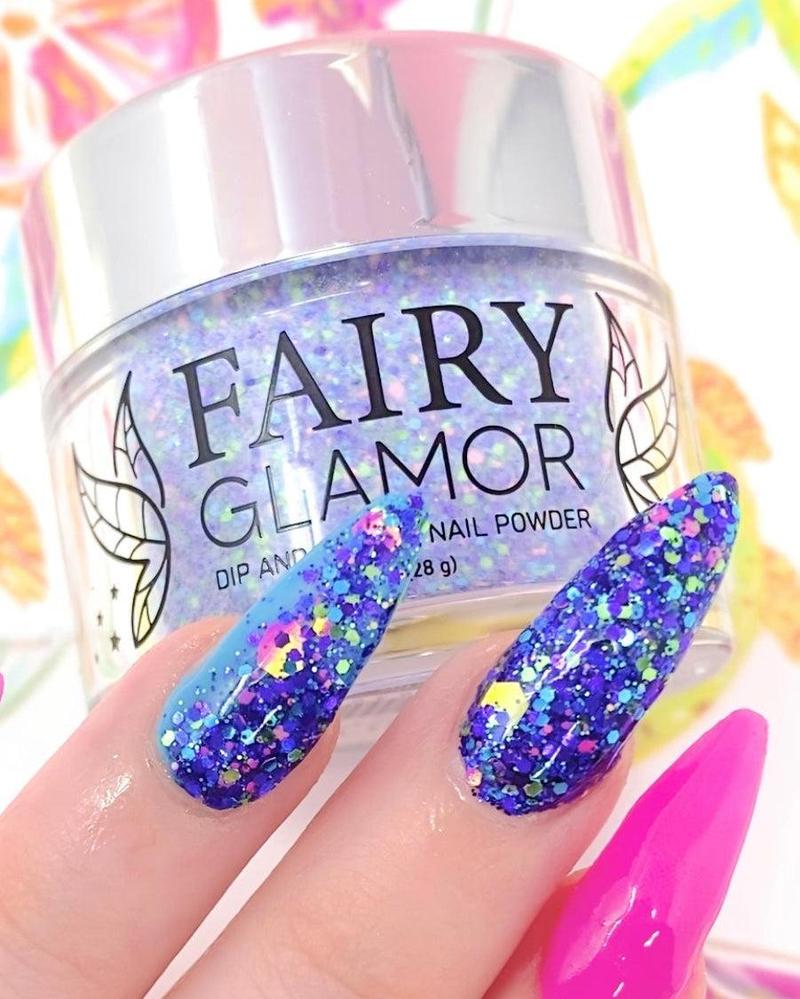
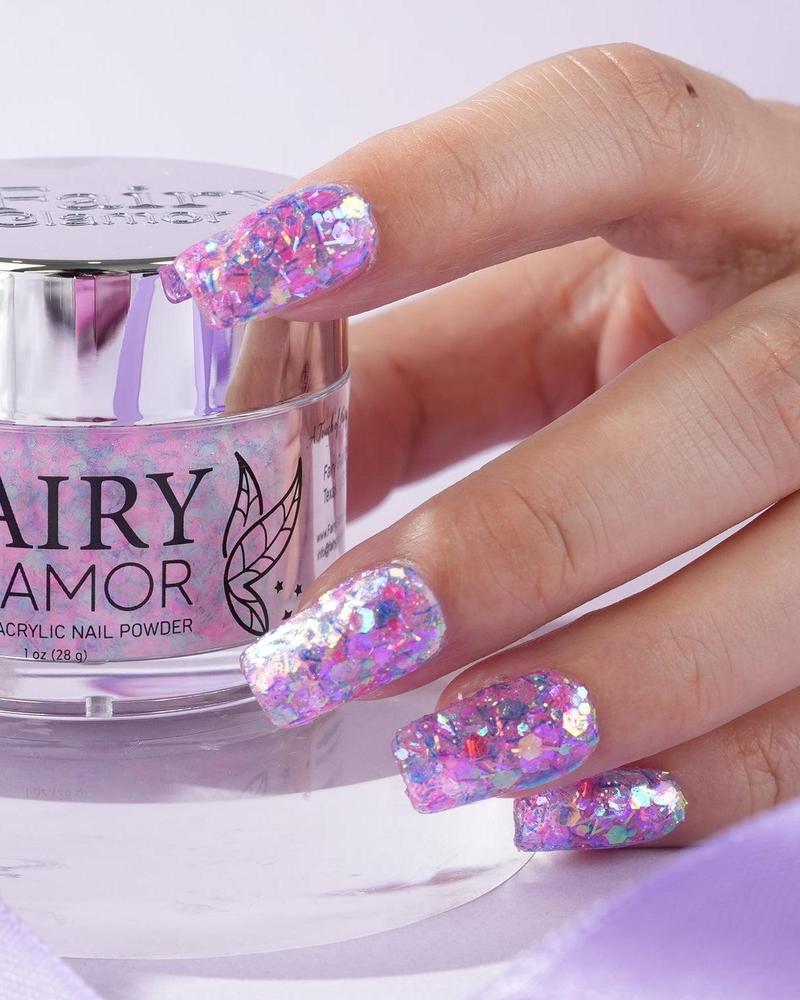
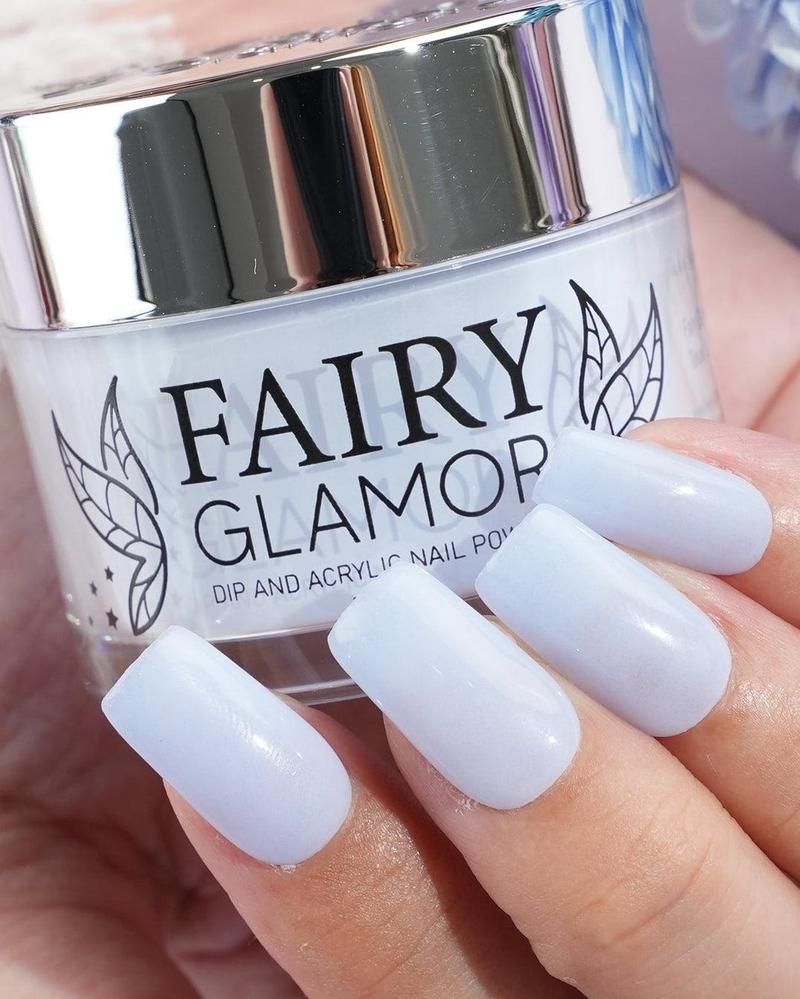
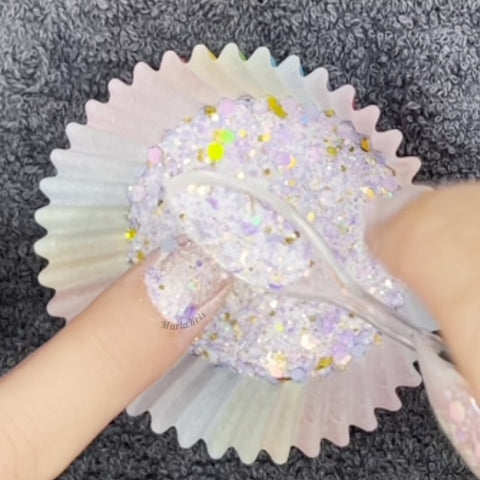
We partnered with Youtuber Marla Kris to get you guys these nice photos as she shared with us some of her tips and tricks!
Recommended tools for chunky glitter dip nail application
- Toothpick or something pointy
- Cupcake liner (if you’re using long nail extensions)
- Spoon (optional)
- Eyeshadow brush (optional)
- Dip liquid kit
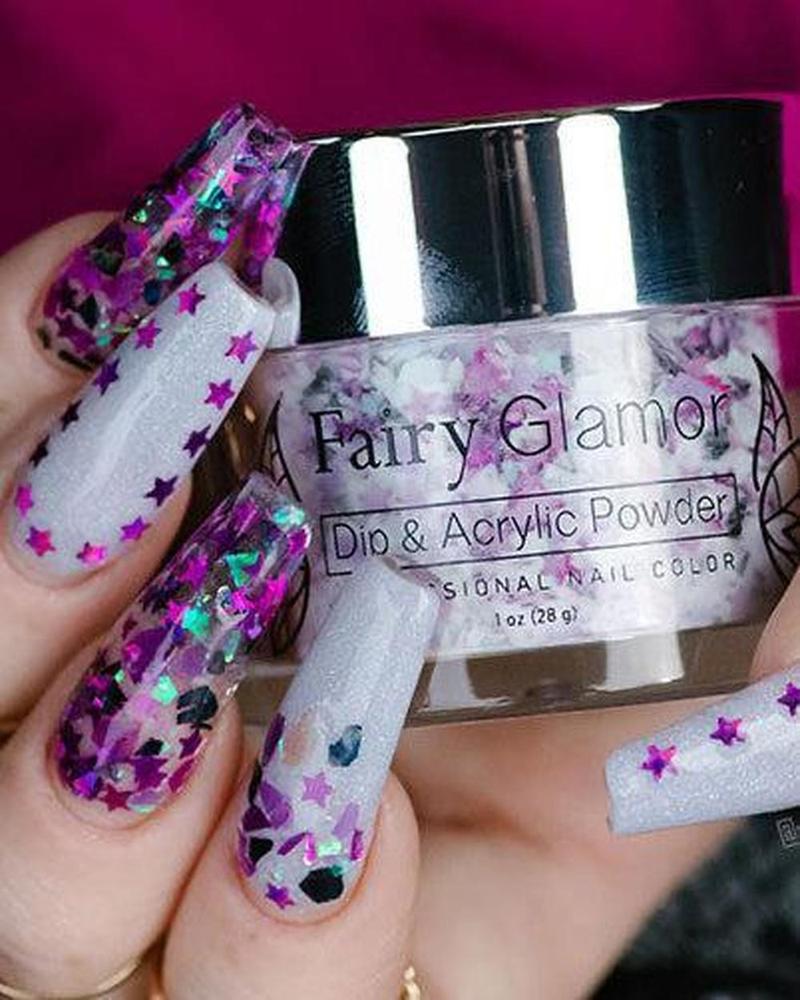
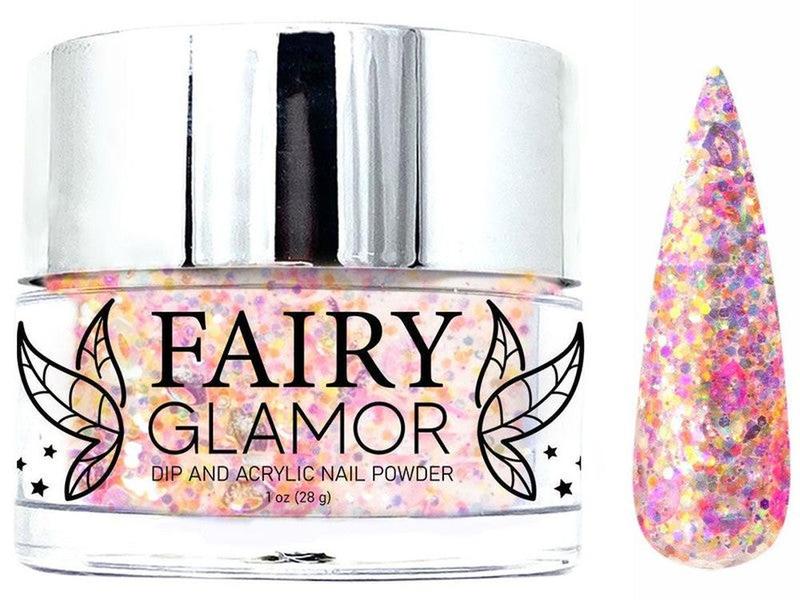
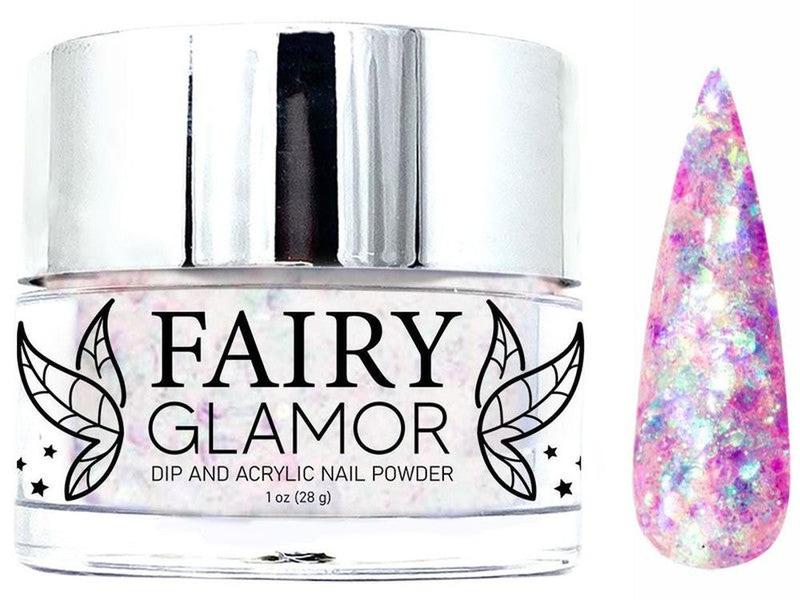
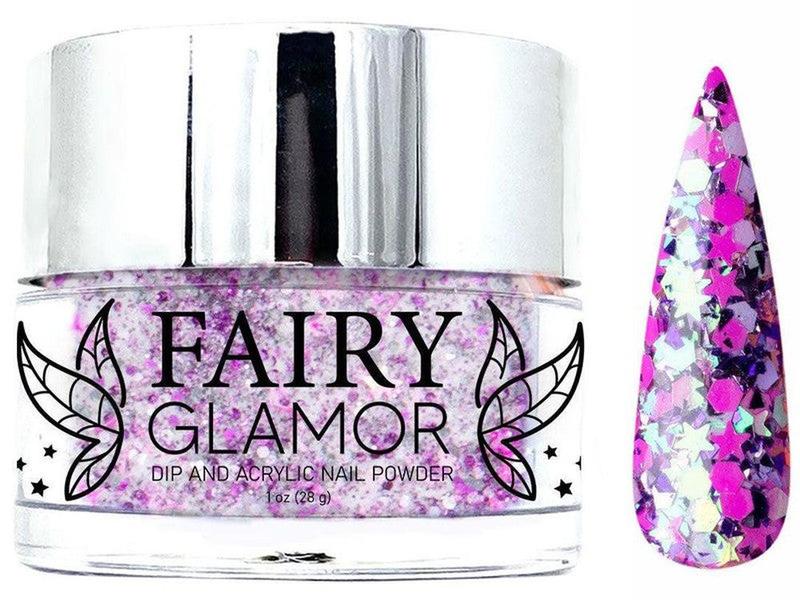
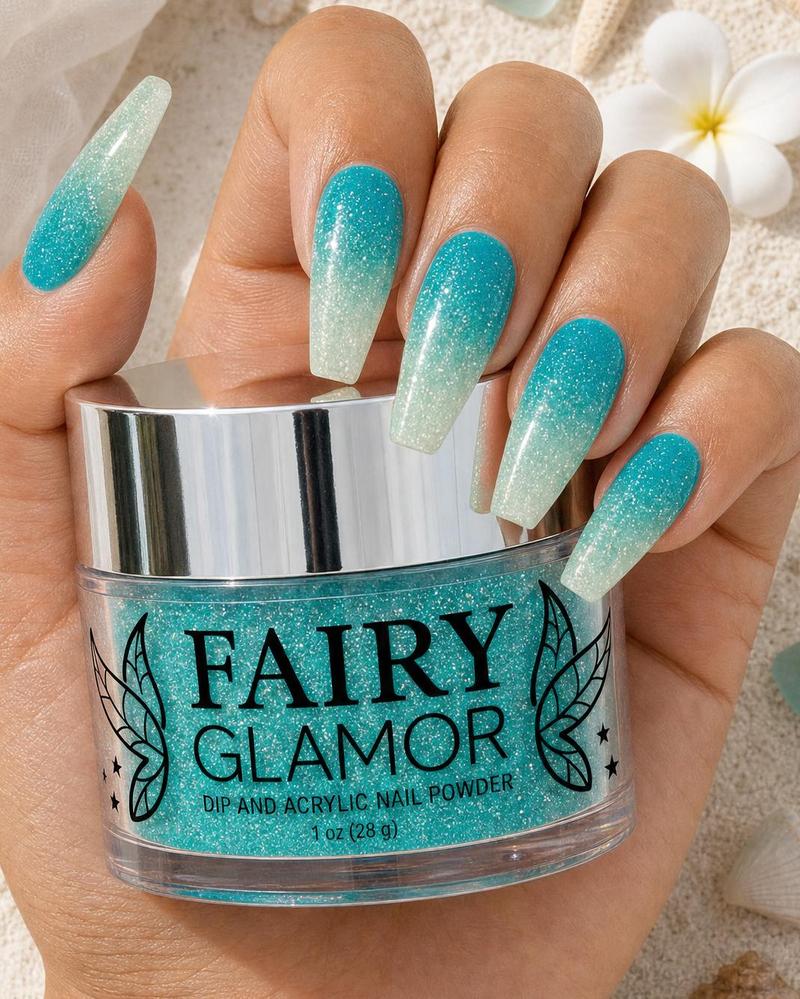
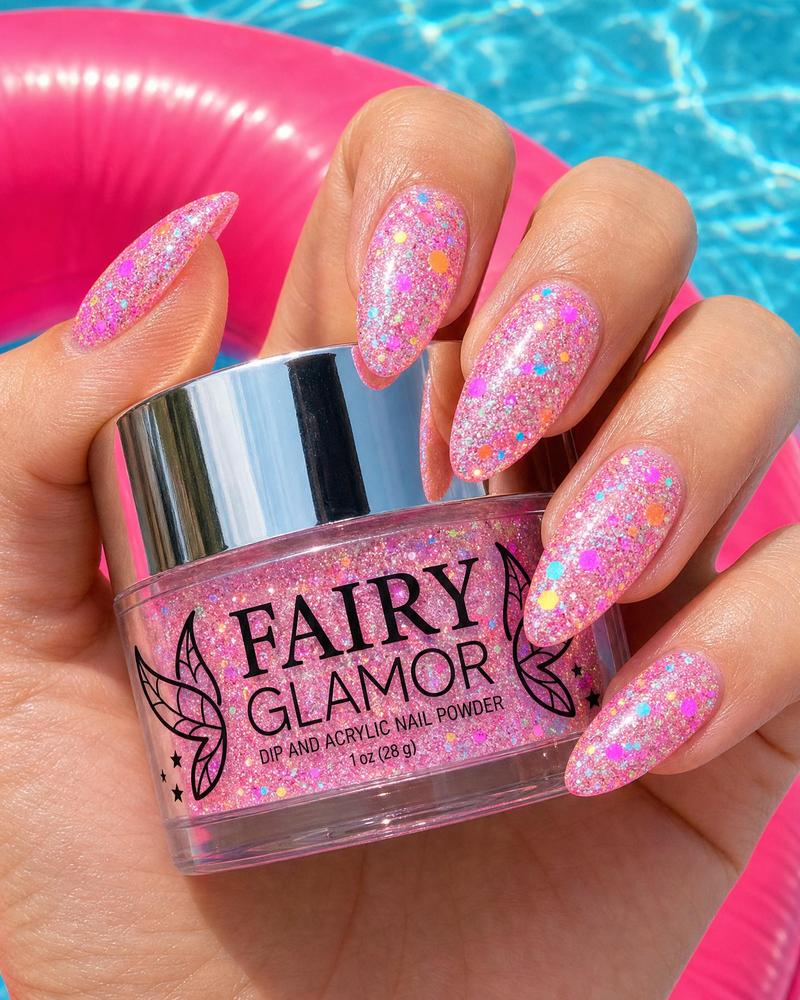
- Chunky glitter dip powder
- Nail file/drill
How to apply chunky glitter dip nails.
Choose your application method.
There are multiple options you can choose from to apply your chunky dip nails. We’re going to explain each option and try to help you narrow down the one that’s best for you.
Option 1. The Standard Dip Method.
This method is for those that don’t like changing their routine and are using short nail tips that will fit into the jar. You just apply your base liquid and dip your finger into the jar. Hey, I get it! This is the method that I choose to do. However, you can’t expect to apply your dip powder the same as you would a powder without large glitters.
Standard dip instructions: When you’re applying chunky glitter by dipping your finger straight into the jar, you need to apply a very generous (thick) amount of your base liquid to the nail. You cannot apply a thin layer, or the chunky glitters will NOT stick. With this method you can expect to only need to dip twice to fully cover your nail with glitter. Make sure to use a generous amount of activator liquid between each dip—when you’re using a thick layer of base, some of it can squeeze through the glitters to the top layer and you want to make sure it gets cured.

Option 2. The Cupcake Liner Method.
The Cupcake Liner Method is great for those that enjoy long nail tips that don’t quite fit in the jar. If you’ve had trouble getting your chunky glitters to stick with the Standard Dip Method, then the Cupcake Liner Method is a great alternative to try. Not to mention—cupcake liners are cheap! You can buy a hundred of them for a couple bucks and then toss them out when you’re finished.
Cupcake Liner Instructions: Fill your cupcake liner up with at least a centimeter of glitter in depth (don’t worry about excess, you can pour it pack into your jar afterwards! The liner makes this easy.). The trick it to apply your base liquid and then press your nail upside down into the powder. The extra force from pressing the nail directly into the powder helps the chunky glitters stick firmly.
Option 3. The Spoon Method.
The Spoon Method is pretty simple—you’ll use a spoon to spoon the dip powder over your nail, letting any excess fall into a cup or your powder jar. Using a spoon gives you a little more control and better saturates the nail with powder. It also works great for longer nail tips or any ombre designs you may decide to do.
Spoon Method Instructions: Use a small spoon to pour the powder over your nail (after applying your base liquid). Keep spooning powder over your nail until the base liquid is fully covered. You can do this either over your dip powder jar or over a cupcake liner/cup that will catch any excess powder.
After you’ve chosen your preferred application method, you’ll need to follow these helpful tips and tricks on how to form your chunky glitter nail into a proper masterpiece.
How to Create Gorgeous Chunky Glitter Nails.
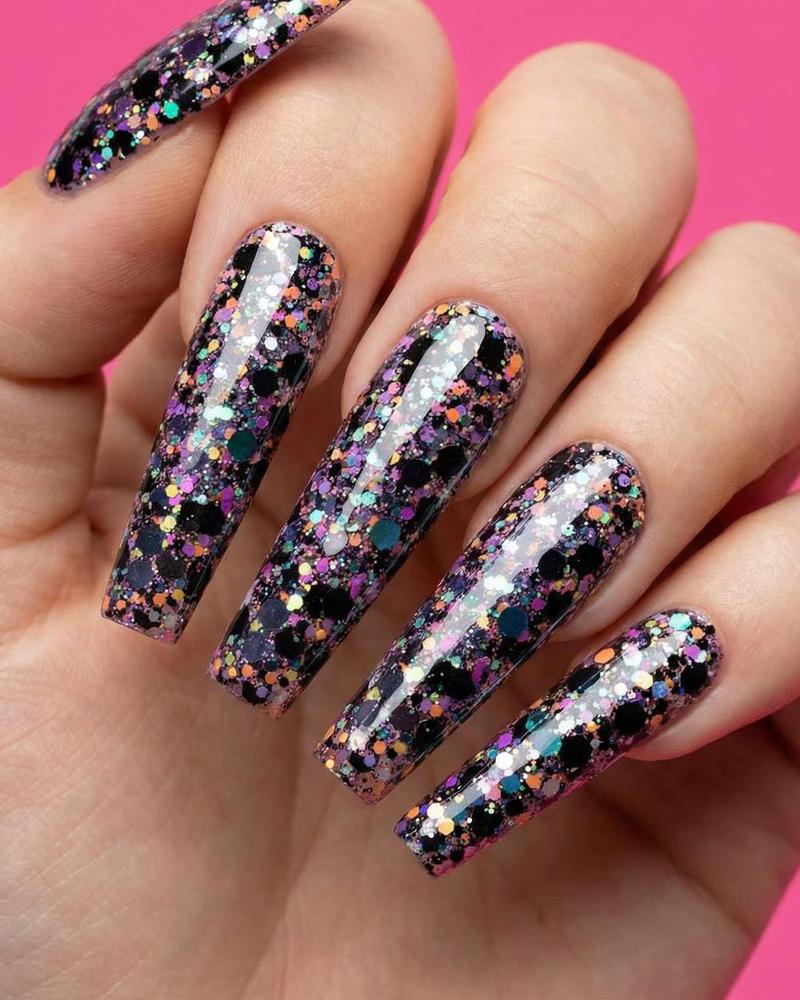
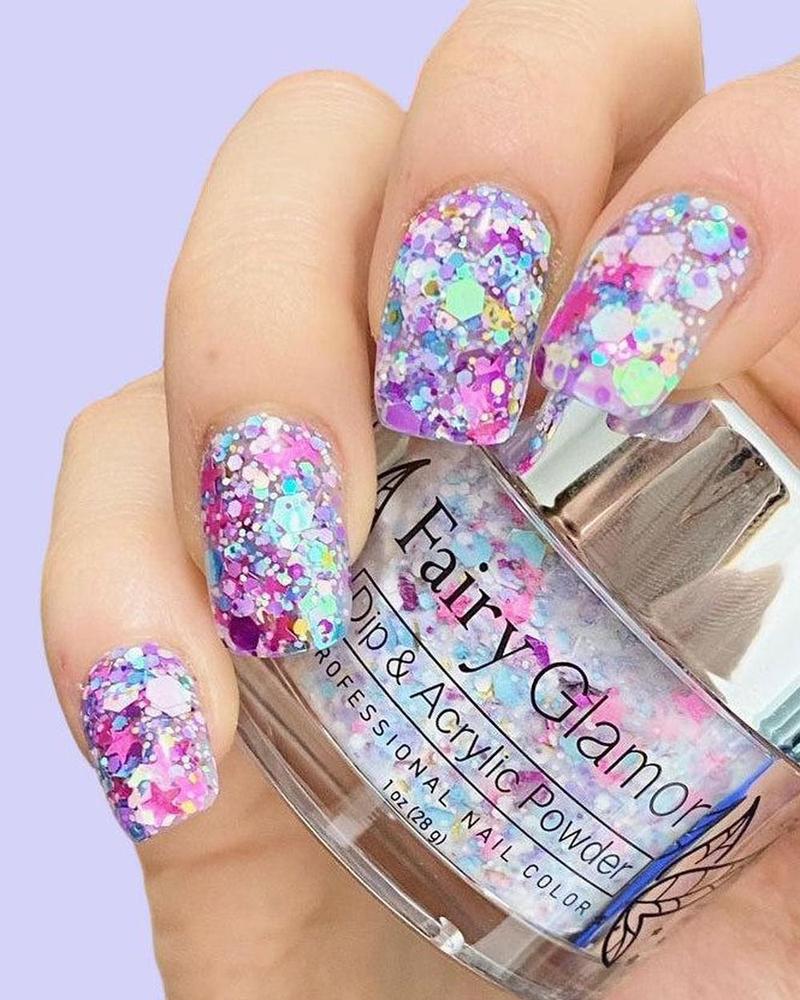
The truth is, after applying your chunky glitter using one of the methods above, your nail color still won’t look right. This is because when you apply chunky glitter using dip liquids, the large glitter flakes tend to poke out away from your nail-bed—they will sit half on your nail, and half off. Obviously, this is not the look you want!

Using a toothpick to adjust your chunky glitter dip nails.
This is where your toothpick or pointy tool comes into play.
Between each chunky glitter application, you need to use your pointed tool to either push the extended glitter onto your nail while the base liquid if still wet or take the piece off entirely. There’s really no way around it. You must do this FAST otherwise your base liquid will dry and then the glitters aren’t easily movable. You can also try using miniature nail scissors to cut away any extended glitter pieces if your base dried too fast.
Flattening your chunky glitter nail powder.
After you’ve situated your glitters how you want them to look, you’ll need to pat them down to help them stay flat against your nail. You can either use your finger to do this (although your finger may get a little sticky) or a disposable eyeshadow brush. You need to do this step before the base liquid dries all the way, otherwise some of your glitters can stay sticking up at odd angles. Kind of like they’re having a crazy hair day!
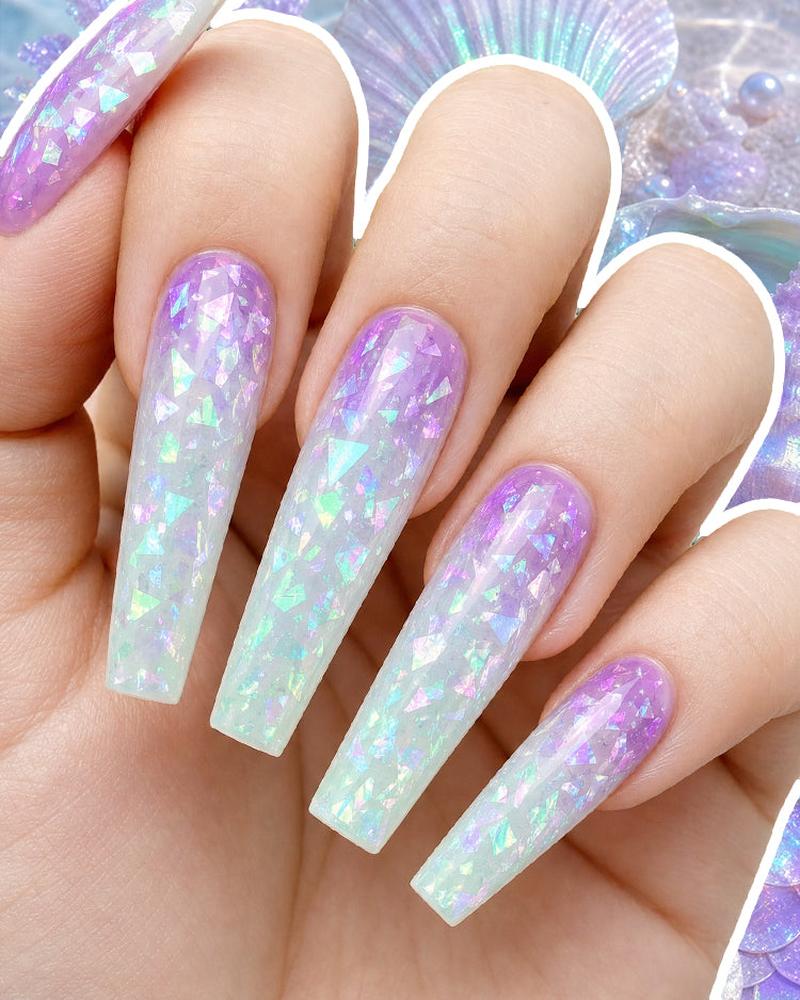
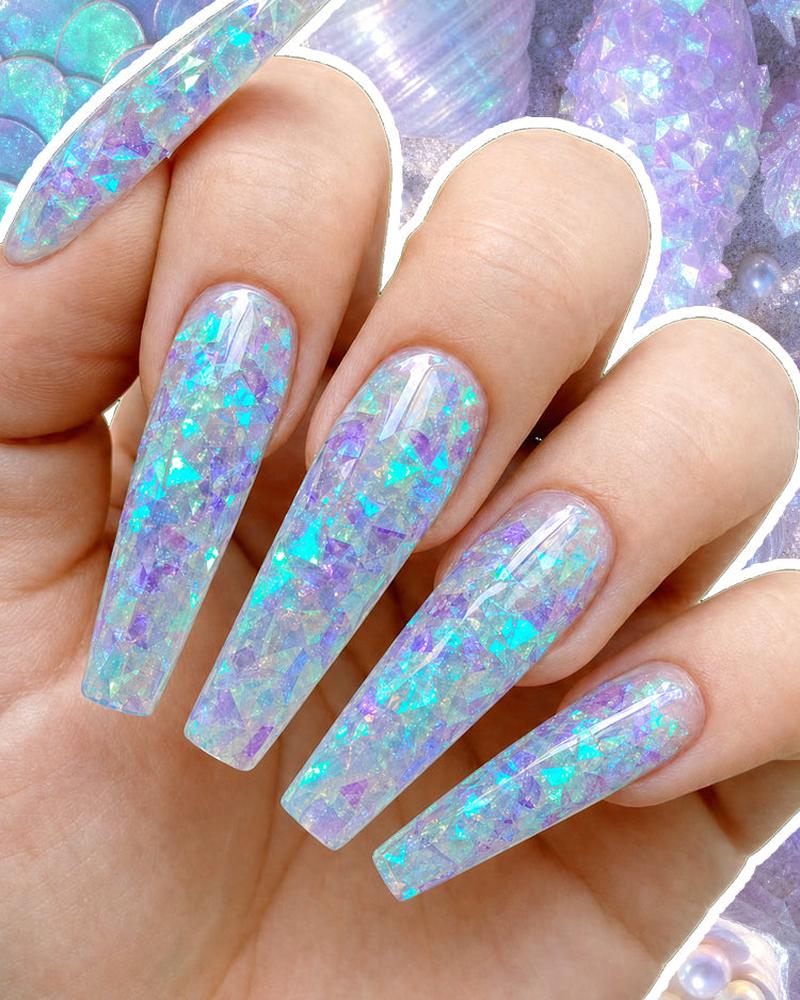
Encapsulating your chunky glitter nails with clear powder.
This is an extremely important step that some people miss. For chunky glitter dip nails, you absolutely must encapsulate the glitter with your clear dip powder once you’re finished flattening and adjusting the glitters. If you don’t encapsulate your glitters and try to put a top coat over them, you’ll find that your nails look spiky and odd. By encapsulating with clear, you’re essentially covering your dip nails with a solid, smooth coat of powder that protects it from damage and any buffing that you might want to do.
If you don’t know what encapsulating with clear means, it simply means to apply a clear dip powder over your glitters like you would a normal dip powder. So you’ll need to apply your base liquid over your glitters and then dip them in a clear dip powder color.
And that’s how you apply chunky glitter dip nail powder!
We hope this tutorial has helped shed some light on how to apply chunky glitter dipped nails correctly. While glitter is beautiful, it can be a little tricky to apply using the dip method.
Do you have a specific way you apply chunky glitter dip nails? How do you do it? Let us know in the comments!

Comments
Marla Kris is the best diy-er I’ve seen. Glad you included her on your website. I was having a little trouble with the chunky glitters. I will use these tips! Thank you fairy glamor
where can I find the clear dip powder mentioned above?
Great thnx so much for all the info I would have NEVER known lol So I can just use these as acrylic s tho right with my monomer & brush ? I believe that’s what it said on your store website ?
Thank you for the awesome tutorial!!