Whether you are a dip powder beginner or an expert manicurist, you might be struggling with unusually matte, cloudy/foggy, or just dull dip nails. Of course, Matte has its time and place, but when you want your nails to shine "bright like a diamond," they should be glossy!
There are plenty of common mistakes that even the most seasoned nail techs and experts often make, so keep reading to learn how to avoid that annoying foggy nail look that's just somewhere in between matte and glossy.
What Causes Cloudy Dip Nails?
Before we get to what you SHOULD do, we need to talk about what you SHOULDN'T do. Although our dip and acrylic powders are made to be simple to use, applying dip powder is an art, and for those without tons of practice, a lot can go wrong very quickly.
Old / Unmixed Dip Powder
Our dip powder can be good for up to multiple years; however, some lower-quality dip powders decompose slightly and lose their colors, drying abilities, and hardness, making your nails look cloudy, bulky, or unable to dry. In addition, dip powder becomes older quicker if held in an environment that is too hot or too cold. Therefore, we don't recommend keeping our products in an unregulated garage or any other area where the temperature is higher or lower than room temperature.
Additionally, sometimes ingredients in a dip powder will separate and need to be mixed before using. We recommend simply shaking up the powder before use to prevent this from happening.
Cross-Contaminated Dip Powder
Mistakes happen to everybody; if you accidentally put the activator over dip powder and then went to dip your nails again, you could activate the rest of the dip powder in the jar and make it clumpy and unusable. Make sure to keep your hands clean and NEVER touch your nails with your fingers to avoid transferring oil to the powder; this is one of the biggest causes of a dull manicure.
Impure Top Coat
Your shiny gel top coat is what gives your nails that glossy sheen that we all know and love. Similar to the cross-contaminated dip powder, if your gel top coat contains some ingredients that aren’t supposed to be there, your top coat will be cloudy and will ruin your hard work. Sometimes this happens when loose dip powder somehow finds itself on the top coat brush and is then distributed to the rest of the gel when the brush is put back into the bottle, or if you drop the brush on the floor, for example. Make sure to check the top coat brush for debris each time before putting it back into the bottle to avoid this from happening.
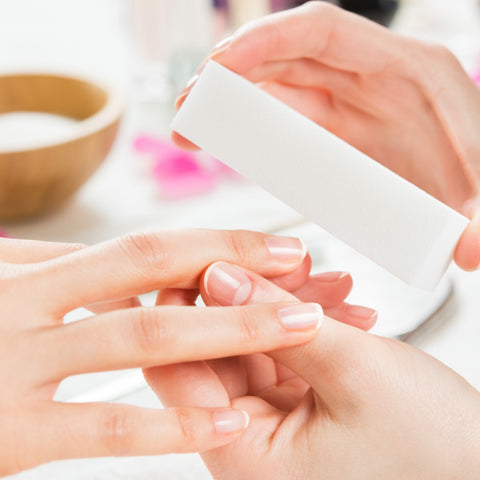
Improper Nail Prep
Nail prep is an essential step in dip powder apart from the actual dipping. Nail prep will make or break a manicure, so make sure you're taking your time on this step. But, seriously, do not skimp out on this step. With proper care, your mani could last weeks. We’ll check out how to prep your nails in the next section.
How to get Shiny and Glossy Dip Nails.
Expert Nail Prep
Here's how to properly prep your nails for ultimate shine:
- Wash your hands. Scrub under your nails with a nail brush and make sure there isn't any visible dirt or debris on, under, or around the nail. Plus, washing your hands is important!
- Push back your cuticles. Not only do the look of untidy cuticles make a manicure look messy, but not pushing them back far enough can result in a burning sensation while attempting to remove the powder, or even an infection if you’re not careful. You can use a cuticle remover to help boost this process. If you’re adequately trained, you can clip your cuticles to prevent any damage, but don’t attempt this if you’re a beginner, as you could clip off part of the actual skin on your finger (which is not fun, BTW).
- Buff those nail beds! Using a manual file or an electric drill with a softer grit, gently buff away the shiny top layer of your nails, being careful not to use too much pressure or rubbing in just one spot. This process helps remove excess oils in the nail and allows the acrylic powder to “grab on” better. When you omit this step, your manicure might only last you a week (or less). I’ve had dip powder stay on my nails for over two months (it wasn’t pretty since it was so grown out, but it stayed in one piece) when I focused on buffing my nails properly. The nail should be slightly rough to the touch; make sure to use rubbing alcohol to remove any oil after touching your nail.
- Remove any nail particles that are chilling on your nail. I recommend using a lint-free wipe (every nail tech knows the struggle of those little lint fuzzies that get stuck to EVERYTHING) with a bit of rubbing alcohol to help dehydrate the nail and remove that nail dust you just buffed off to prevent a bumpy manicure.
- Dehydrate the nail. Apply a thin layer of nail dehydrator to each of your nails, making sure to apply to the entire nail bed. It is crucial that you don’t accidentally apply this to your cuticle or skin since moisture is pretty important in those areas. If you have shaky hands like I do, I recommend resting your working hand on a table or other surface while you paint. Take your time with this if you need to! It’s not a race. Make sure that you’re using Fairy Glamor’s nail dehydrator (and other liquids) with our acrylic powders. Our powders are specifically formulated for use with our nail liquids, and we can’t guarantee that our powders will always work with other brands’ liquids. Check out our Dip Starter Kit!
Avoid Buffing Nail Powder
Sometimes, even with extreme care, the nail dip powder gods decide to bless you with unsightly acrylic bumps on your nails; this happens to the best of us. Although our nail powder stays glossy after buffing out these bumps, some other brands do not, so stick with us! Also, make sure to wipe away any loose nail powder that you buffed off with a lint-free wipe.
Use Our Gel Top Coat
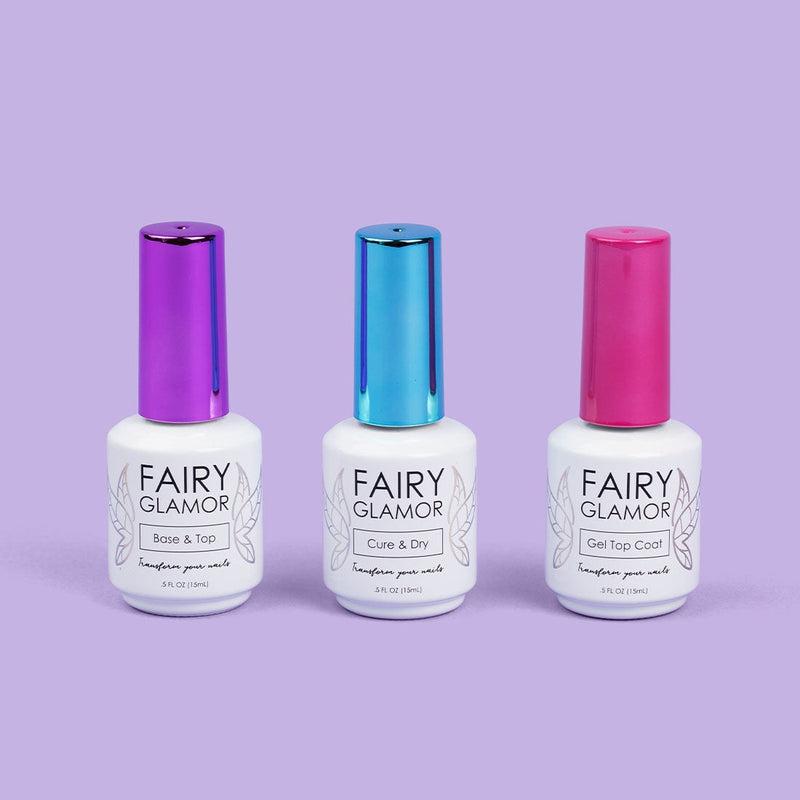
Our top coat is designed for use with our powders and, not to brag or anything, it’s really good. Gel top coats are glossier than dip top coats because they’re thicker. Our gel top coat stays glossy and shiny throughout the entirety of the wear of your nails and helps protect the powder from peeling. Simply apply all over the nail and “cap” the tip of your nail to prevent peel-age and cure with a high-quality UV LED nail lamp for around 30 seconds. As stated above, make sure to keep the brush clean and don’t mix anything into the top coat.
Use at Least Two Coats of Gel Top Coat
Let’s be real—the more coats of top coat you use, the shinier and glossier it will be. We recommend using at least two gel coats to really bring out that shine.
Use at Least Four Coats of Dip Nail Top Coat
To get shiny nails using your dip top coat, you’re going to need to add more layers. Dip top coat is different from gel top coats—the liquid is much thinner and typically less glossy.
Take Your Time
Be sure not to rush the manicure process; slow and steady wins the race! After lots of practice and repetition, you’ll be able to complete a full set of nails in under 20 minutes. However, if you speed through the prep and application for your nail dip, you might forget a step or not adequately complete it; for example, you might pull your nail out of the powder too quickly or not buff your nail beds enough prior to applying the dehydrator.
Use 2 Coats of Powder
Sometimes you get super lucky and end up with a totally opaque color with only one dip into the powder, but, similarly to gel polish, you’ll probably need two dips. Make sure to apply a layer of our Base & Bond before dipping your first layer and before dipping your second layer to get a nice, even helping of nail powder. The color should be fully opaque (unless you’re using a sheer or clear powder). Only use our powder with our Base & Bond; most other acrylic powders require you to apply a base coat and then a bonder, but we’ve combined the two for easy use with our Fairy Glamor dip/acrylic powders.
Read our complete guide on how to apply dip powder to your nails by clicking here. If you follow these steps, you should have a glossy manicure in no time!
Here’s a quick recap:
- Use our high-quality liquids and powders for the best results. Be sure to check out our complete catalog… we have something for everybody!
- Gently shake (make sure the lid is on tightly) powders before use
- Keep all your products separated to avoid cross-contamination
- Prep your nails adequately before nail dip application
- Take your time! If you have plans, start your nails way before you need to leave the house, so you have time to perfect your nails.
- Dip your nails twice; don’t do more than twice to avoid a thick and bumpy acrylic layer. The color should be opaque.
- BONUS: use as few brush strokes as possible, especially with the top coat, to avoid streaky lines on your nails.
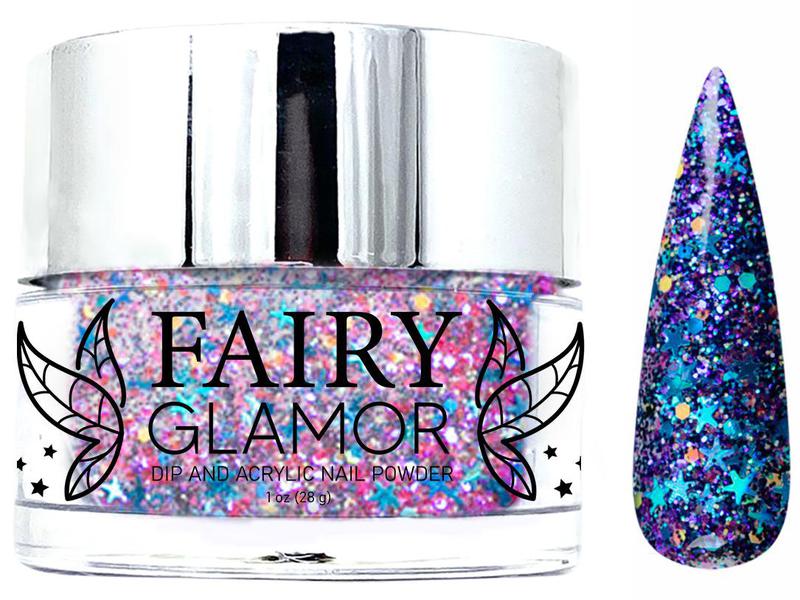
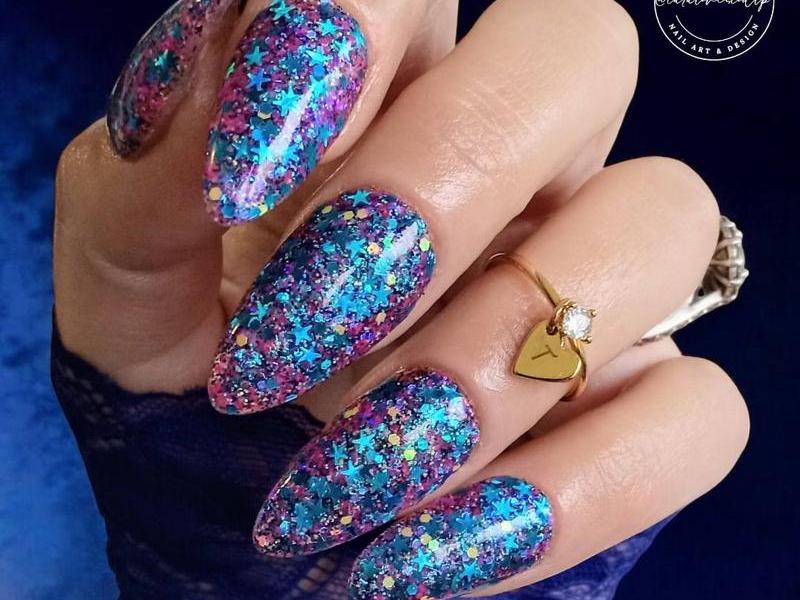
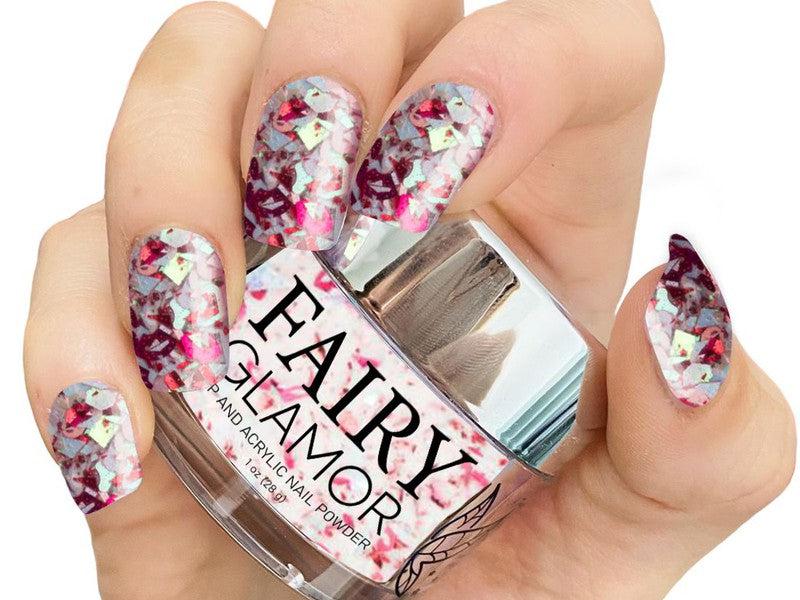
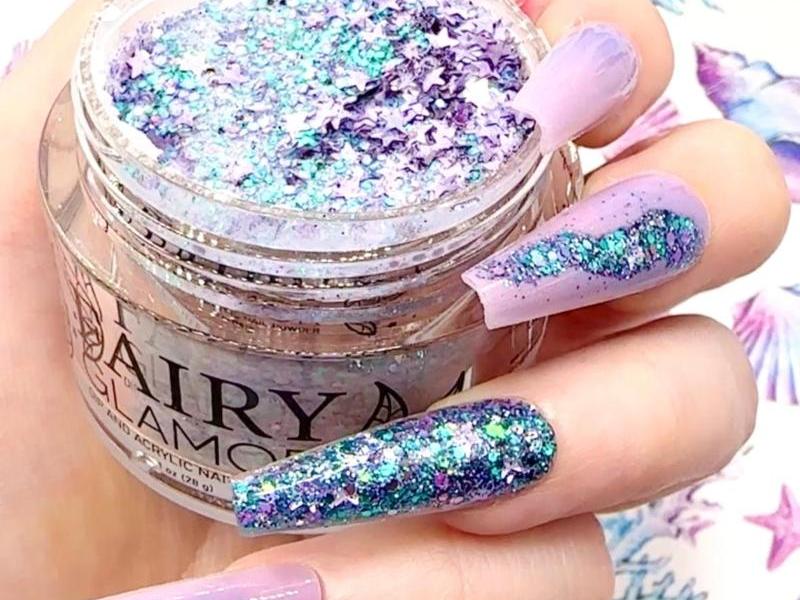
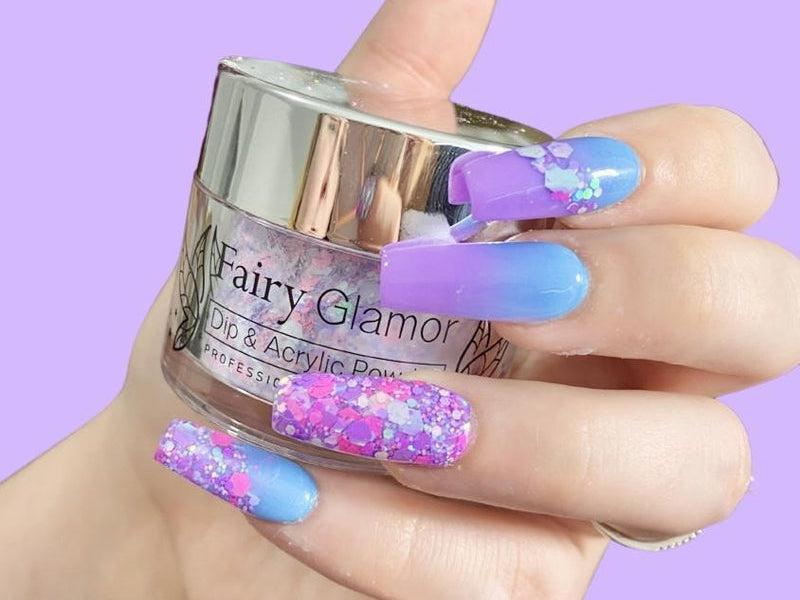
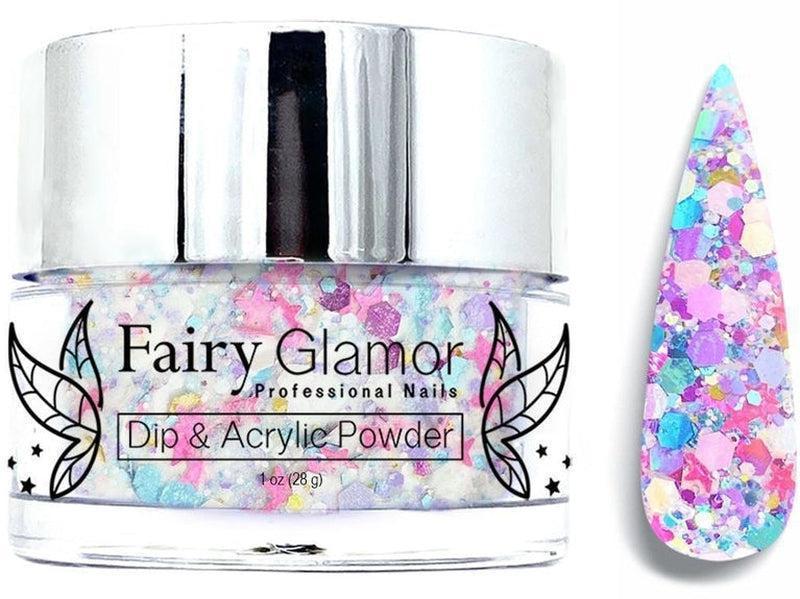
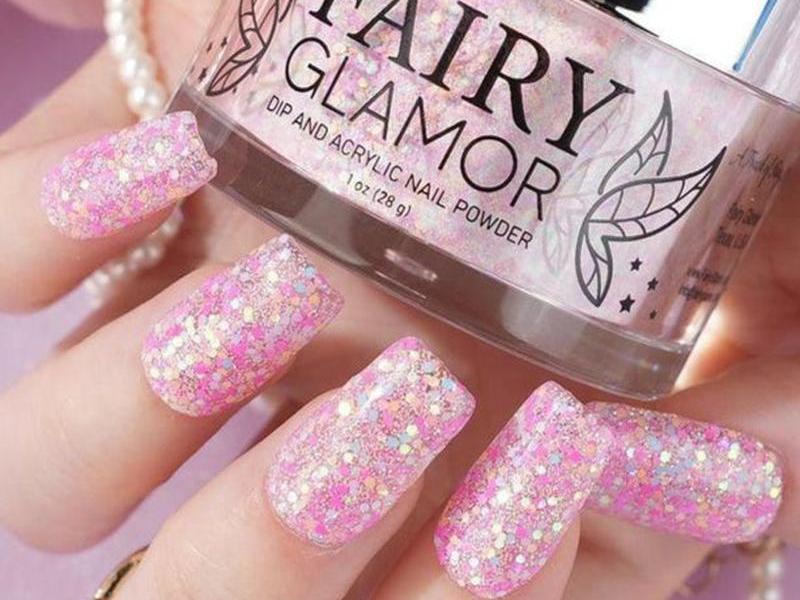
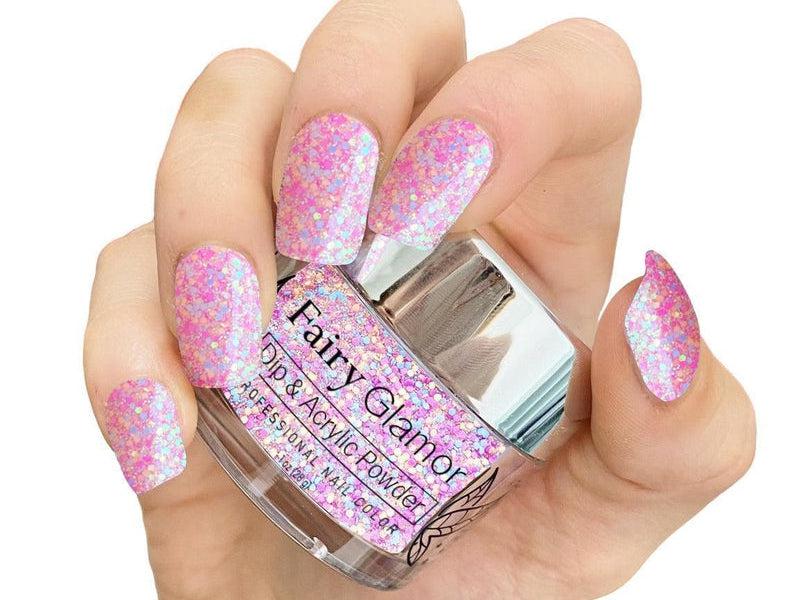
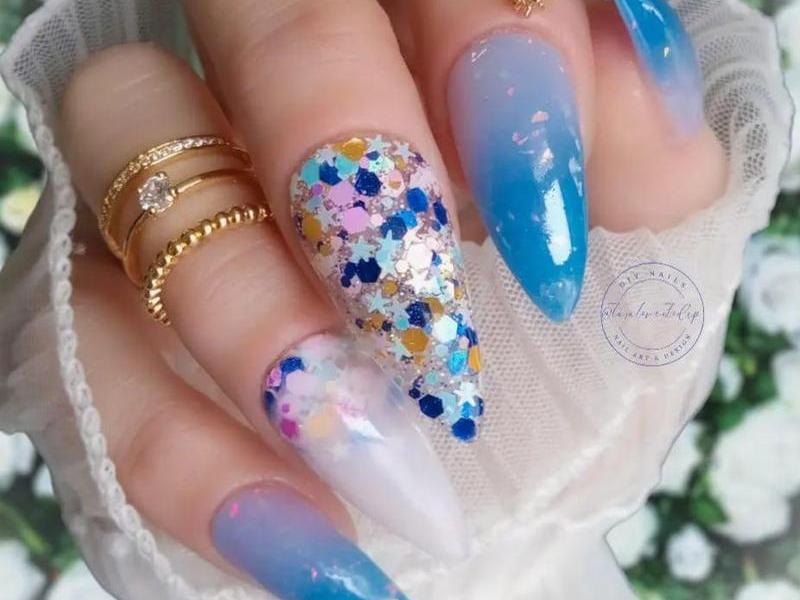
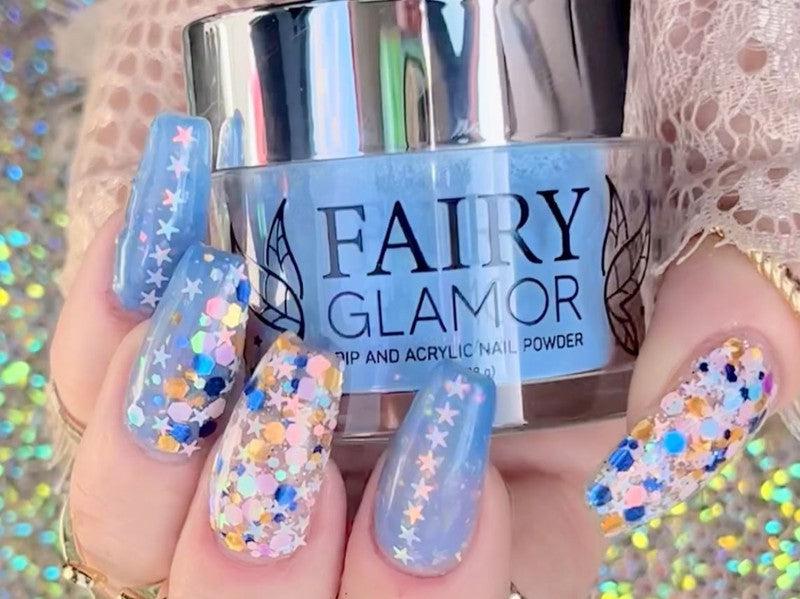
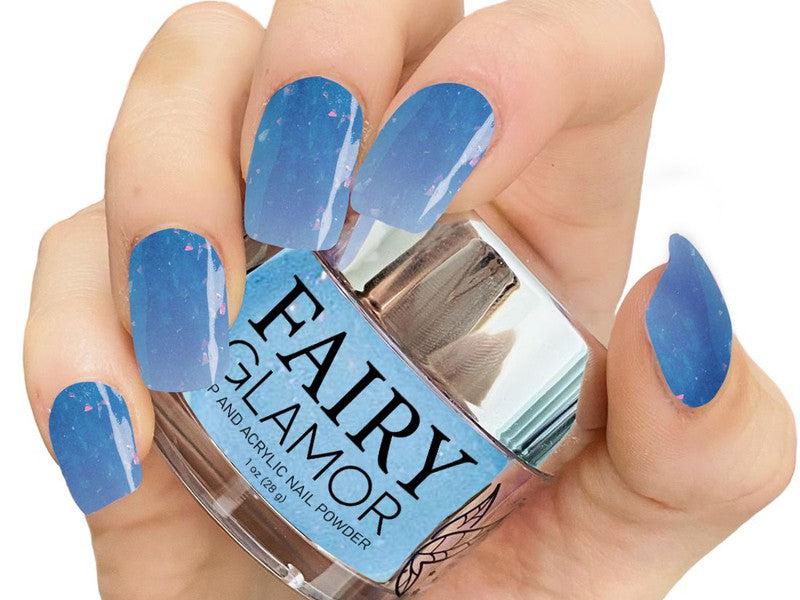
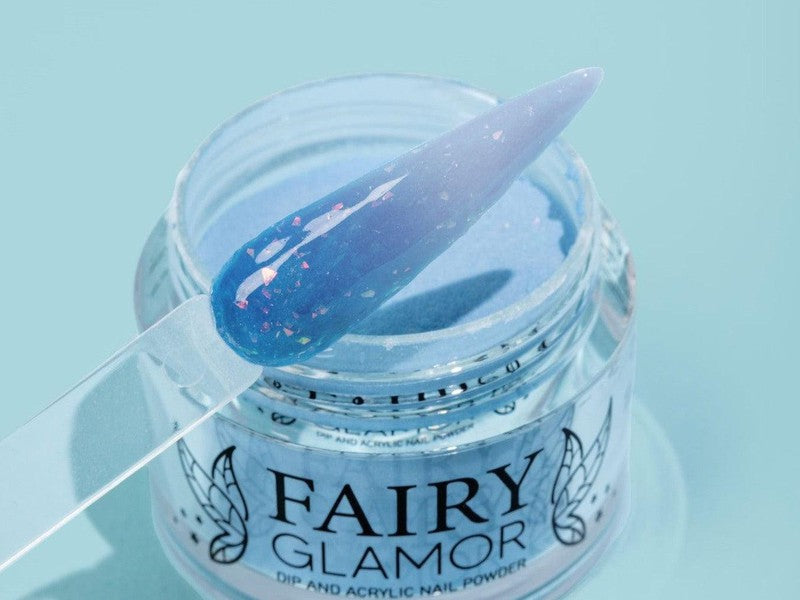
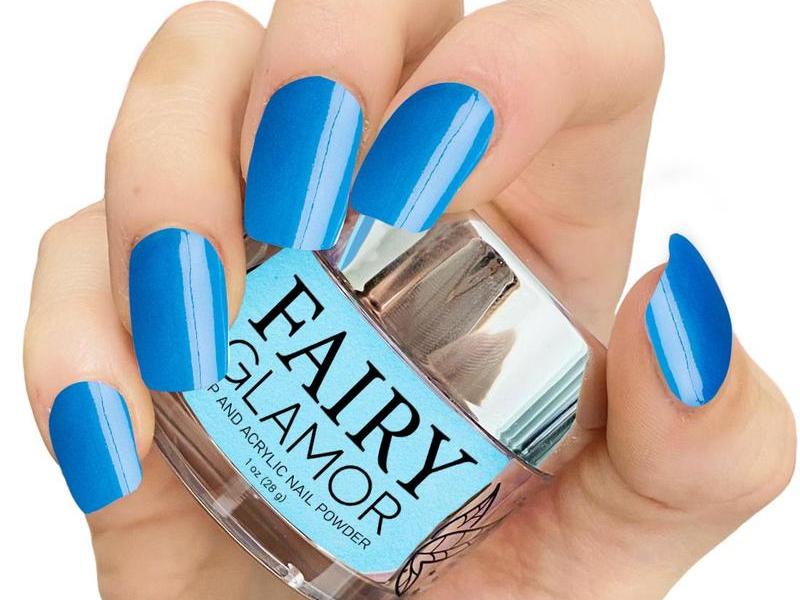
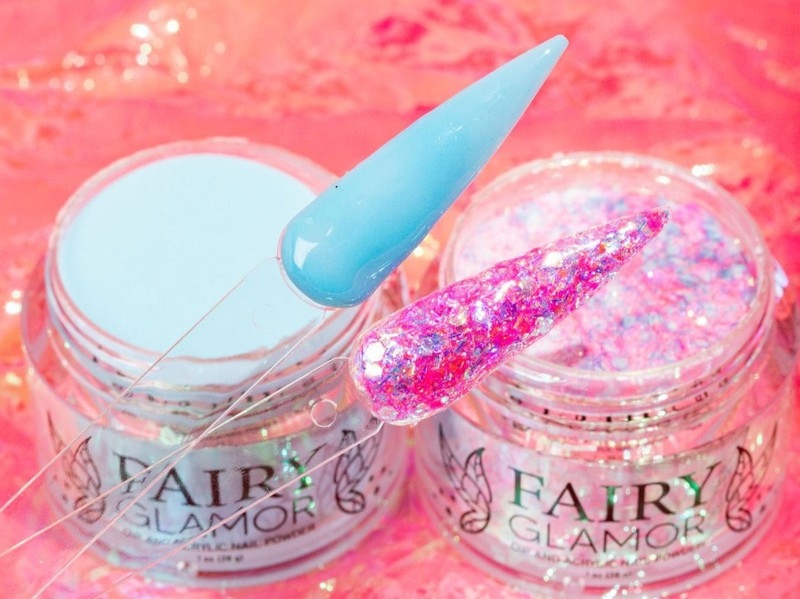
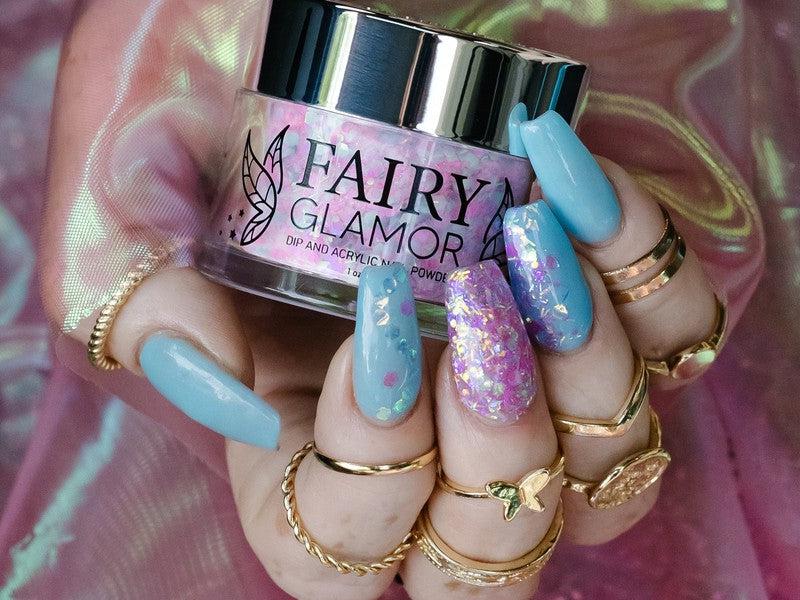
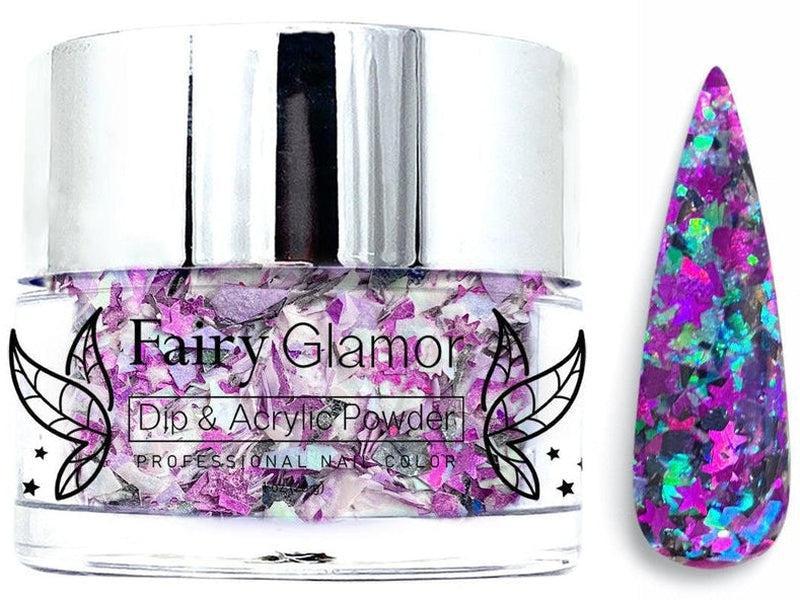
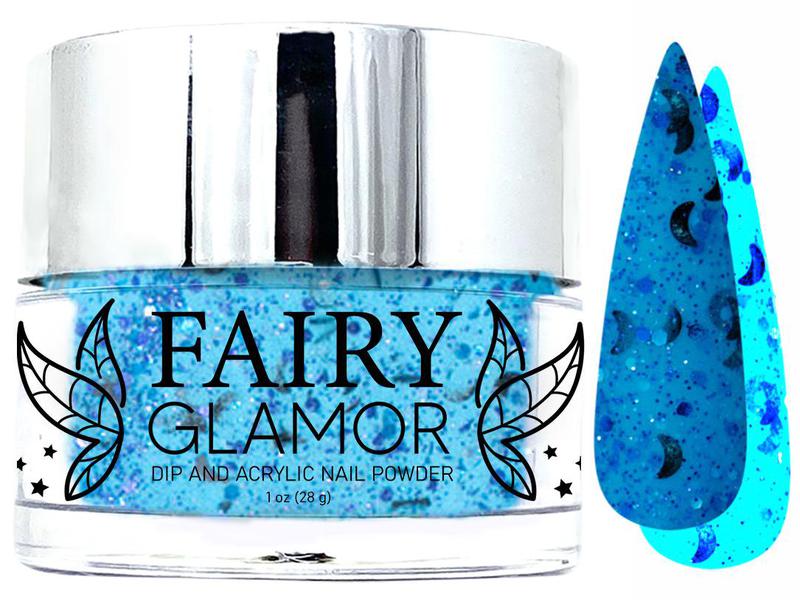
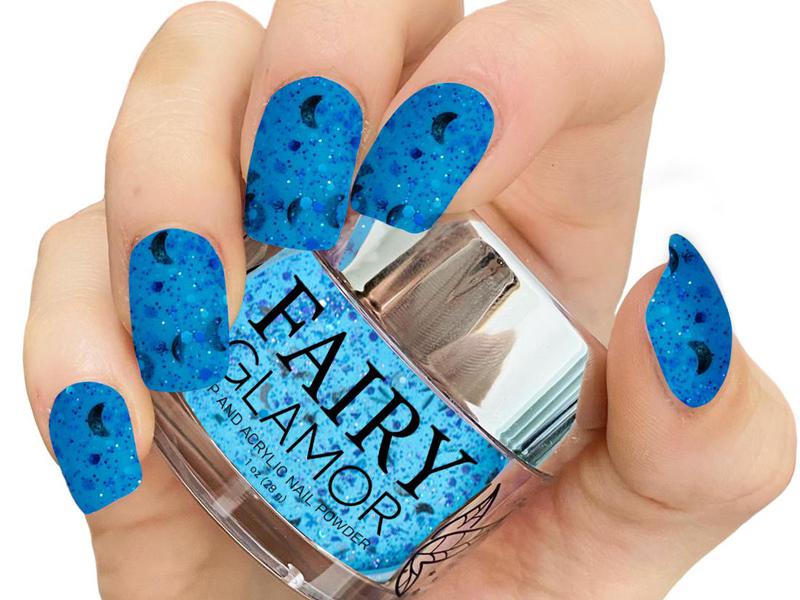
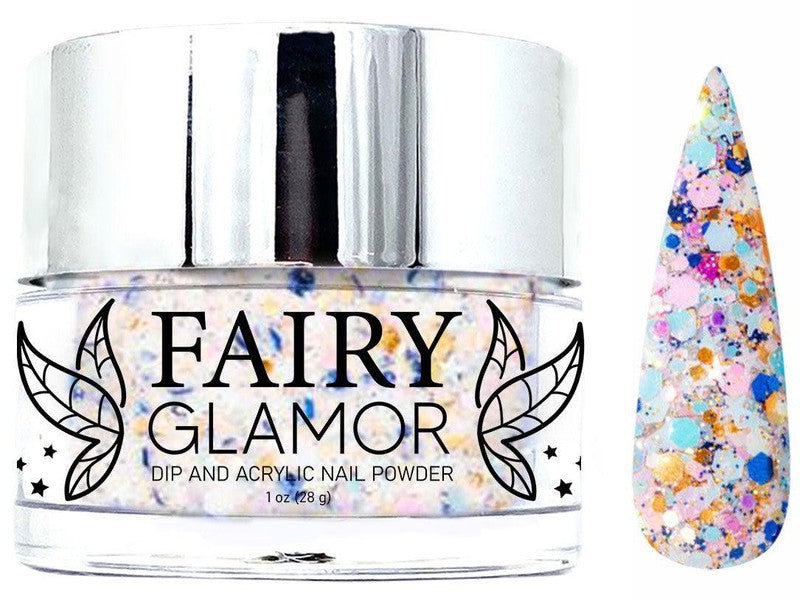
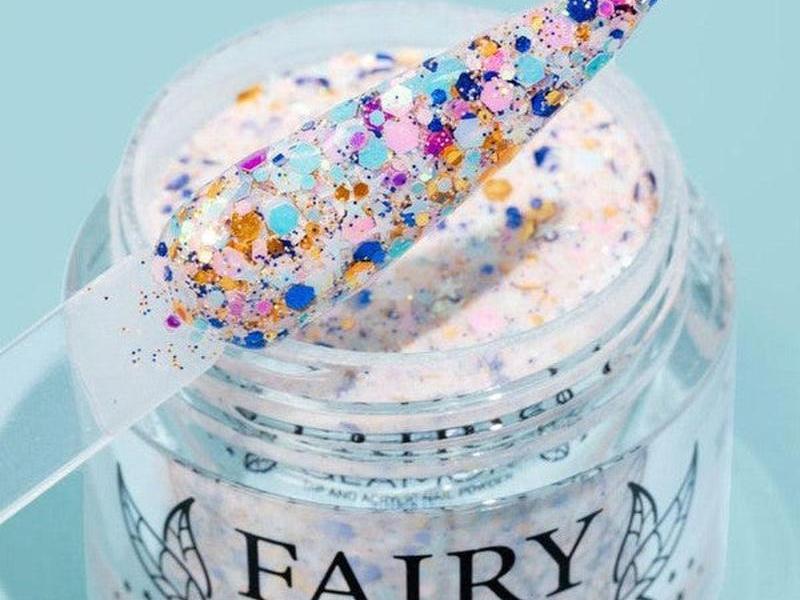
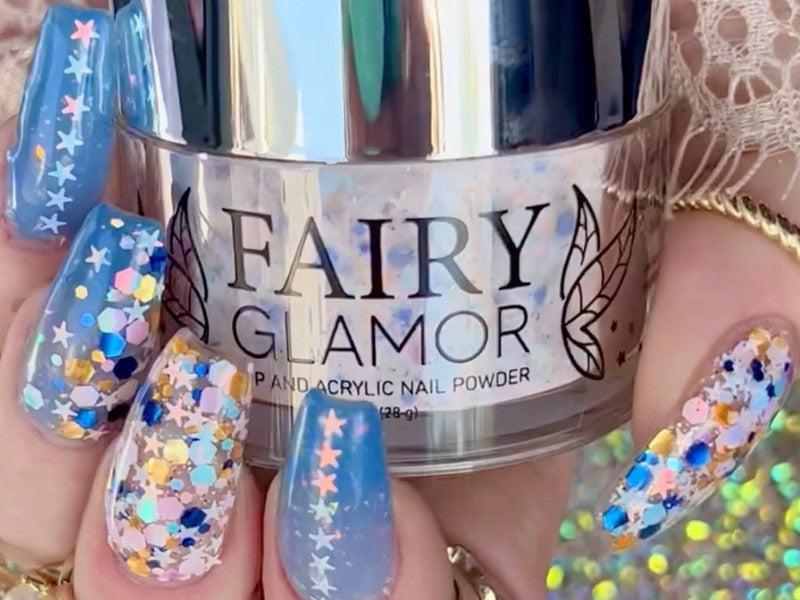
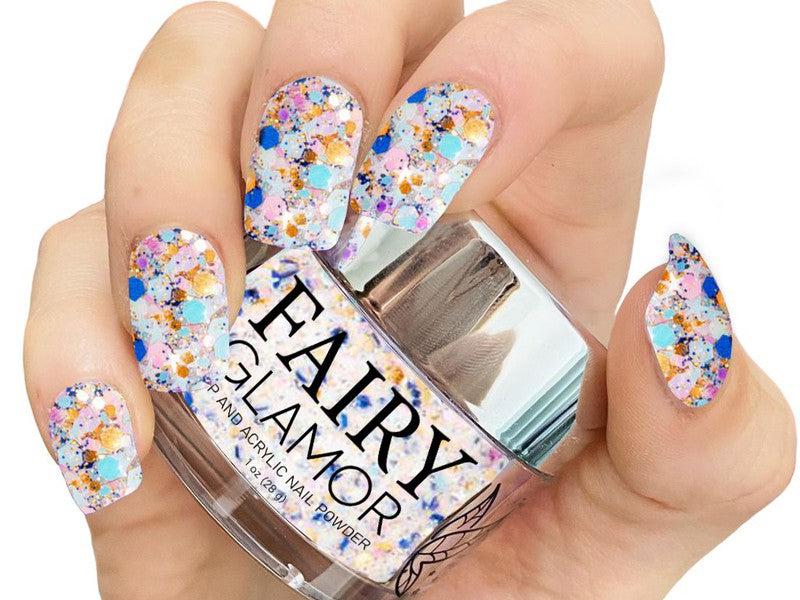
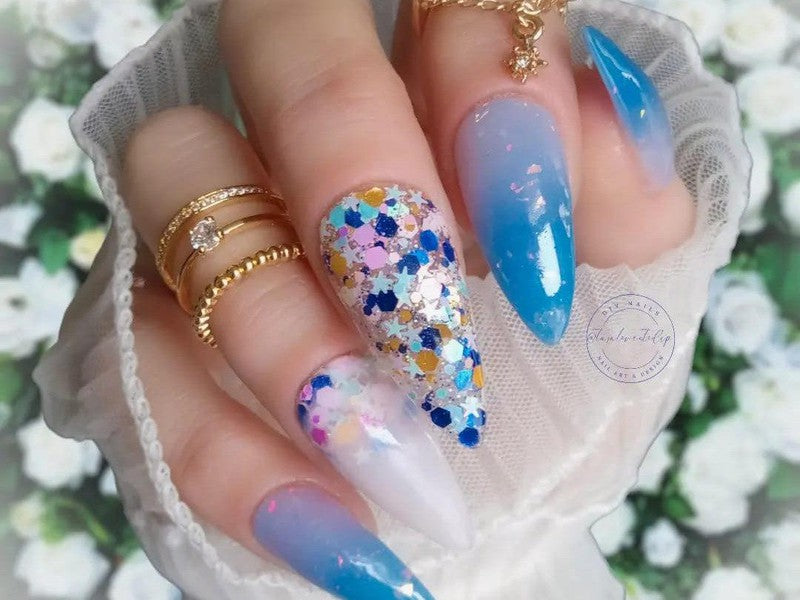
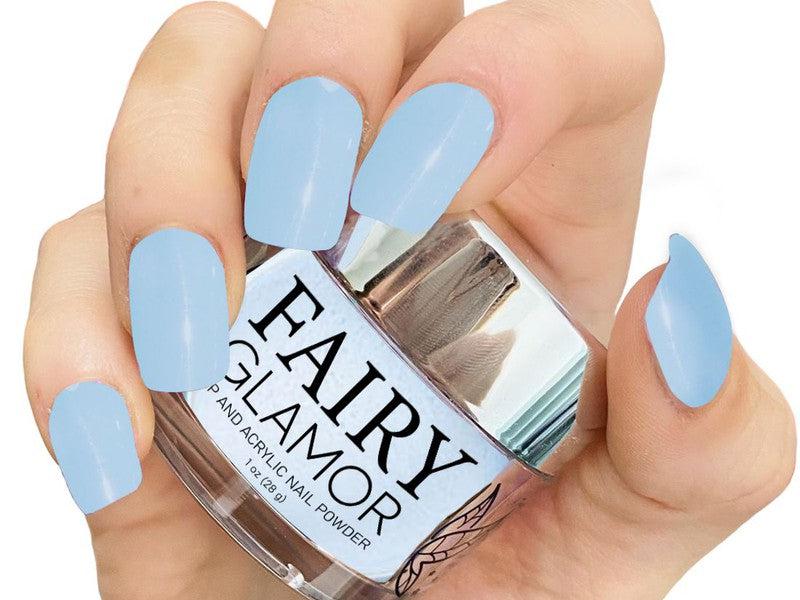
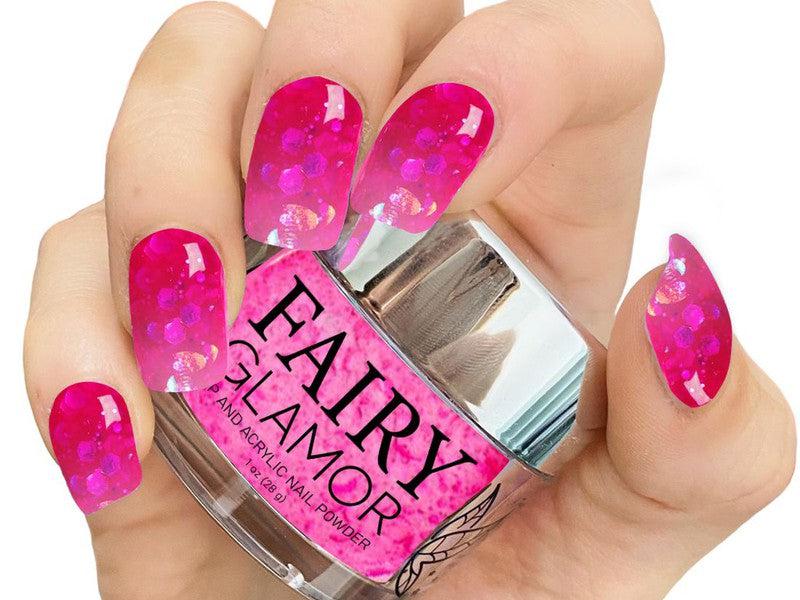
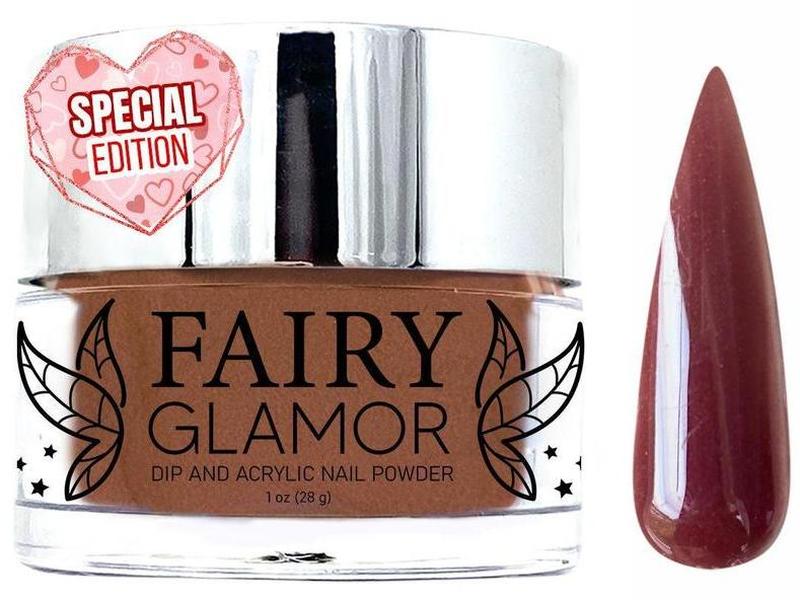
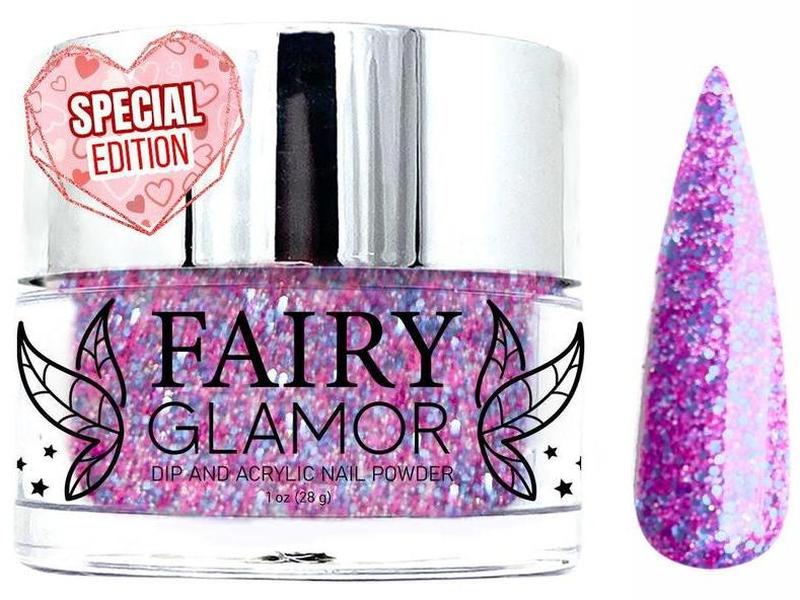
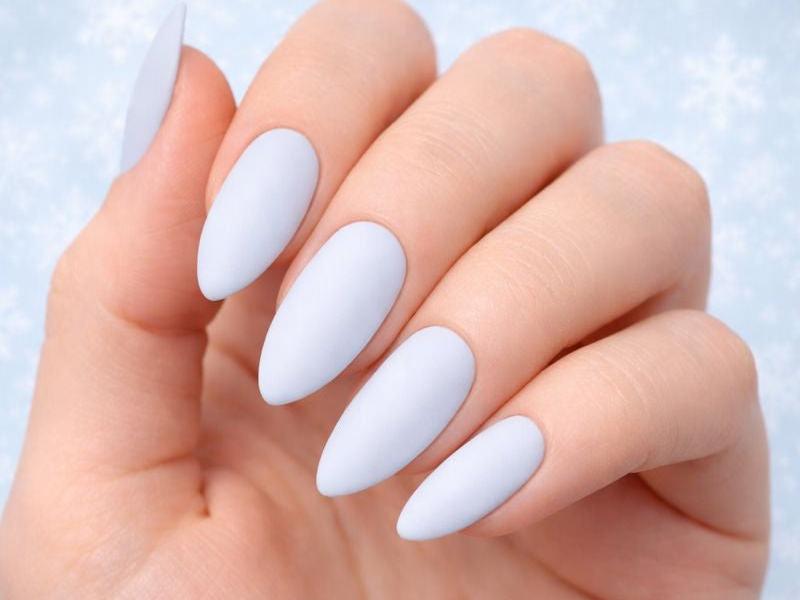
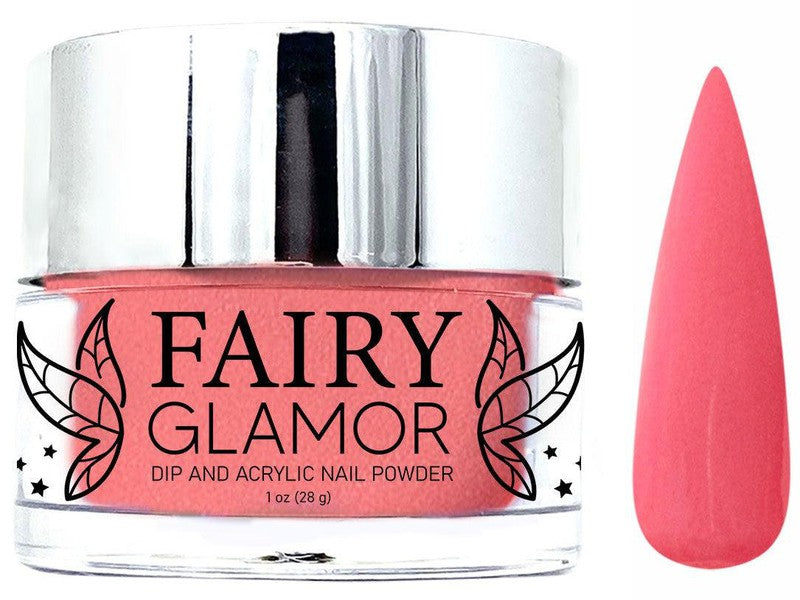
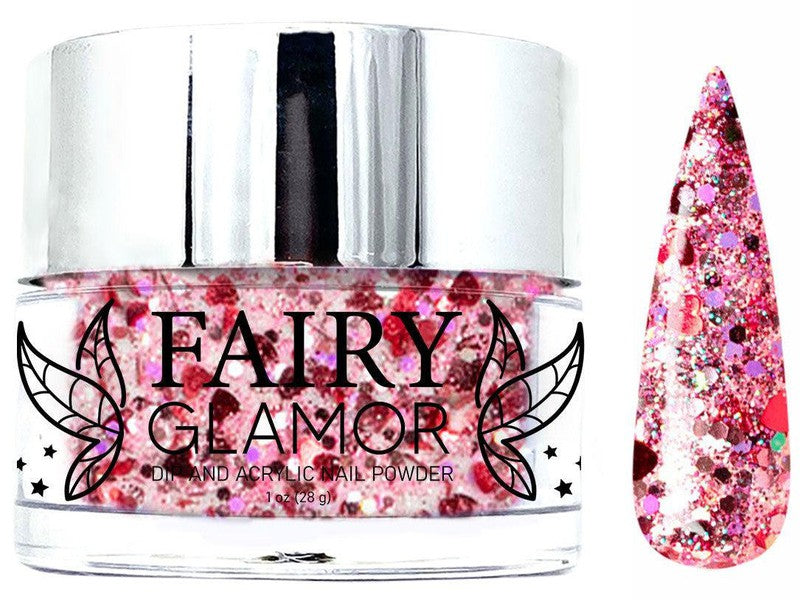
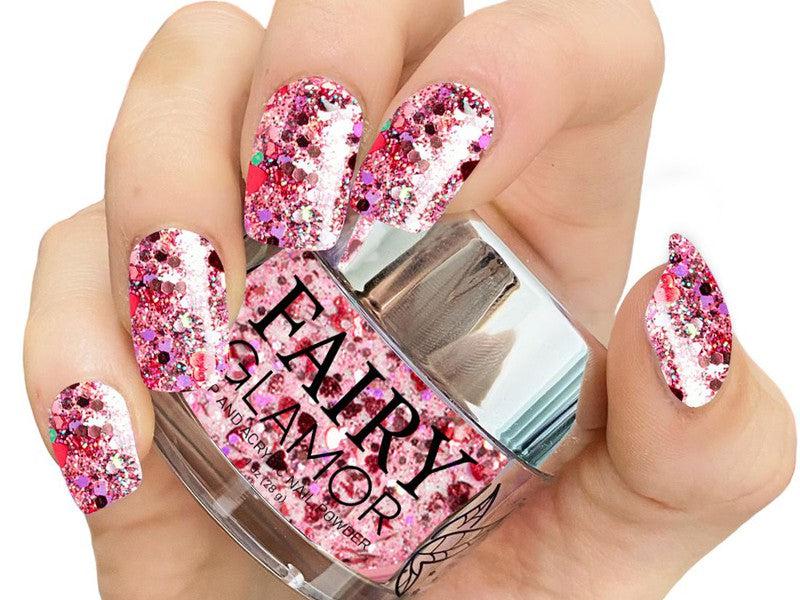
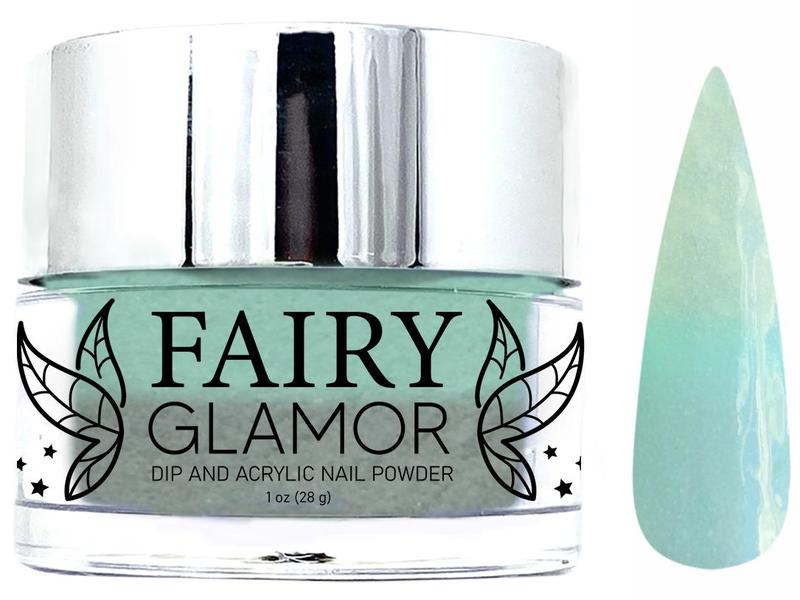
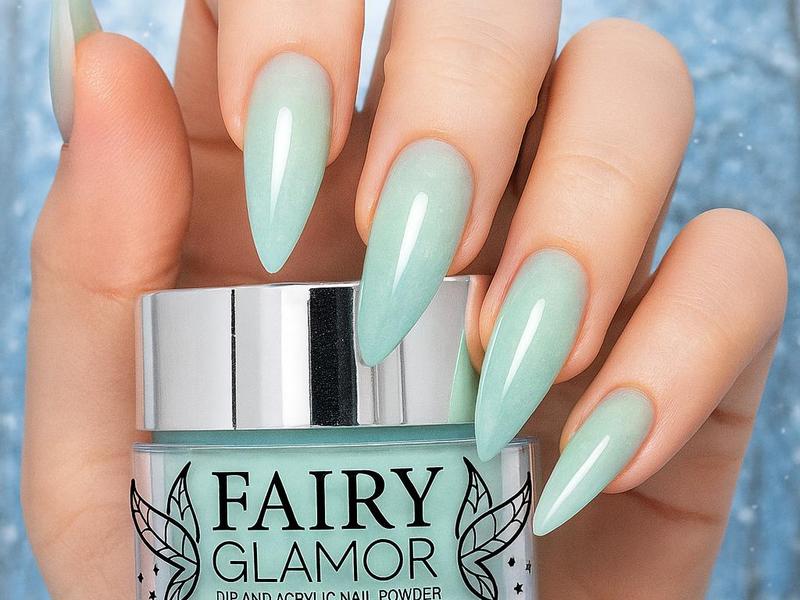
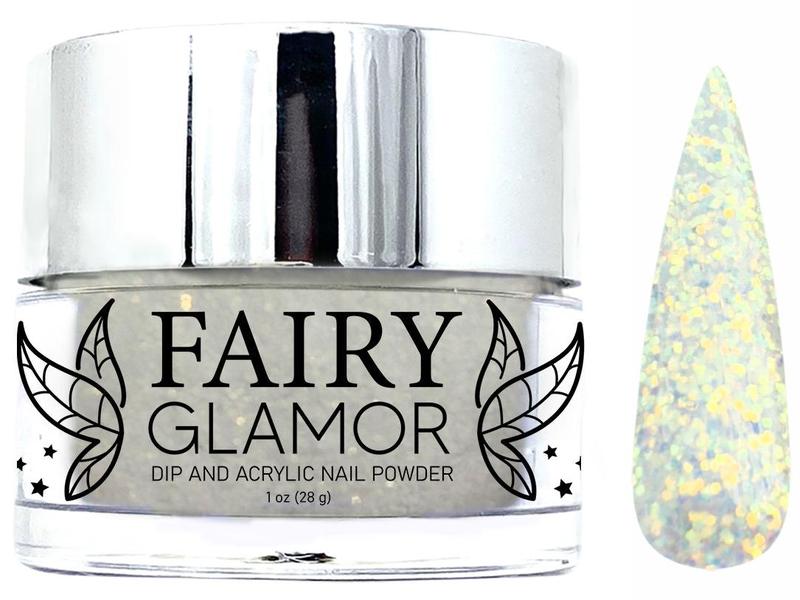
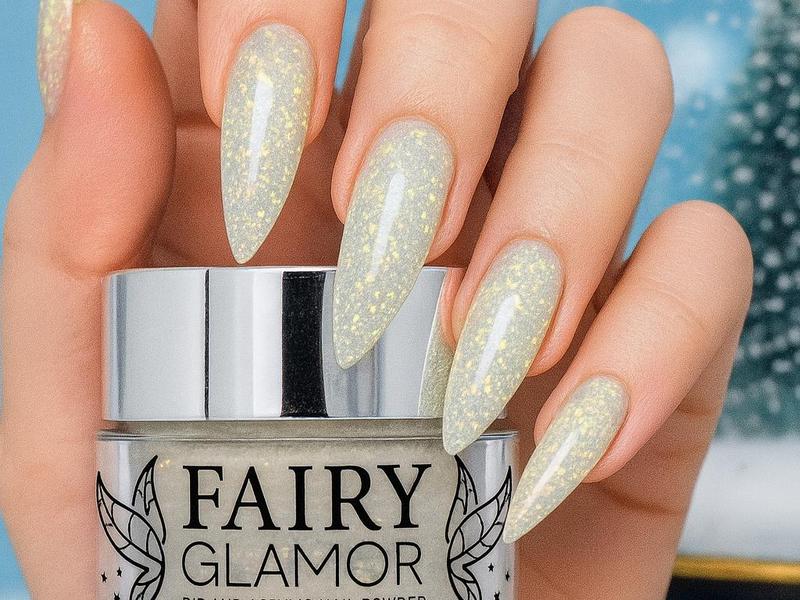
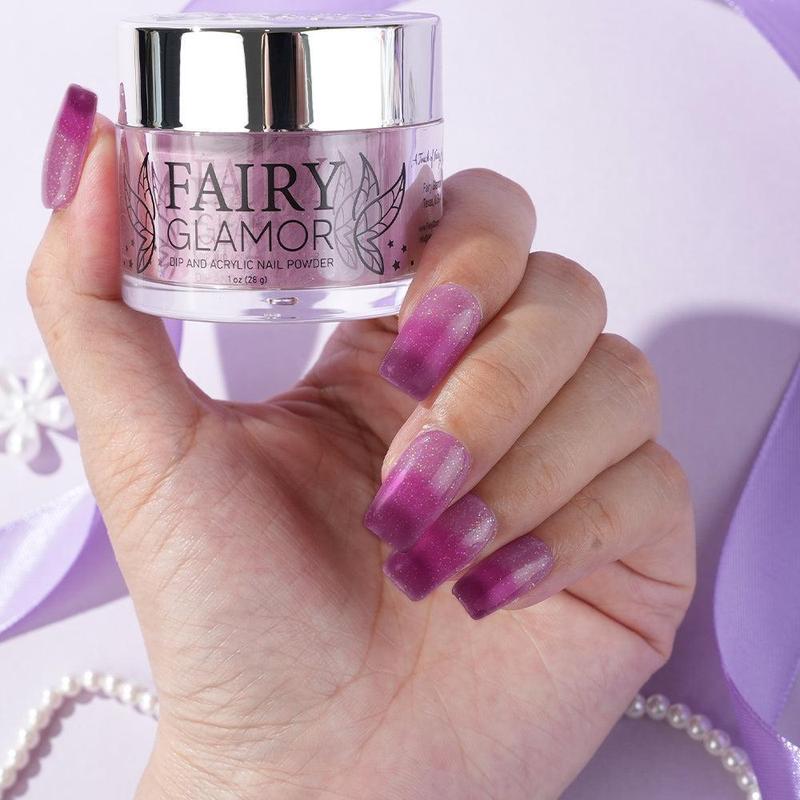
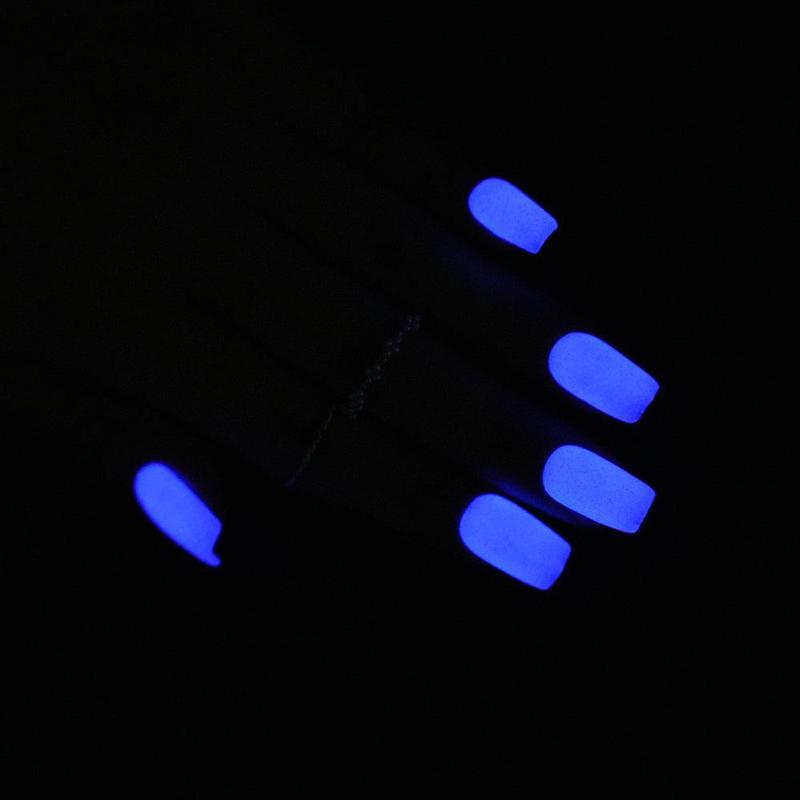
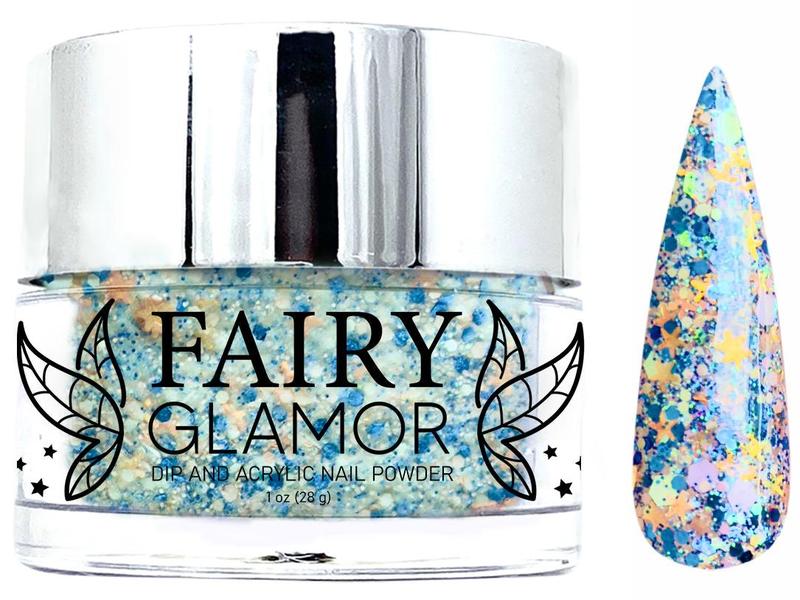
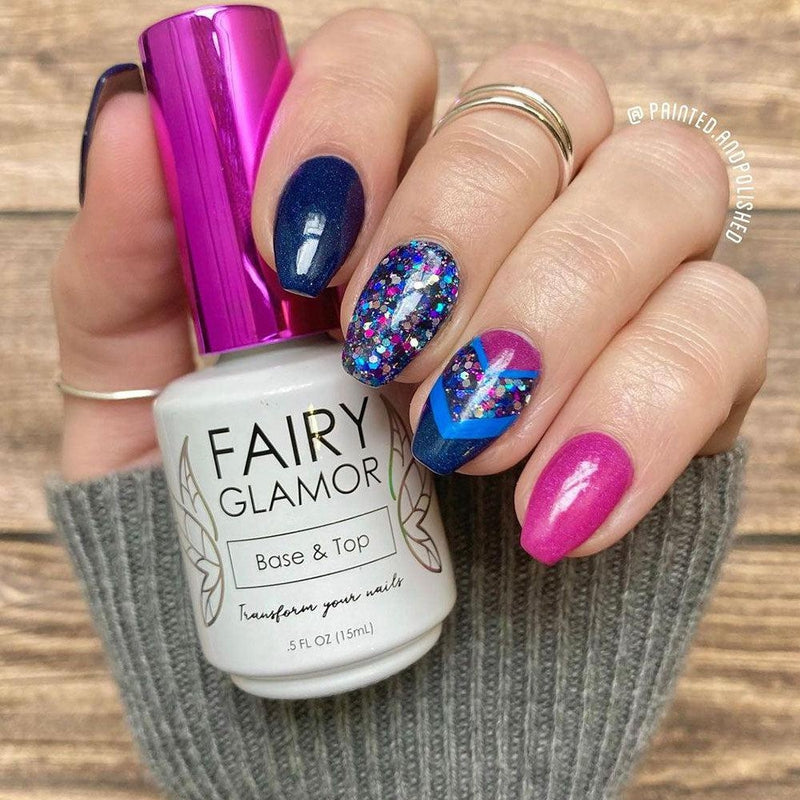
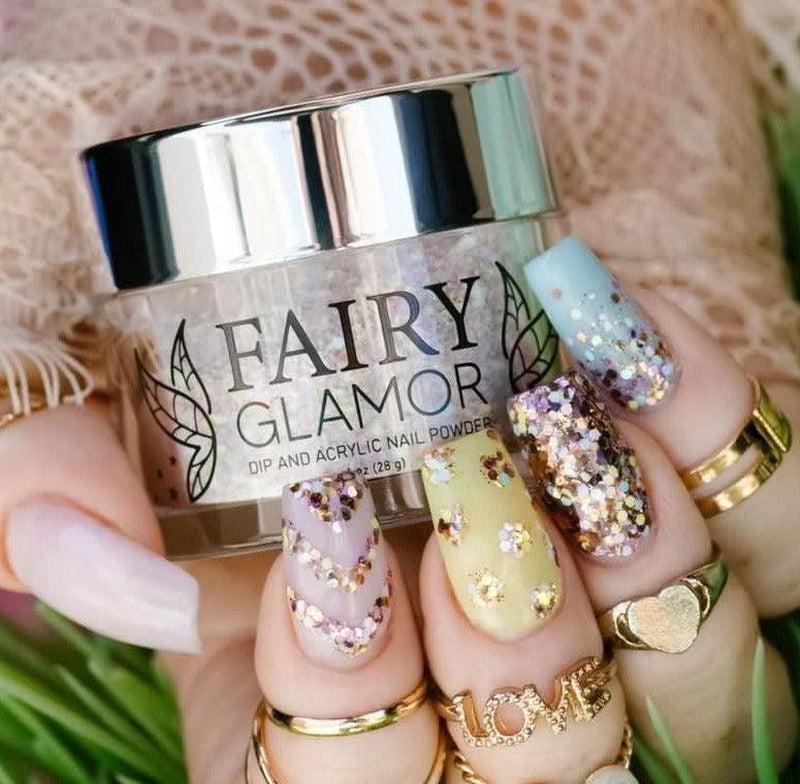
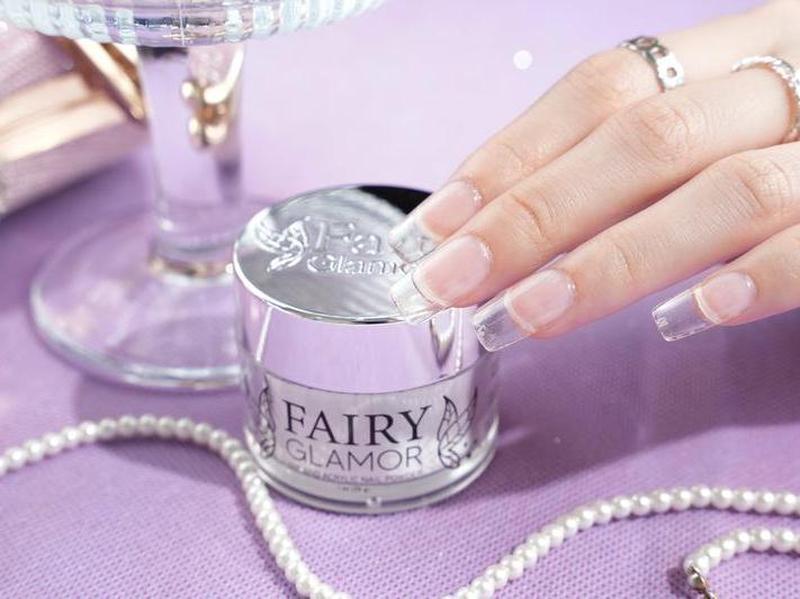
P.S. Cover photo color is "Bewildered" ;)














Comments
Having issues with gel coat, I’ve applied a few different ways and it seems to always peel within the day, or at max 3 days. Most surprising was the gel peeling when I was doing something as simple as tying my shoe! Anything to help fix this issue would be nice.
I’m having the same issue as Karla above – my top coat wants to peel up in 4 or 5 days. What can I do to fix this?
Hi! I love you dip nail colors, I’m a new costumer and I bought already 6 different colors from your collection.
I haven’t had any trouble with the dip powder application but I’m having problems with the top coat.
I have tried the regular top coat and the gel top coat and both of them don’t last more than 2 days, they start to peel of. Do you know how can I fix this problem I was thinking about look for another brand of top coat but I would like to know if you have any advice for me.
Thanks!