How to do Chrome Nails at Home.
Chrome and holographic nail powders are such versatile color tools. You can use the powder as a dip, as an acrylic, or for a super cool rub-on mirror effect. We’re going to teach you the third effect: how to do rub-on chrome nails.
At first, rub on nail powder can look super easy. Maybe you watched a video and thought “wow, that looks so cool!” and then tried to do it yourself and had trouble. There are few mistakes you can make when applying mirror powder that can completely mess up your nail color. Maybe it won’t stick right, it looks blotchy, you can’t get the mirror effect. You must make sure you’re doing the steps correctly and using the right products because the tinniest of details can really throw you off! We’re going to go over the steps and products we used to apply chrome powder the easy way and also go over the mistakes you might be making and how to fix them.

What’s the difference between holographic and chrome nail powder?
Chrome nail powder gives you a smooth mirror finish while holographic powder has a more rainbow/color changing sheen to it. I personally enjoy holographic over chrome because it’s super fun to look at.
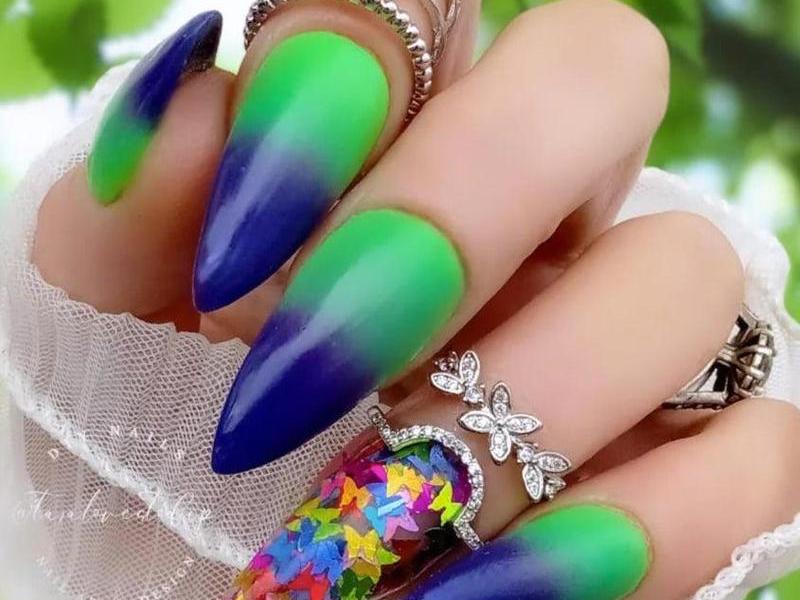
Holographic powders can usually be used over different nail colors to create unique new color effects. For instance, you can use a purple holographic powder over a green base color to create a blue-ish holo effect.
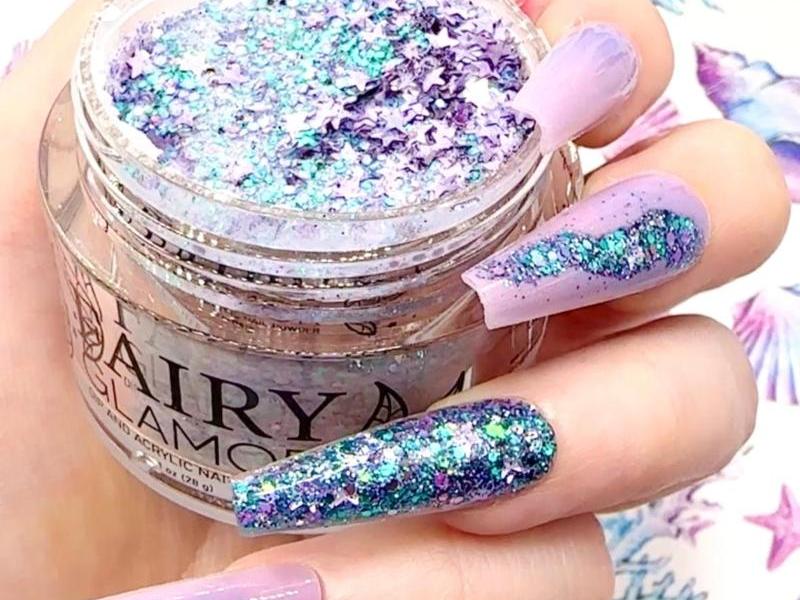
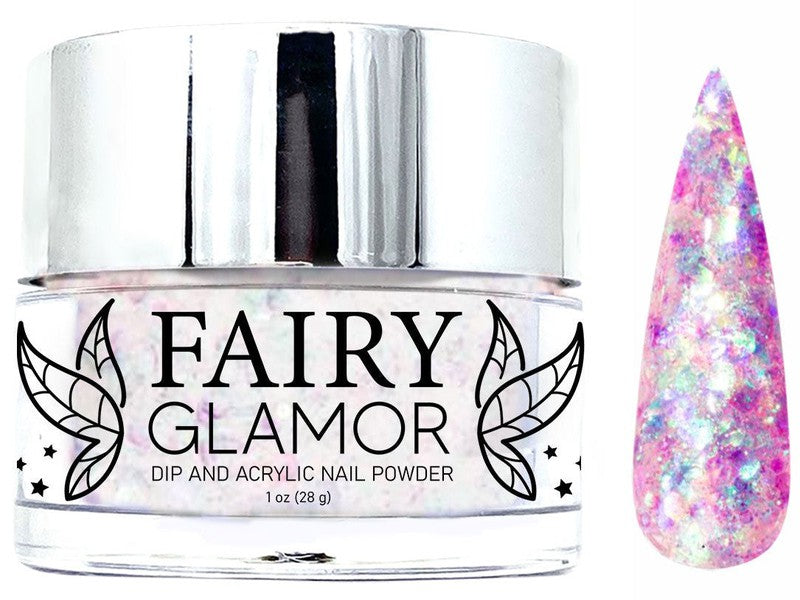
One more unique type of holographic powder you’ve maybe heard mentioned before is “unicorn” or “mermaid” powder. This powder is a special type of holo nail powder that can be used over any color base to create a beautiful holo effect. It works on both light and dark colors while typical holo powders only work on darker base colors.

Tip: Not all powder is created equal.
This probably goes without saying, but powder brands are vastly different from one another. Some mirror nail powder has 0 glitter in it. These nail powders cannot be used for dip/acrylic nails and are made to only be used as a rub-on top coat. The “only rub-on” powders usually sell in tiny 1g jars.
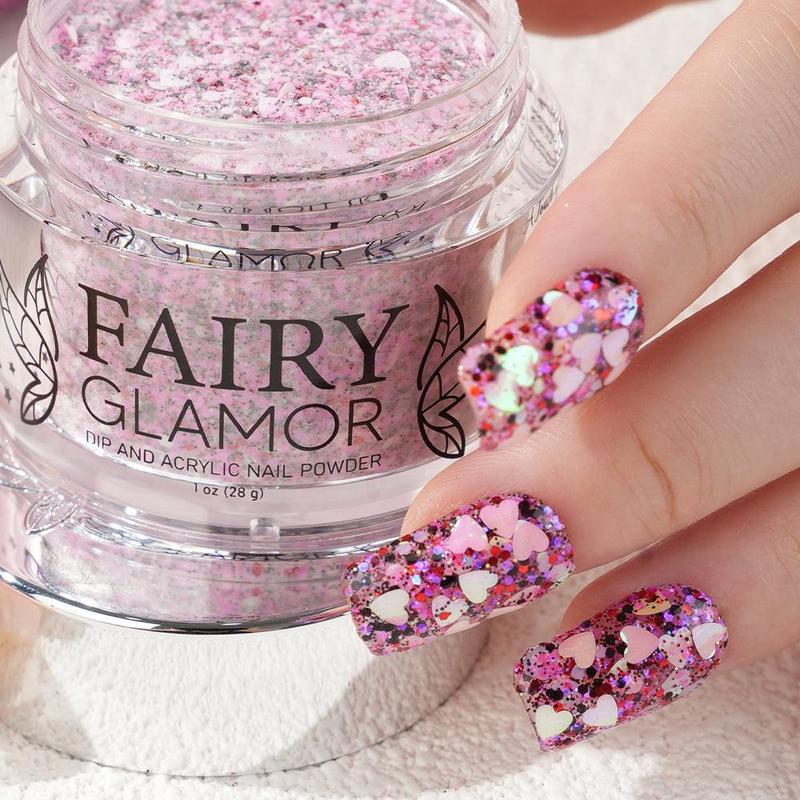
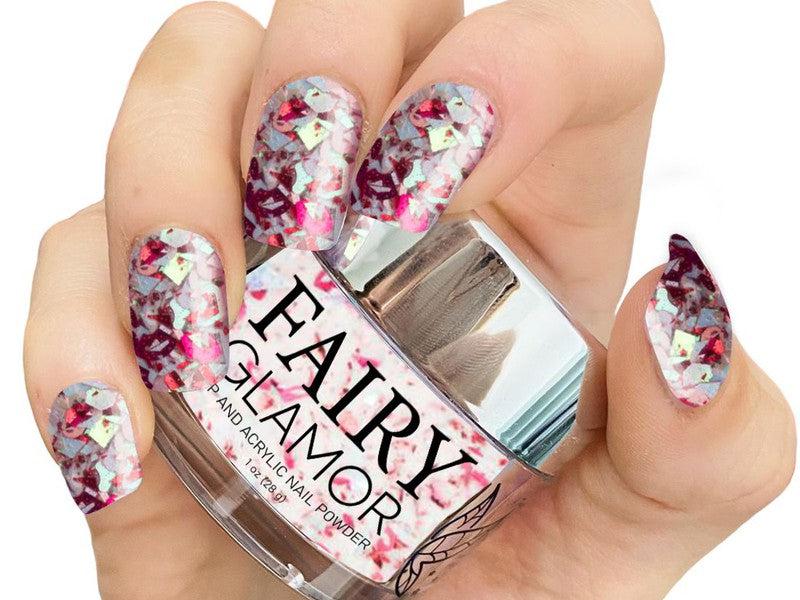
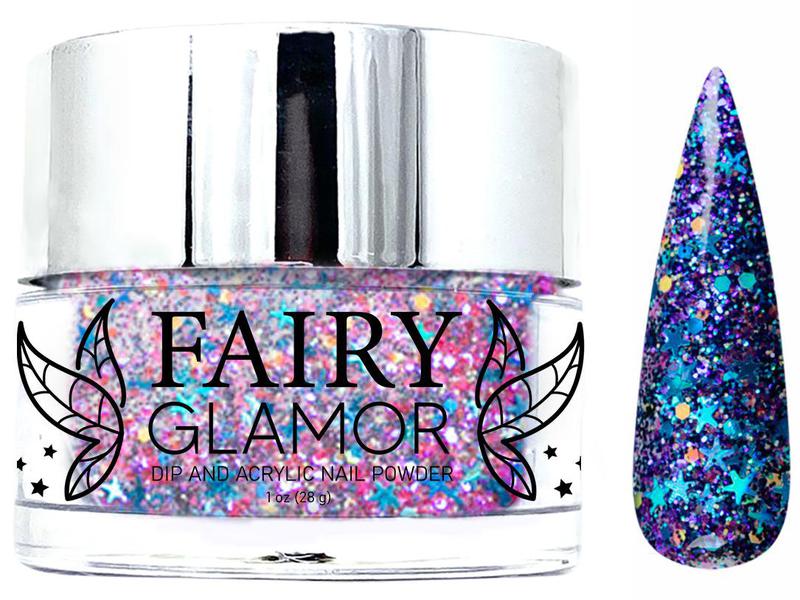
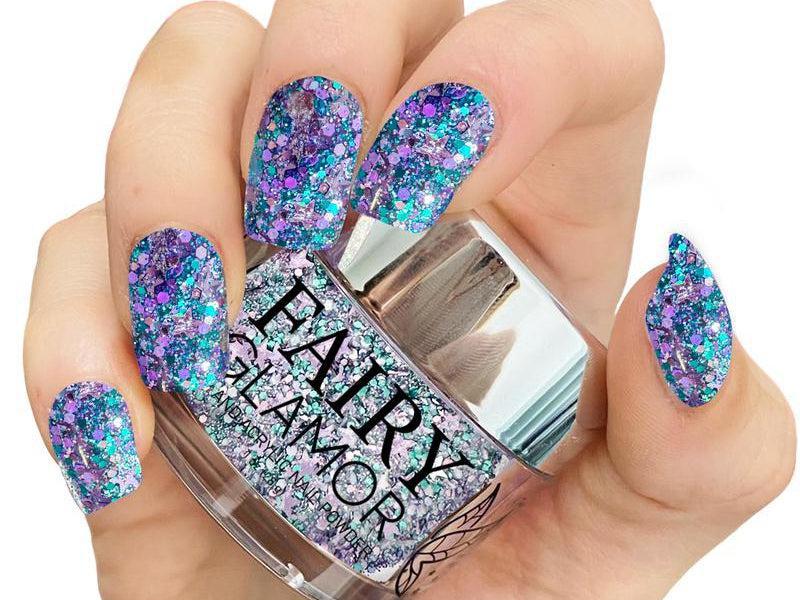
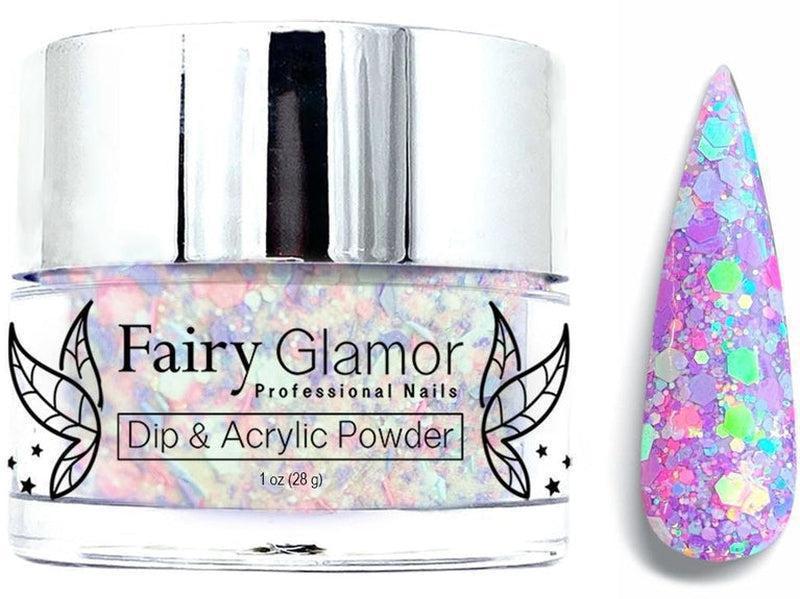
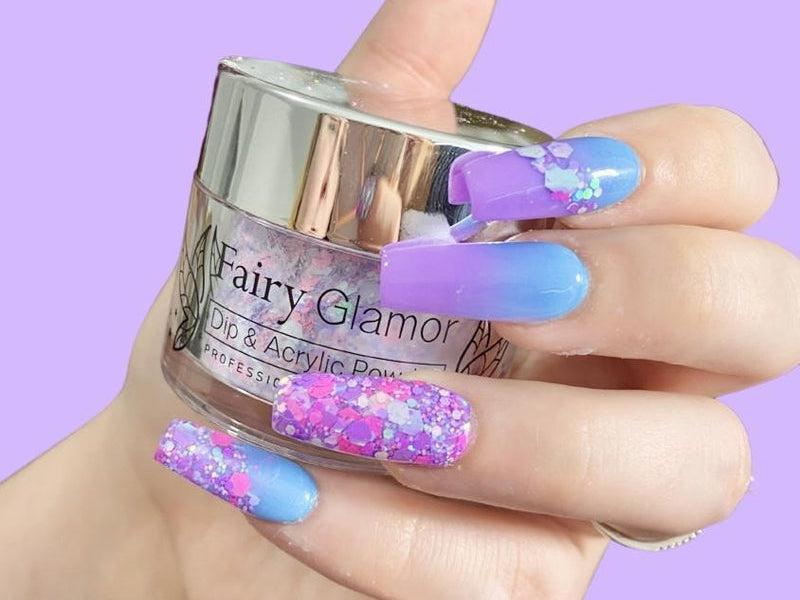
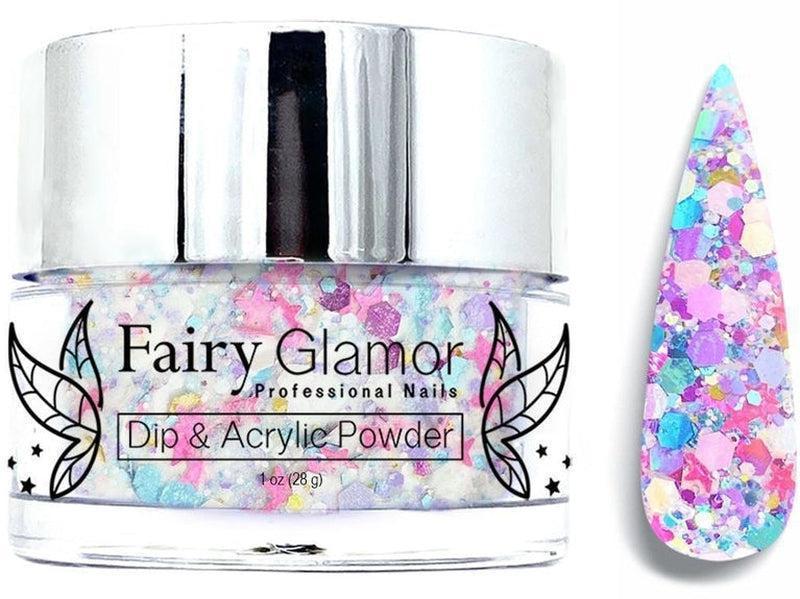
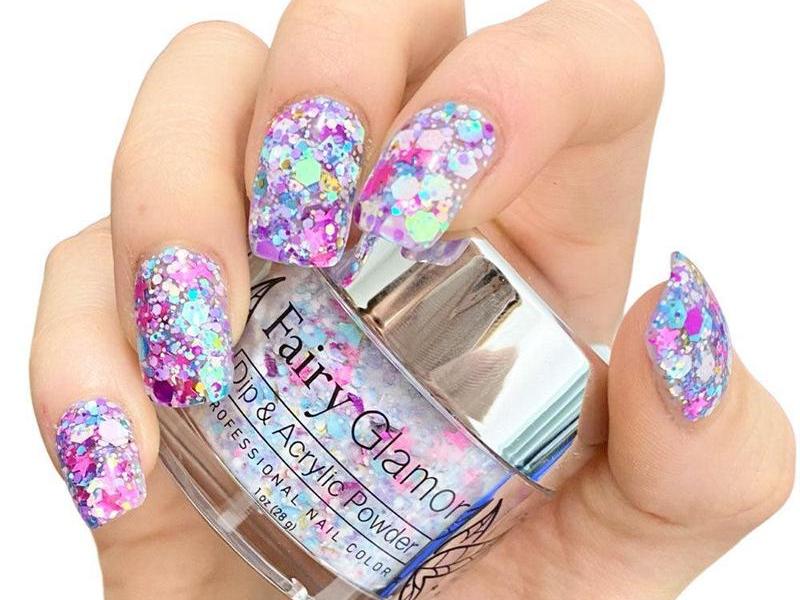
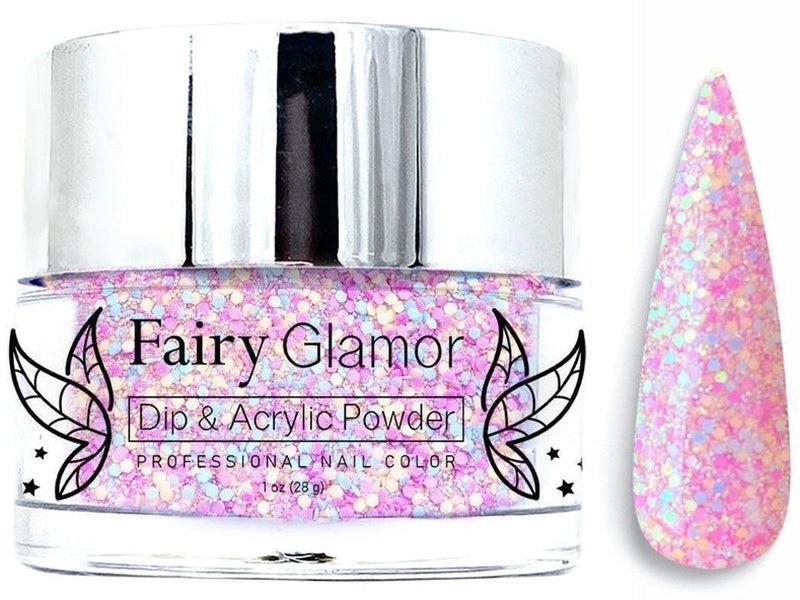
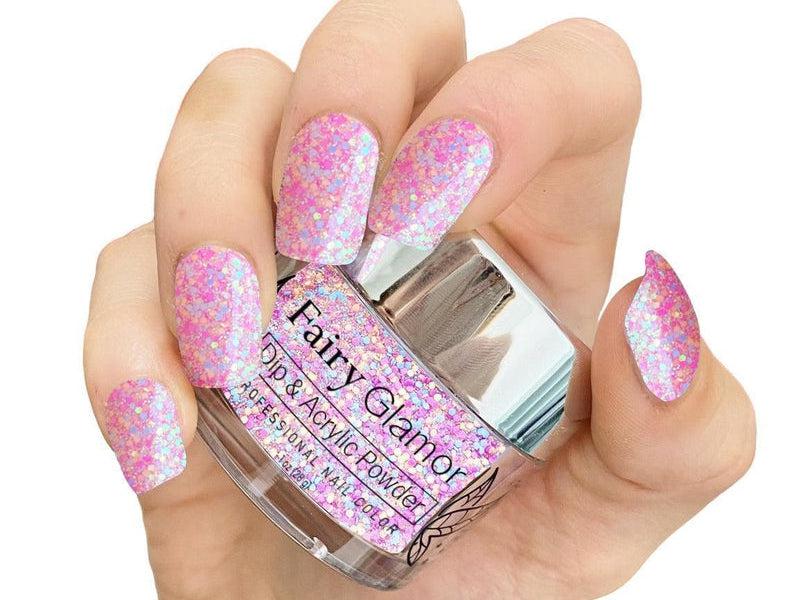
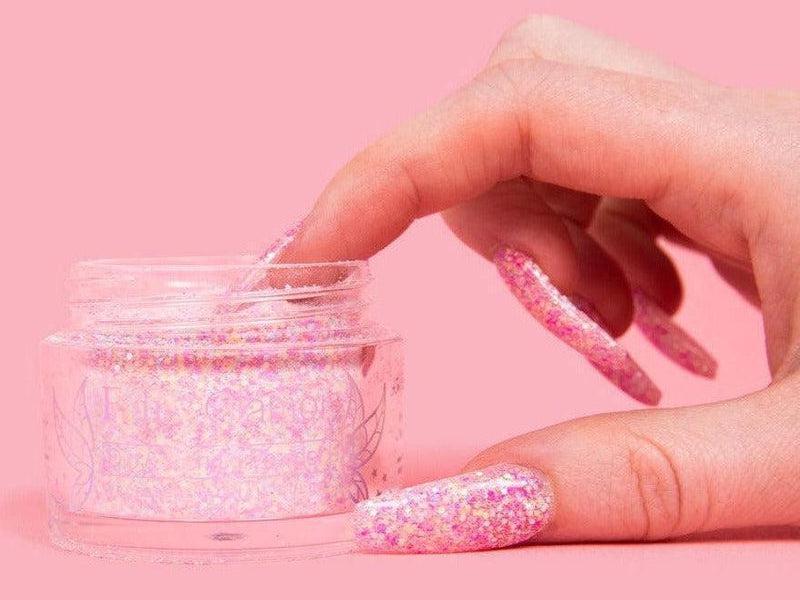
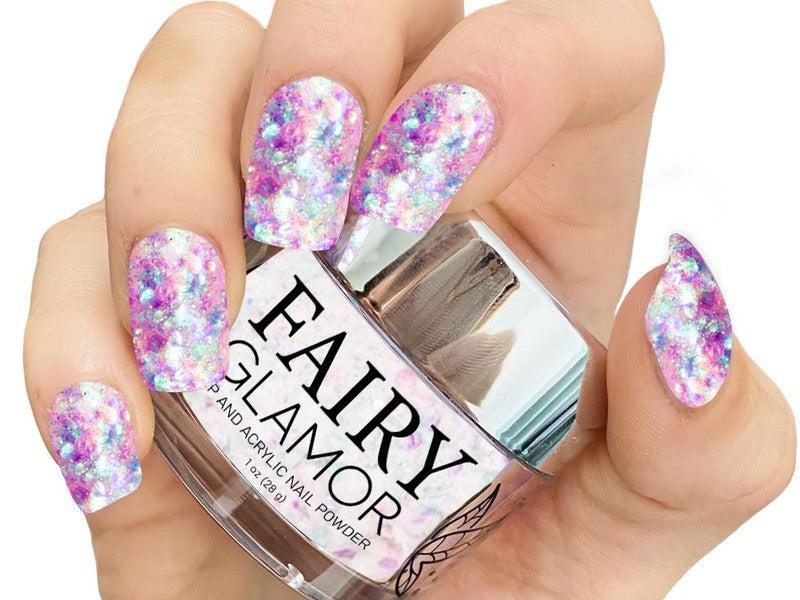
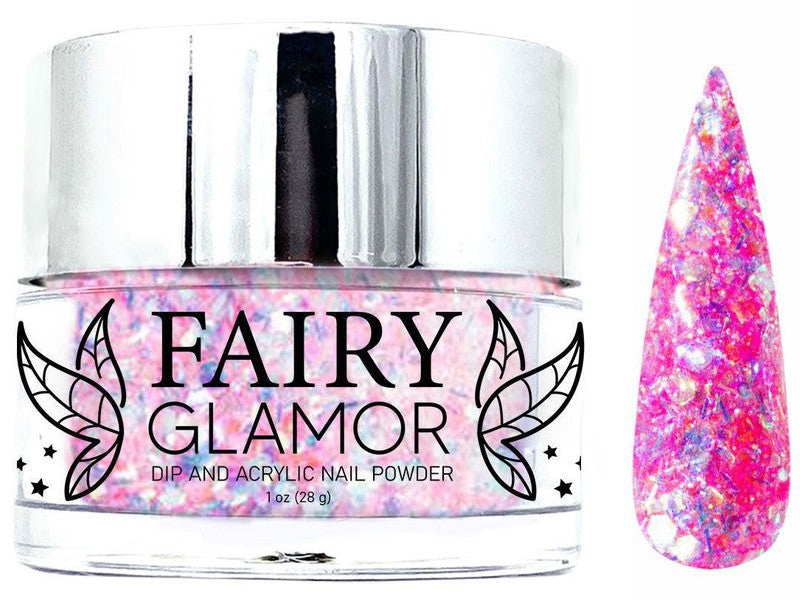
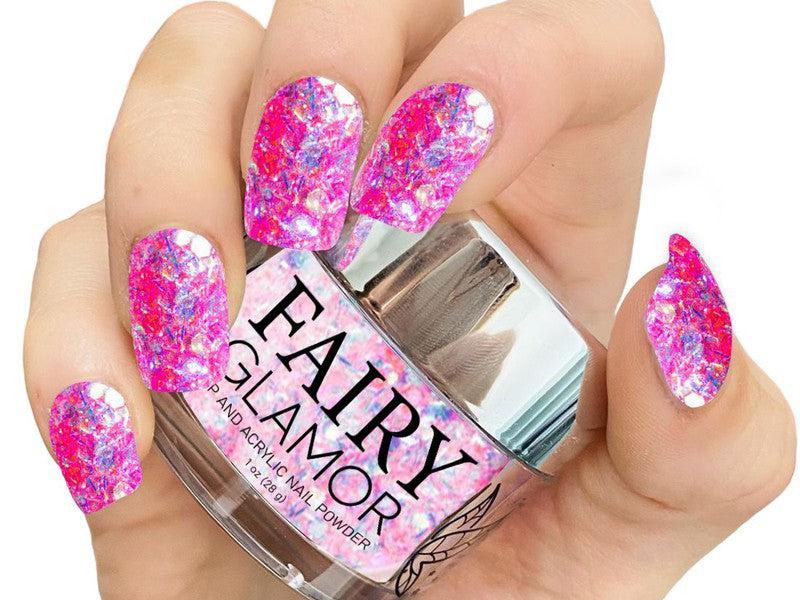
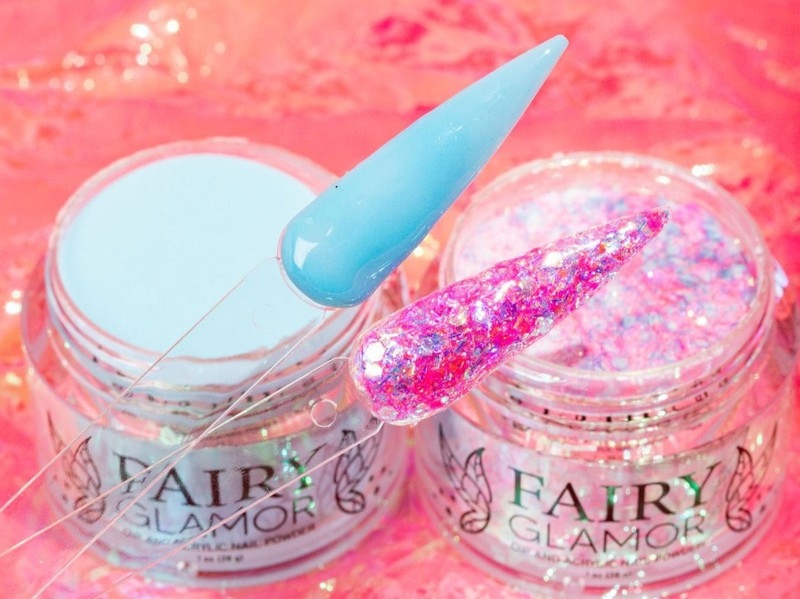
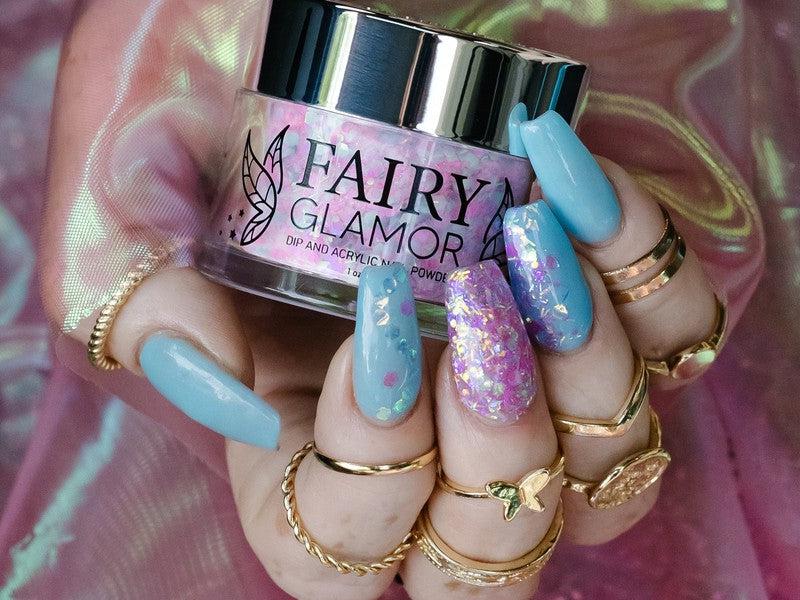
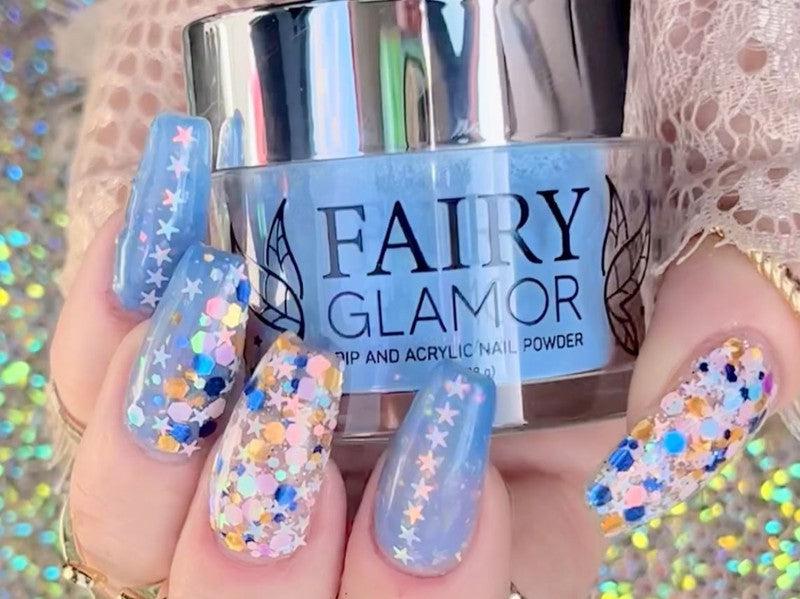
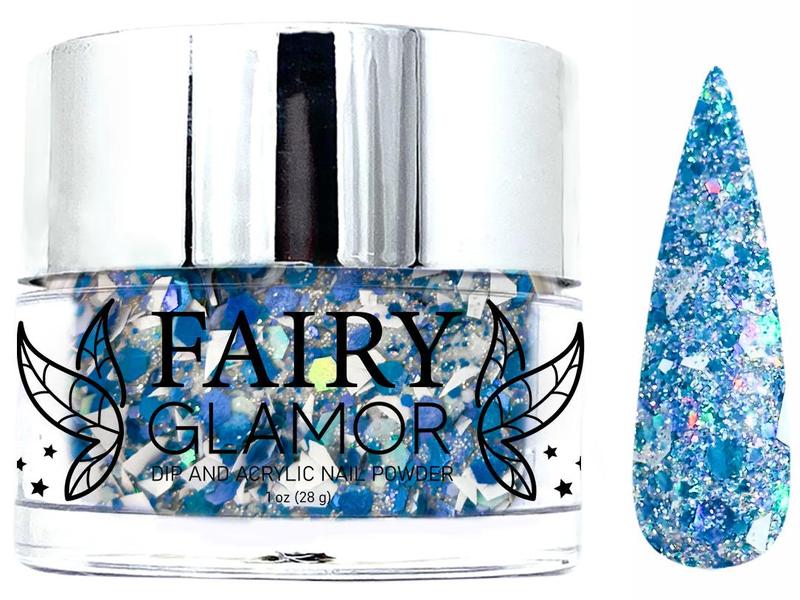
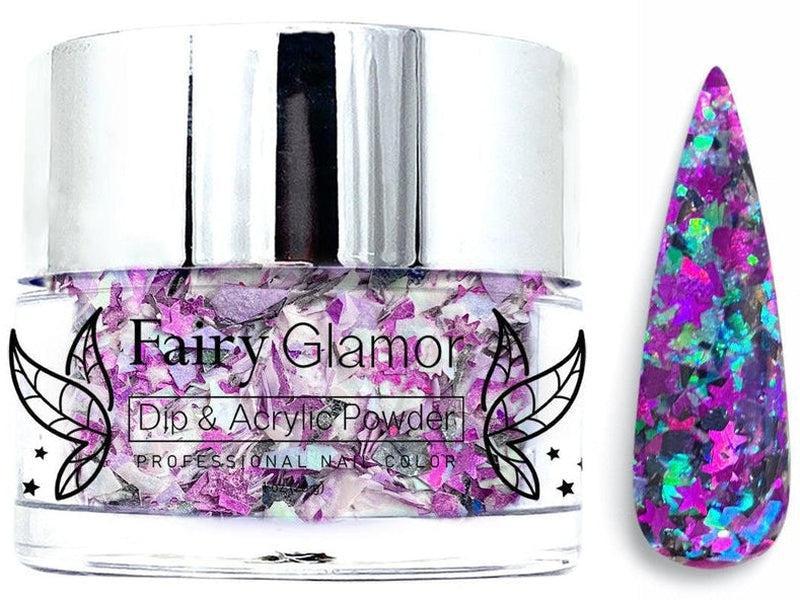
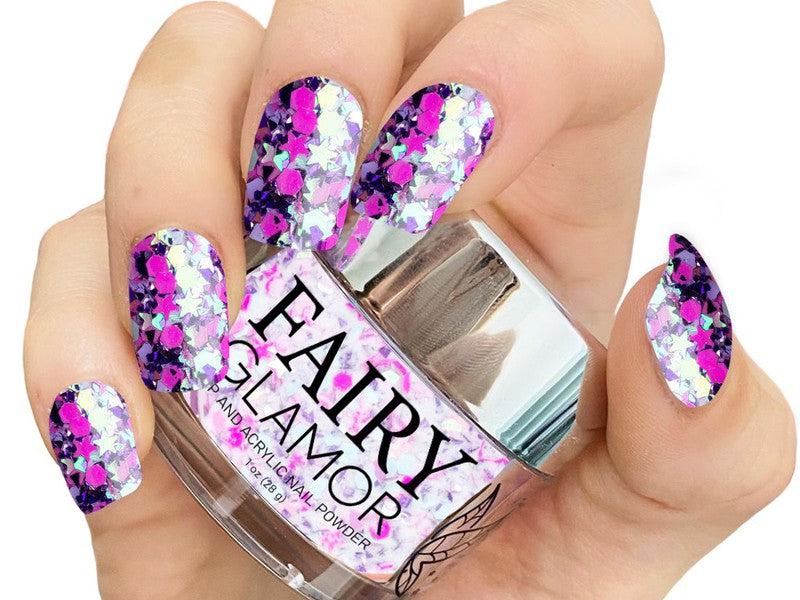
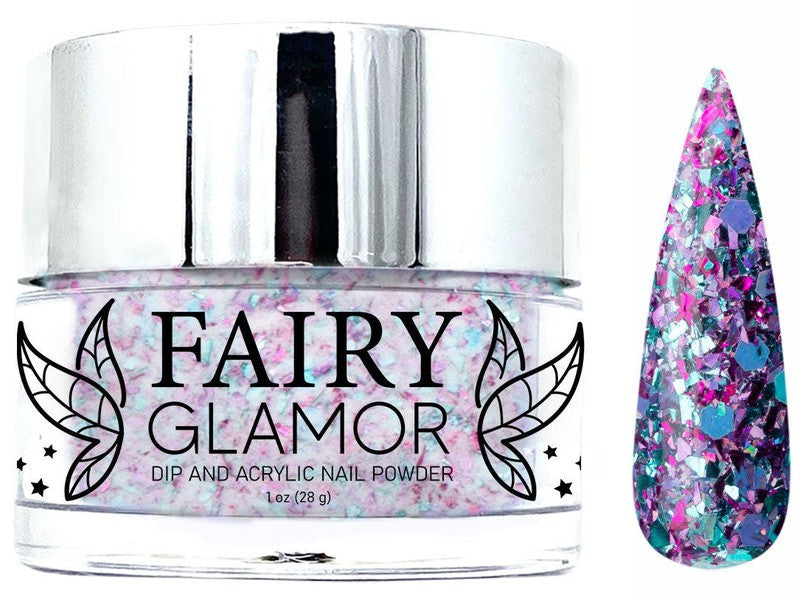
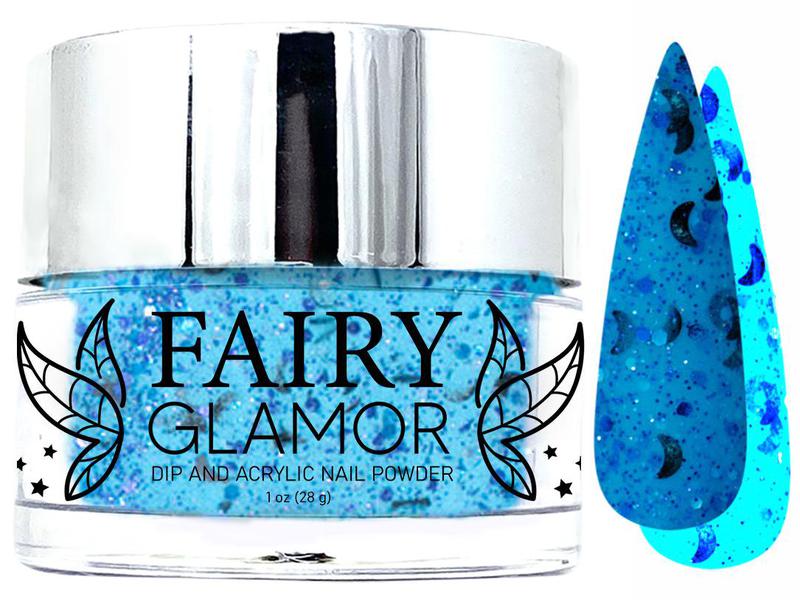
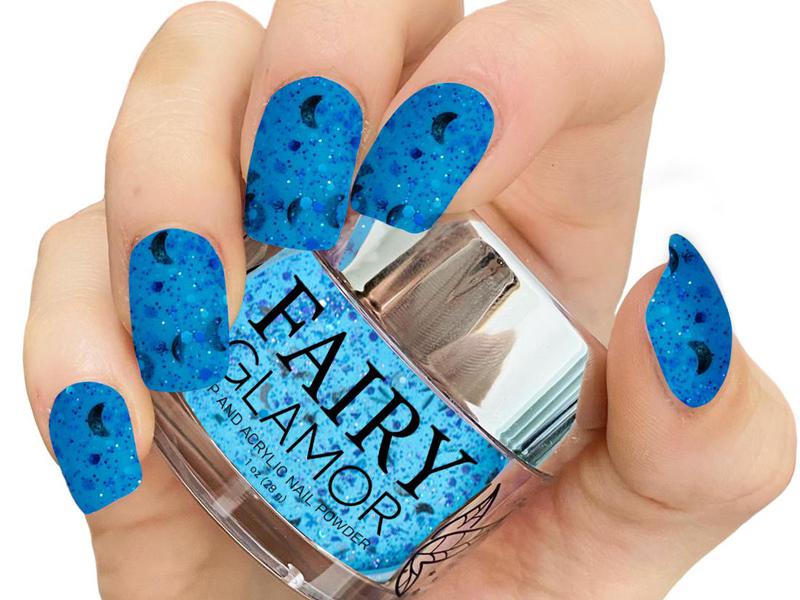
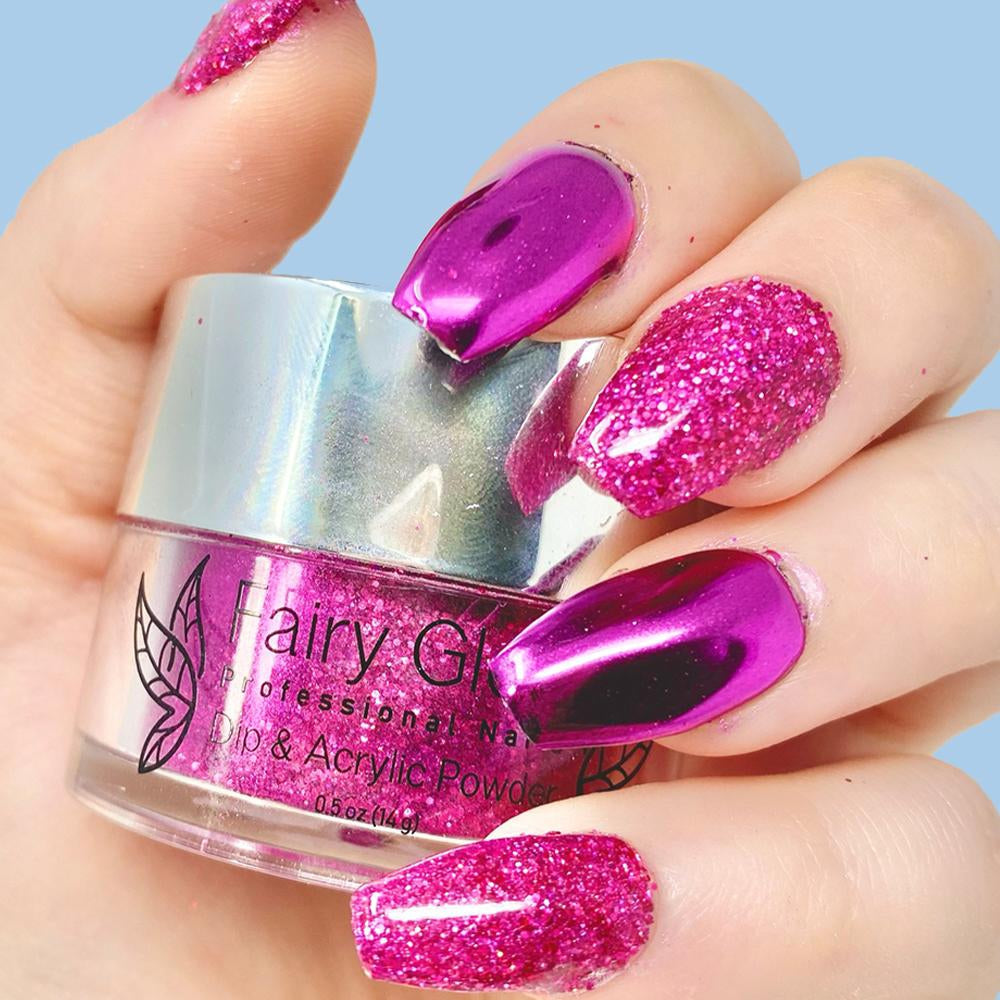
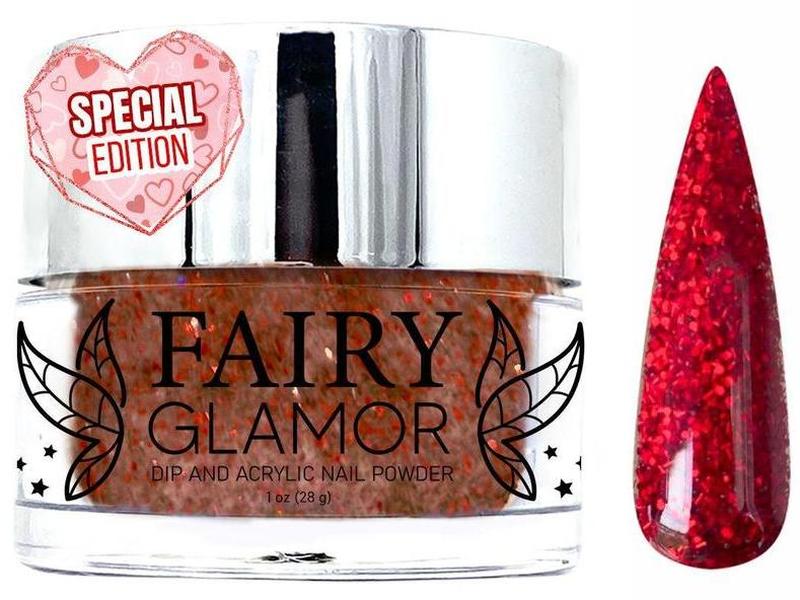
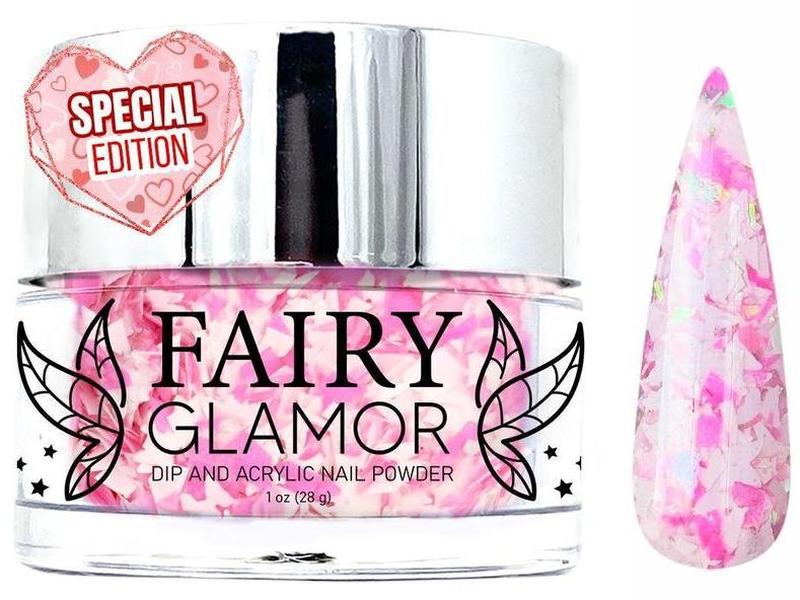
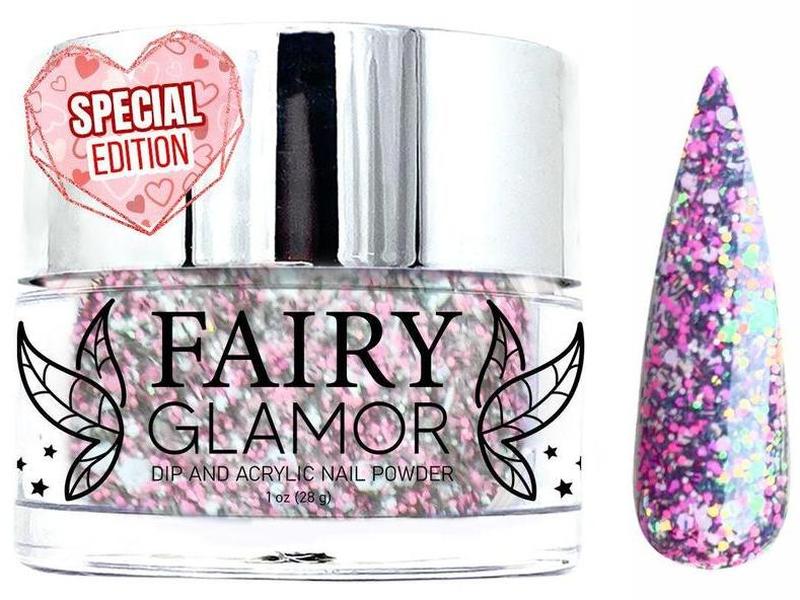
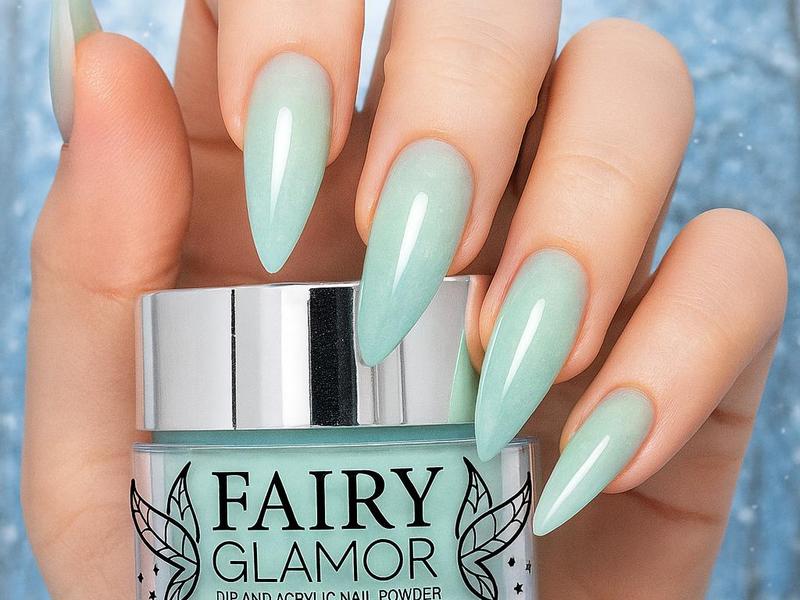
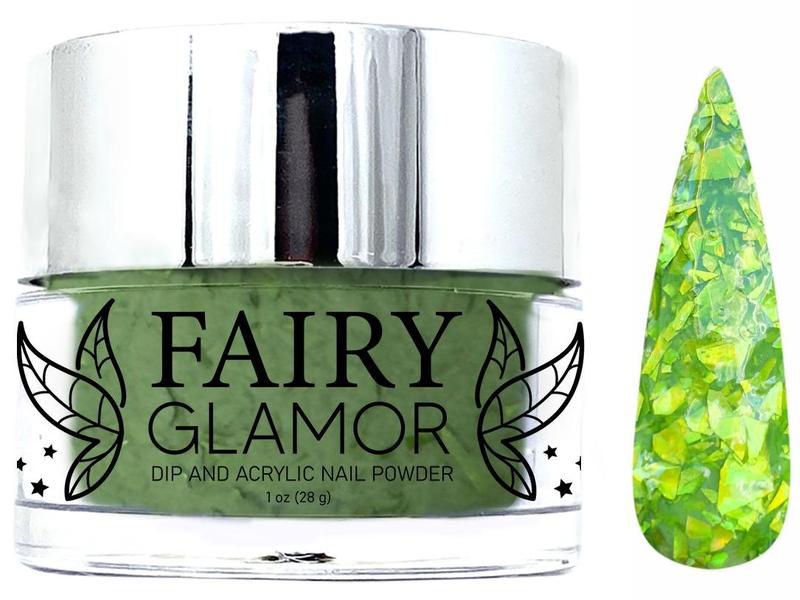
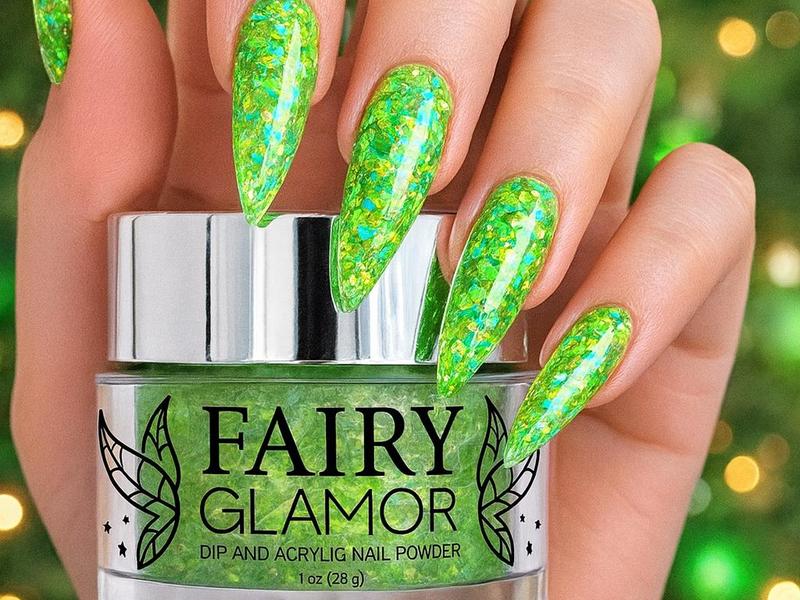
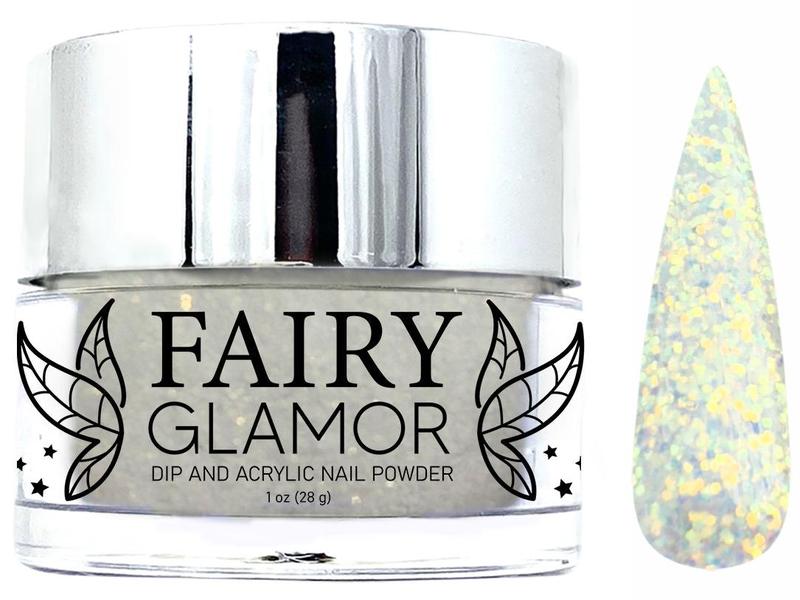
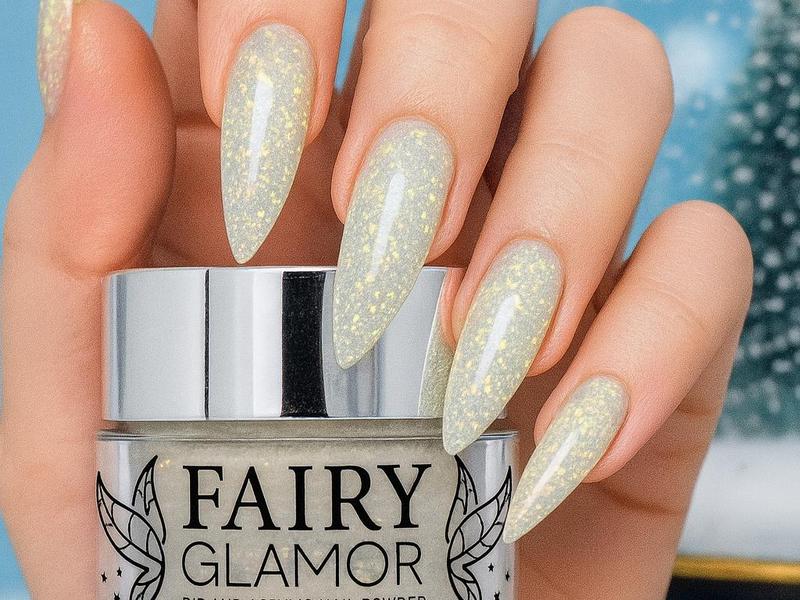
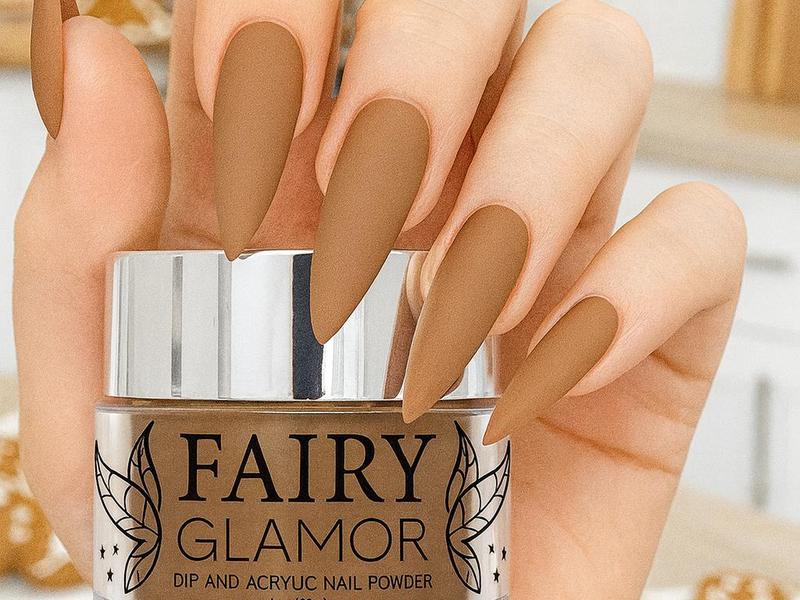
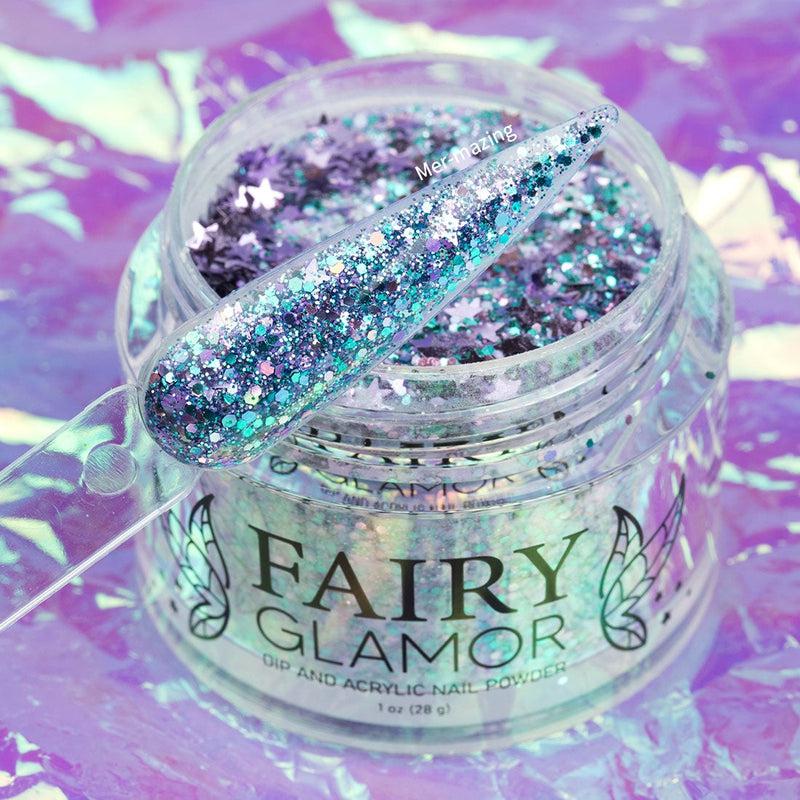
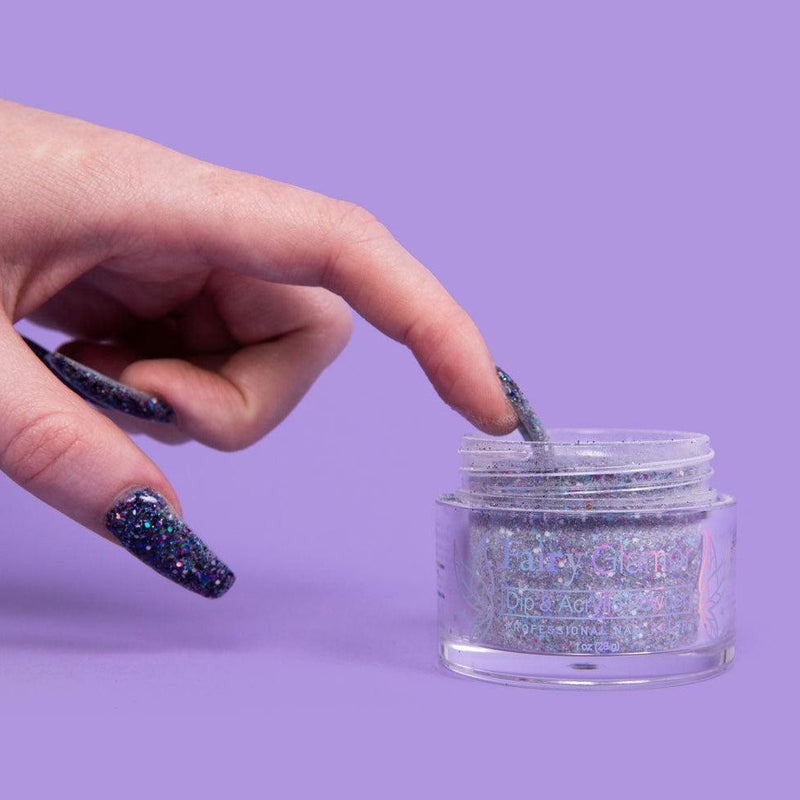
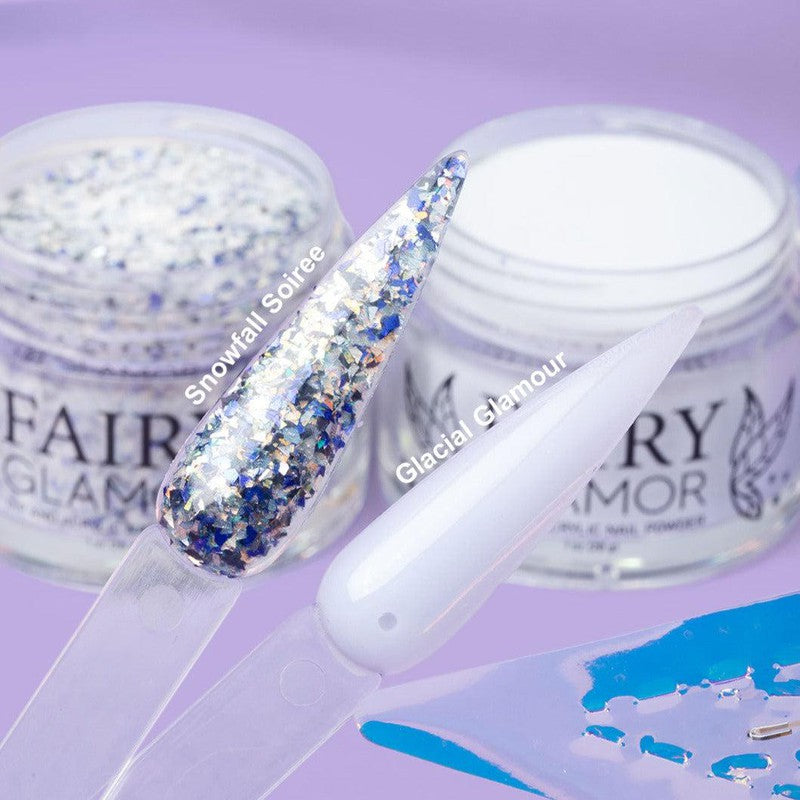
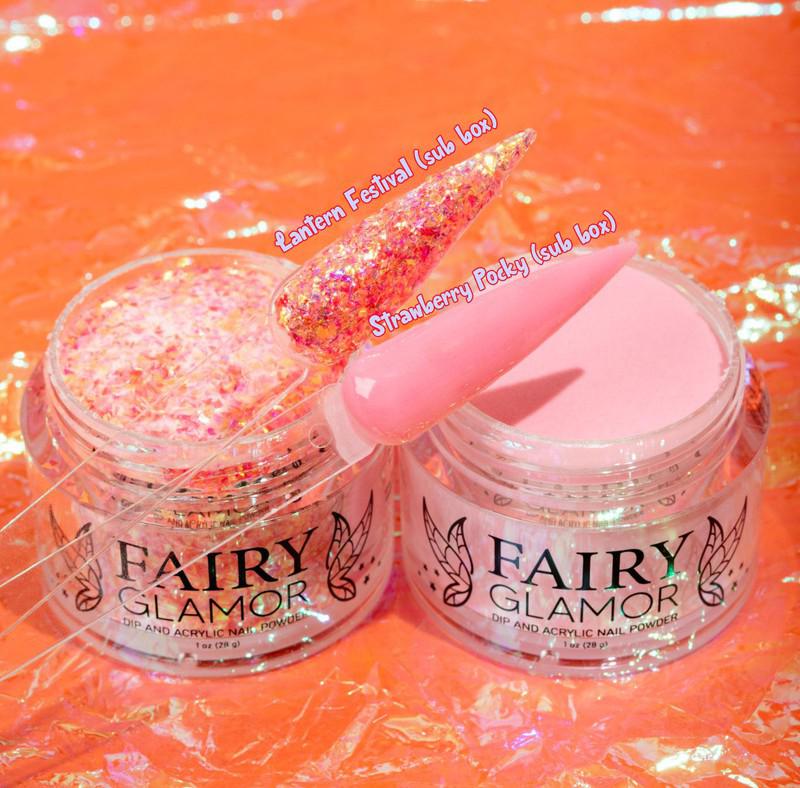
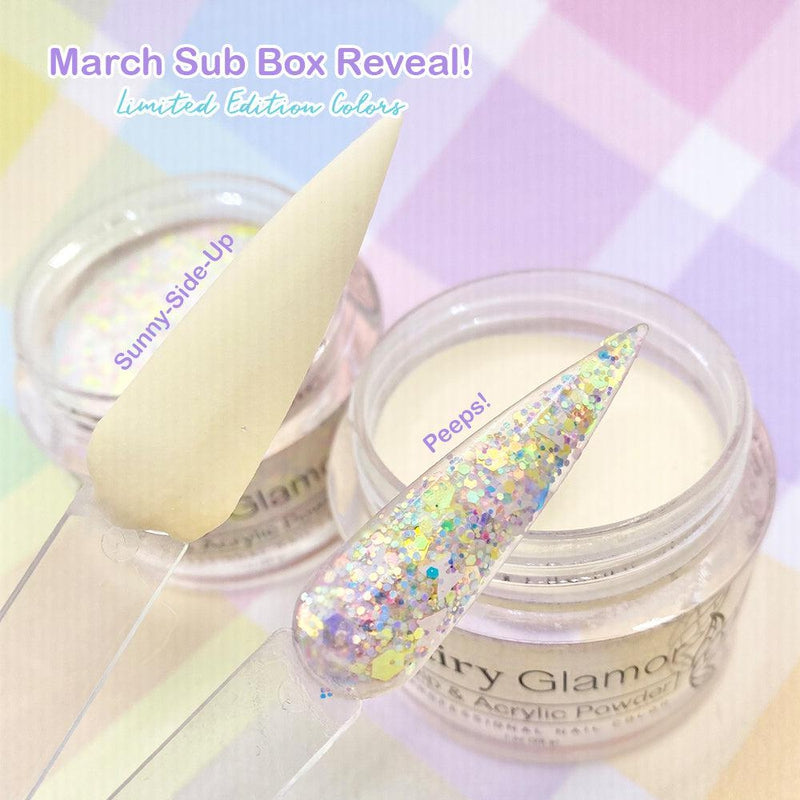
Other powder brands (like Fairy Glamor) include glitter and can be used as both a dip, acrylic, and rub on powder and come in large jars (15-30g).
We’ve created a video on how to apply holographic nail powder that works for both chrome and holo colors. You can either follow along with the video or just follow the pictures. Whichever is easiest for you!

Step by Step Instructions on How to do Chrome Nails at Home.
- Apply dark base nail color.
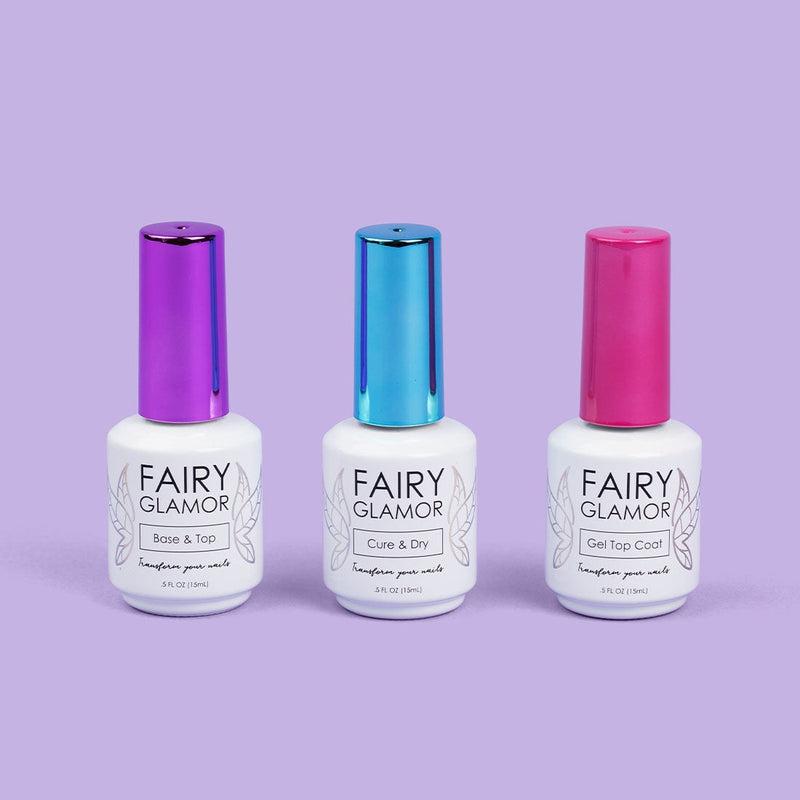
- Apply a no-wipe gel top coat.
- Let top coat cure for 20-30 seconds until it's still slightly sticky.
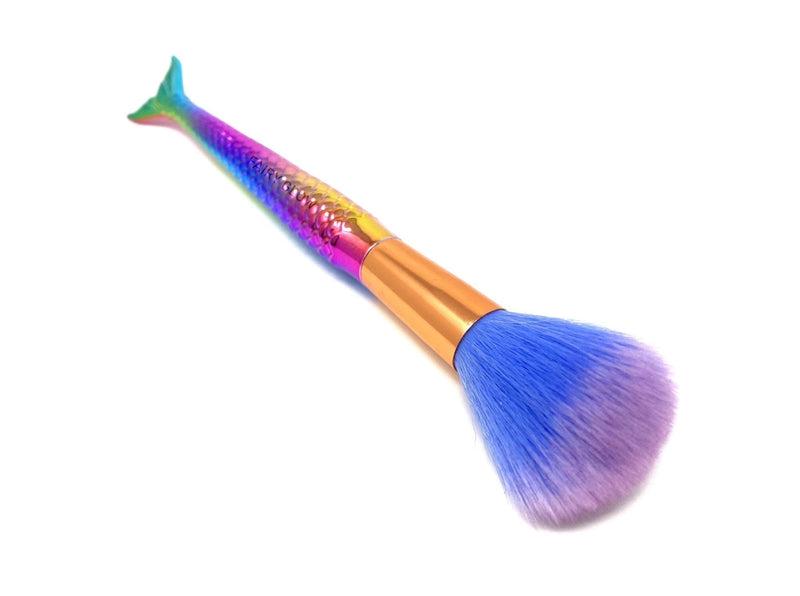
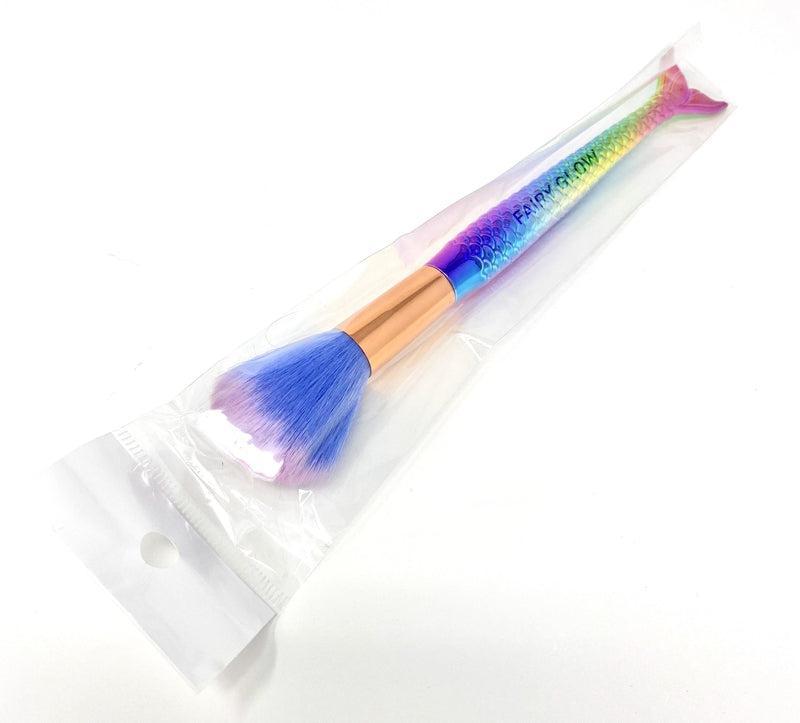
- Rub powder over cured top coat with finger or eyeshadow brush.
- Seal with gel top coat.
- And your finished applying chrome nail powder!
How to apply chrome/holographic rub-on nail powder.
Please keep in mind that Fairy Glamor has a unique formula and our application process may differ from other rub on powder brands. Our powders can be used with many colors other than a black base while other brands require a black nail color base. This makes doing chrome nails easy!

Step 1. Apply a base nail color
If you’re using a chrome powder, apply a dark base color. If you’re using a holographic powder, you can use any color as a base. It doesn’t matter if you use polish, gel, or dip powder. Anything will work! Fairy Glamor offers base nail polish colors you can use specifically for holo and chrome nails.


Step 2. Apply a no-wipe gel top coat
This step is especially important because if you use a gel top coat that needs to be wiped down after curing, then your powder will not rub on.
Cure your top coat for around 15 seconds (time may vary) under a UV/LED light. You need to cure until the top coat is smooth but still (very slightly) sticky. If you cure for too long the top coat will be far too glossy to apply your powder. The powder will not stick to a glossy surface.
If you accidentally cure your no-wipe gel top coat for too long, you can use nail polish remover on your nails for a minute to “soften” them. Wipe dry and then you can try applying the powder.
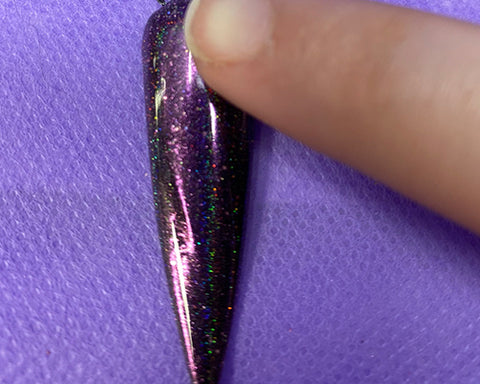
Step 3. Use your finger, eyeshadow brush, or applicator to rub the chrome/holo powder over the nail
You want to be relatively quick with this step so that your top coat doesn’t cure all the way. Rub your powder over your base nail color firmly (but also gently, you do not want to scratch the effect!). It should rub on easily and only take a few seconds to apply.

Step 4. Seal the chrome/holo with your no-wipe top coat
The moment of truth! You’ll know here if you applied the powder correctly. If you apply the top coat over the powder and it “smears”, then you cured your top coat for too long and the powder didn’t stick right.
Don’t put too much force when sealing your powder in. You want to be careful not to smudge it.

You’re all done! That wasn’t so hard, right?
And your finished! Once you get the hang of it, you can seriously enhance the look of your nails and really glam them up with holo and chrome powder. There’s a lot of people out there that don’t even know holo and chrome nails exist so when they see yours, they’ll say HOLY MOLY and want to know where you got them!
We hope the videos and pictures helped as well. Do you have any questions? What are your favorite chrome and holographic nail colors? We love to mix it up and see what cool combinations we can create. Thanks for reading faeries and have a glamorous day!

