Nail dipping powder is a straightforward process when you want one color covering the entire nail, but what about when you want something more fun, like French nail tips? You might be a little confused as to how you could make a straight line with powder, but fret not! It is possible, and it’s actually easier than it sounds.
What are French Tip Nails?

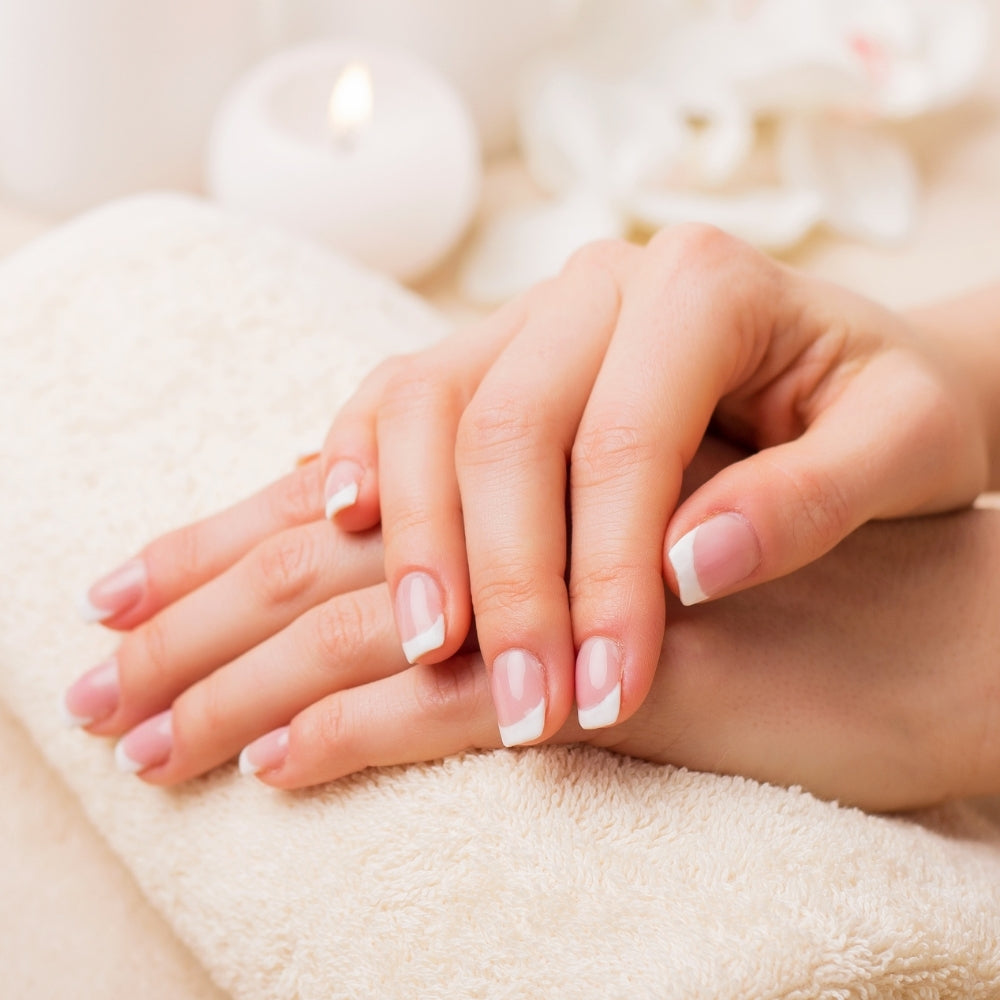
French tips are a classic nail look, usually white on top of a nude or pink color. In gel or regular polish, a base color is first painted (nude or light pink). Then, a line of white is painted at the top of the nail, resembling the natural white part of the length of the nail. This line can be thin, thick, curvy, or straight, depending on the length and shape of your nails.
Now that it’s socially acceptable to wear funky nail polish colors and art styles, you can often find nail techs taking homage to their nail looks from French tips by changing the colors (changing white to purple, for example).
Many people get confused when they hear French tips and American tips, but these are not the same. French tips have a very defined smile line, while American tips ombre into the white.
How do I do Dip Powder?
Here’s a guide to doing dip powder in general:
Steps:
- Lightly buff your nail beds; this step is way more important than you think and is key to having your nails last for weeks
- Apply nail dehydrator (or rubbing alcohol). Wipe away excess moisture. Any extra oil left on the nail will keep the dip powder from sticking to your nail and will shorten the life of your manicure
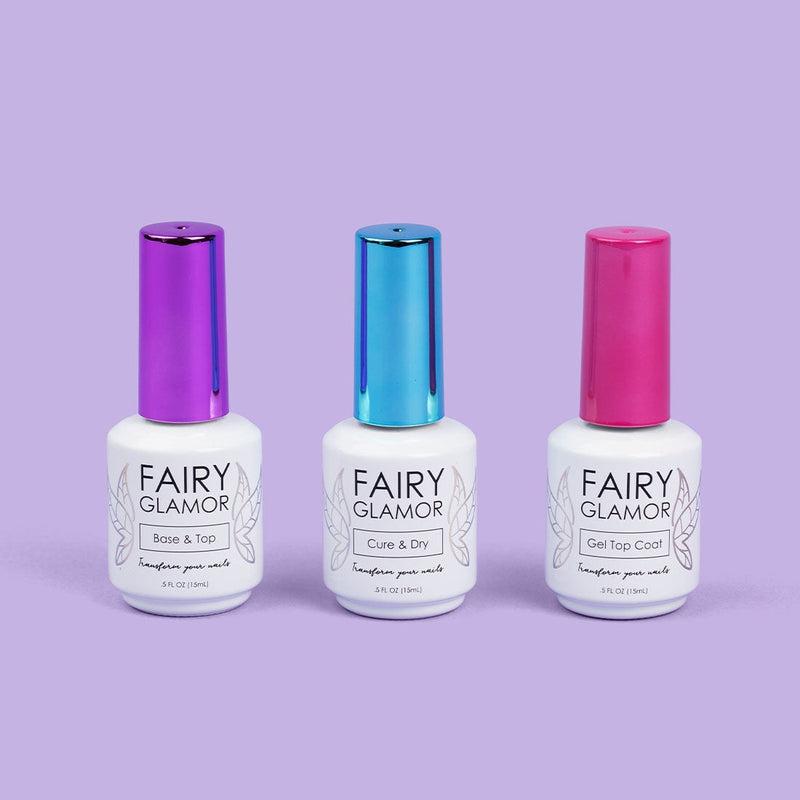
- Paint a thin layer of our Base&Bond 2-in-1 base coat and bonder; you can find it here
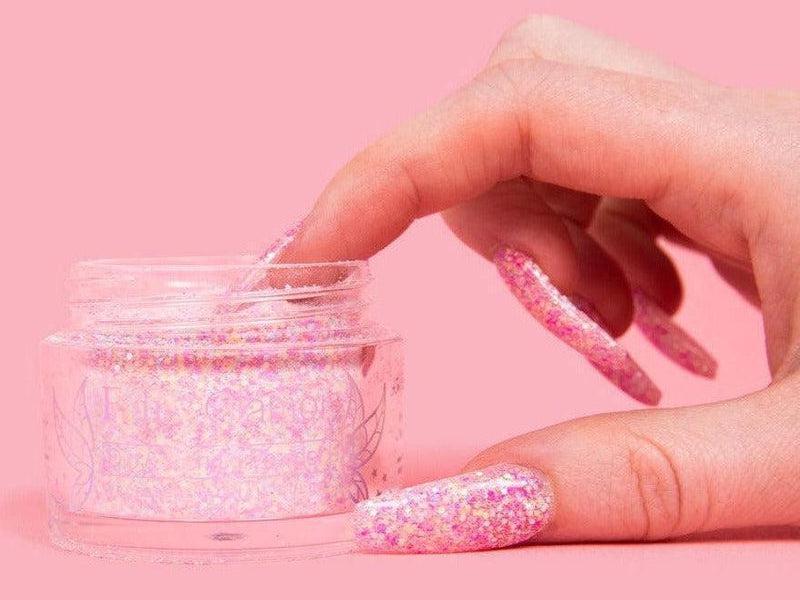
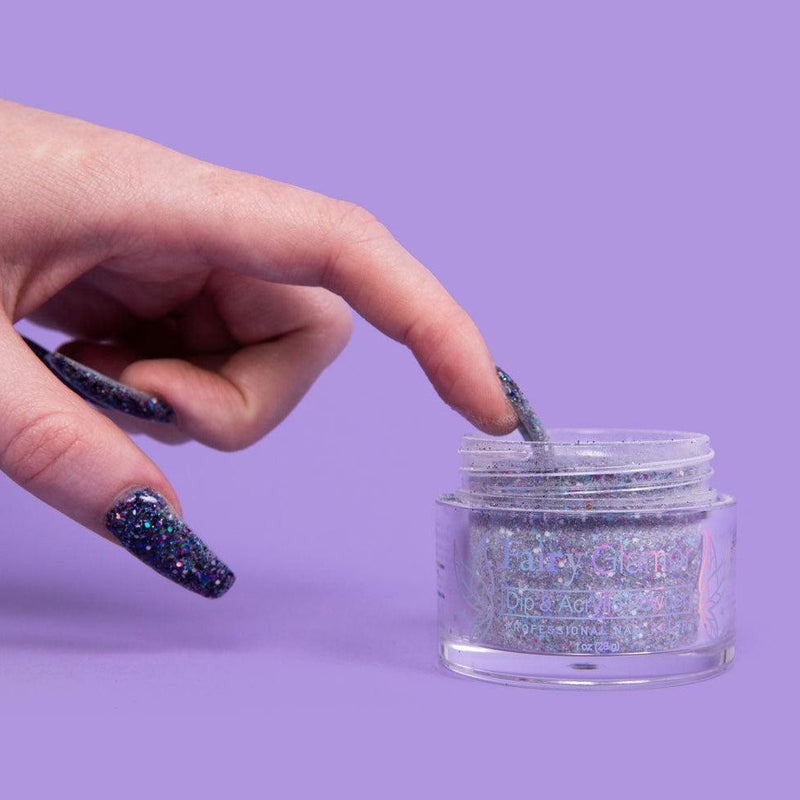
- Dip your finger at a 45-degree angle into the powder (only use our high-quality Fairy Glamor powders; click here to view our full-color catalog)
- Leave your finger for 2-5 seconds
- Slowly lift your finger out of the jar
- Brush away excess powder
- Repeat steps 3-7 to apply a second layer of dip powder
- Apply a nail activator to seal the powder
- Apply your dip top coat (gel or not gel)
How to do French Tips
Here’s what you’ll need:
- Cuticle pusher, nail file, nail clippers, cuticle remover (optional)
- Half-cover nail tips and nail glue (optional)
- Nail dehydrator
- Base&Bond
- Fluffy brush
- Activator
- Glossy gel top coat
- UV lamp
- White dipping powder
- Pink/nude dipping powder
Steps:
- Begin by preparing your nails. Apply cuticle remover (optional), push your cuticles back and clip and file your nails into the desired shape
- Apply your half-cover nail tips with nail glue for longer nails (optional)
- File the shiny top layer of the nails and roughen the surface of the nail tips, if using
- Sweep a layer of nail dehydrator onto the surface of the nails
- Paint a layer of the Base&Bond after the dehydrator has dried
- Dip a nail at a 45-degree angle (90 degrees for a straighter smile line) into the white dipping powder as deep as you want the white to show; most people choose to dip until the fingertip is touching the powder. Hold for 2-3 seconds
- Pull the finger out of the white powder and shake off the excess
- Quickly dip the entire nail (including the white) into pink/nude dipping powder. The pink will not stick over the white
- Gently brush off the excess dipping powder
- Repeat steps 5-9 until you get the desired thickness and pigmentation; you will probably need 2-3 dips. Repeat with the rest of the fingers
- Paint a coat of dip powder activator over each nail
- Finish with a glossy gel top coat and cure under a UV nail lamp. You may use two layers of top coat if you want a more lustrous finish
If you notice that your nails look foggy or cloudy, click here to read an in-depth article as to why.
Quick Recap
- French tip nails are a classic and timeless look that anybody can wear!
- Traditionally, French tips are pink/nude and white
- French and American tips aren’t the same
- Dip powder French tips are pretty simple, and all you need is the standard dip supplies plus white and nude or pink dipping powder
- BONUS: try using a glittery top coat for some added sparkle!

